
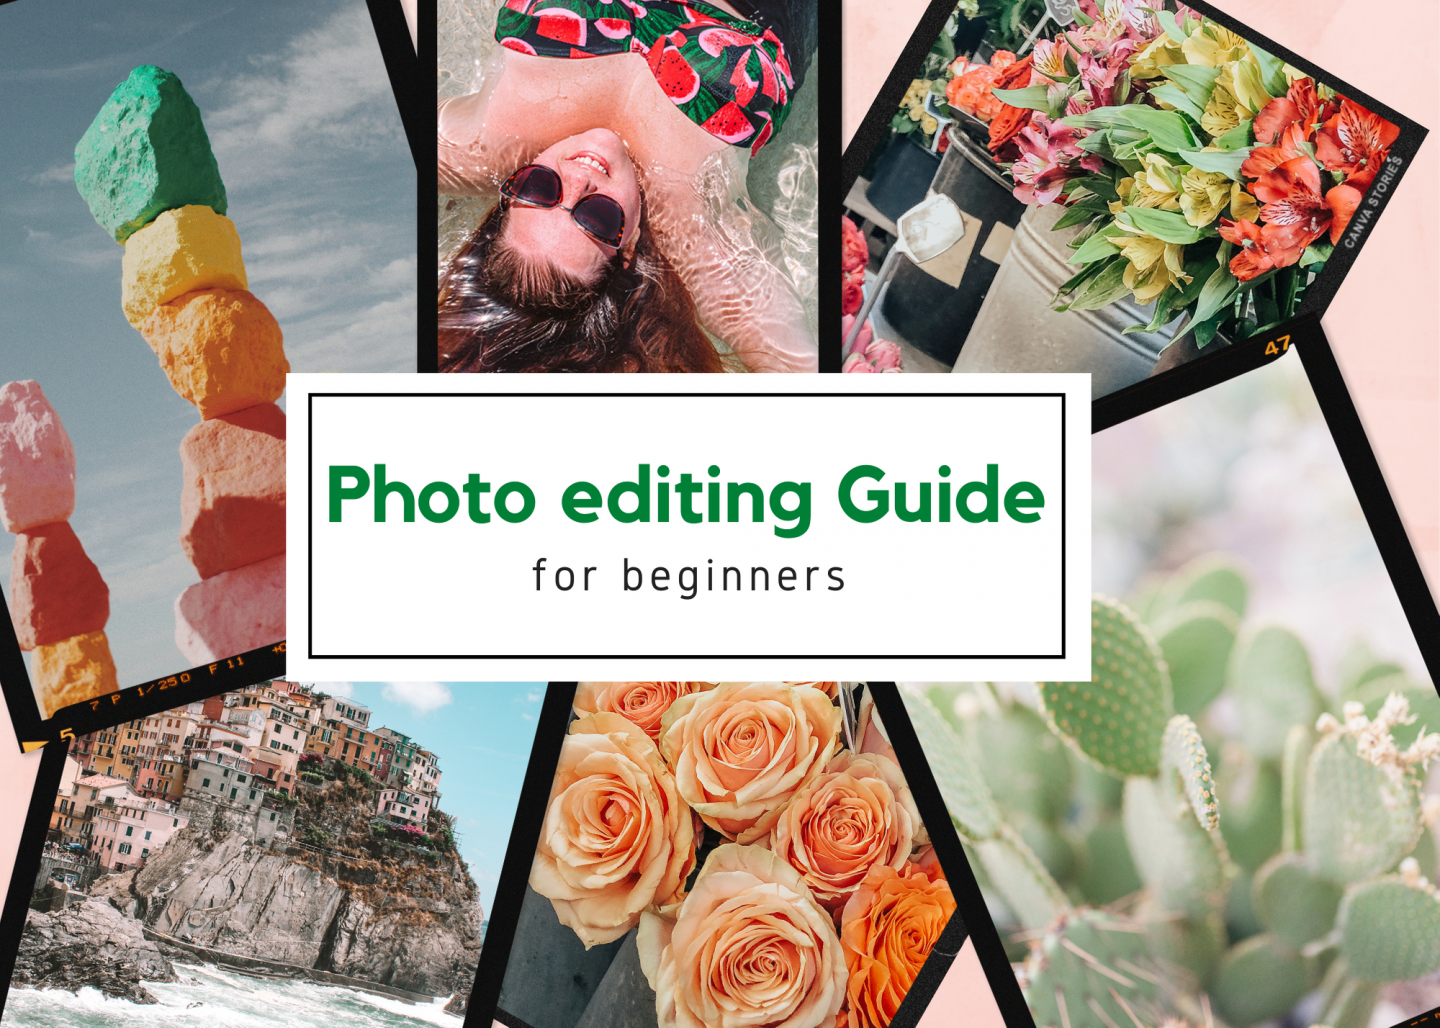
Have you ever wondered how influencers and other users on social media not only take great photos but have a certain aesthetic to them? How they edit their images in such an elevated way? It’s not a huge secret! Truly it is all about learning basic editing skills and knowing how to fix common issues. While there is a TON that can be covered in terms of the level of photography skill, this is just going to be a photo editing guide for beginners.
You may not know this about me, but I am a professional photographer when I am not working on my home, traveling, or working my 9-to-5 job. It has been something I have dabbled in since 2011 and I really took it serious 2013 onward. Although I do a lot of portraits of people, I think the basic photo editing skills that I self-taught myself can be versatile for really any subject. I am going to be tackling terms such as temperature, exposure, contrast, presets, and so much more!
But first, you really need to sit down and determine what you want your aesthetic to be: high contrast, colorful, bright and airy, moody, or warm are just some you can choose! Personally, I am for a clean editing style (which means I don’t manipulate colors drastically) and I tend to want to bring out the warmth and colors of a place. But you do you, honey. No judgment from me when it comes to your art.
**Insert self-imposed research homework and create a mood board so you can find your aesthetic. Consider looking at influencers or artists you love and see what draws you to their images.**
taking incredible images when you travel solo or otherwise!
After finding the aesthetic you like, taking great photos is key. This is your next step for producing good content! If you are interested in learning how to get incredible photos when you are traveling solo or whatnot, check out this post with many options that I have personally used that have given me amazing results!
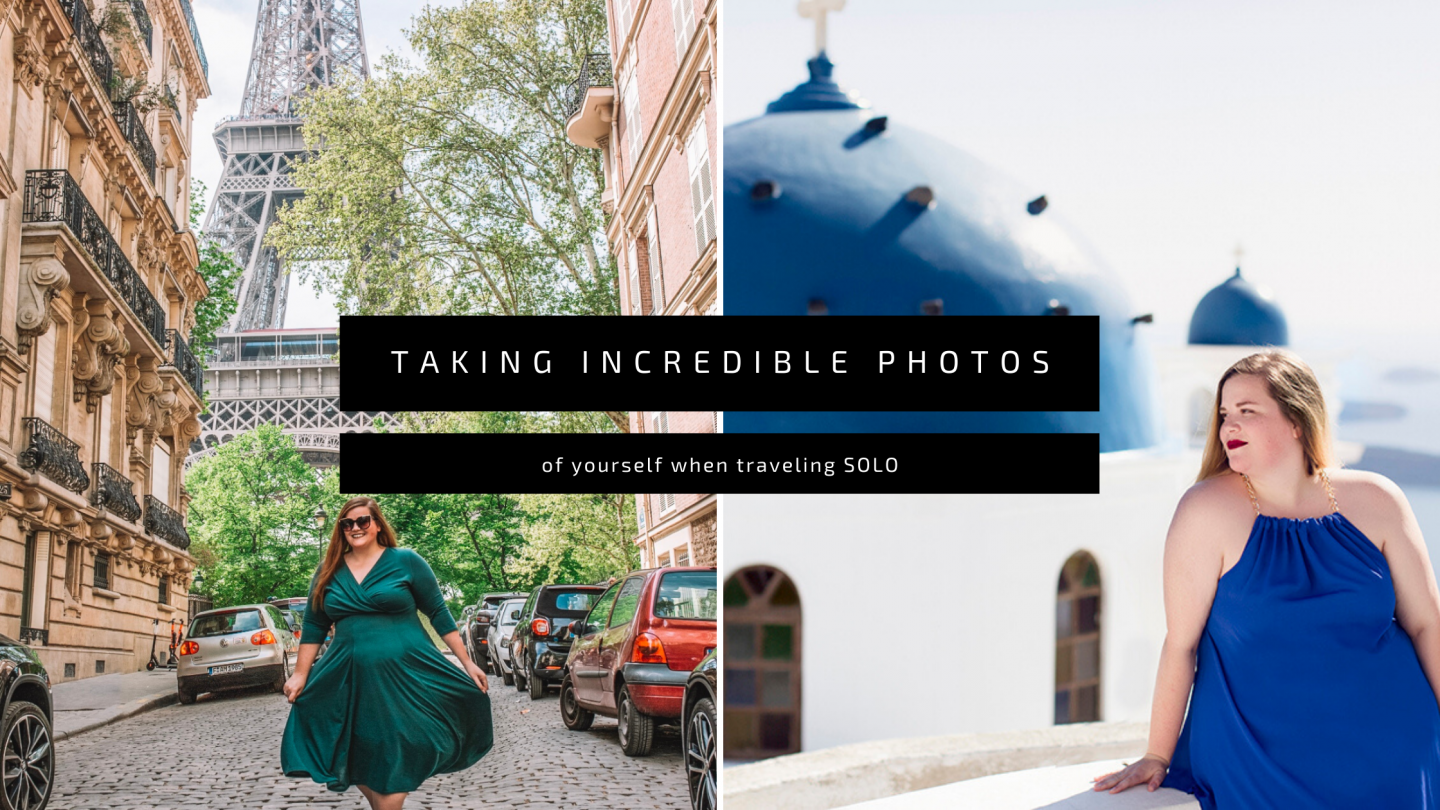
photo editing guide for beginners
– Presets –
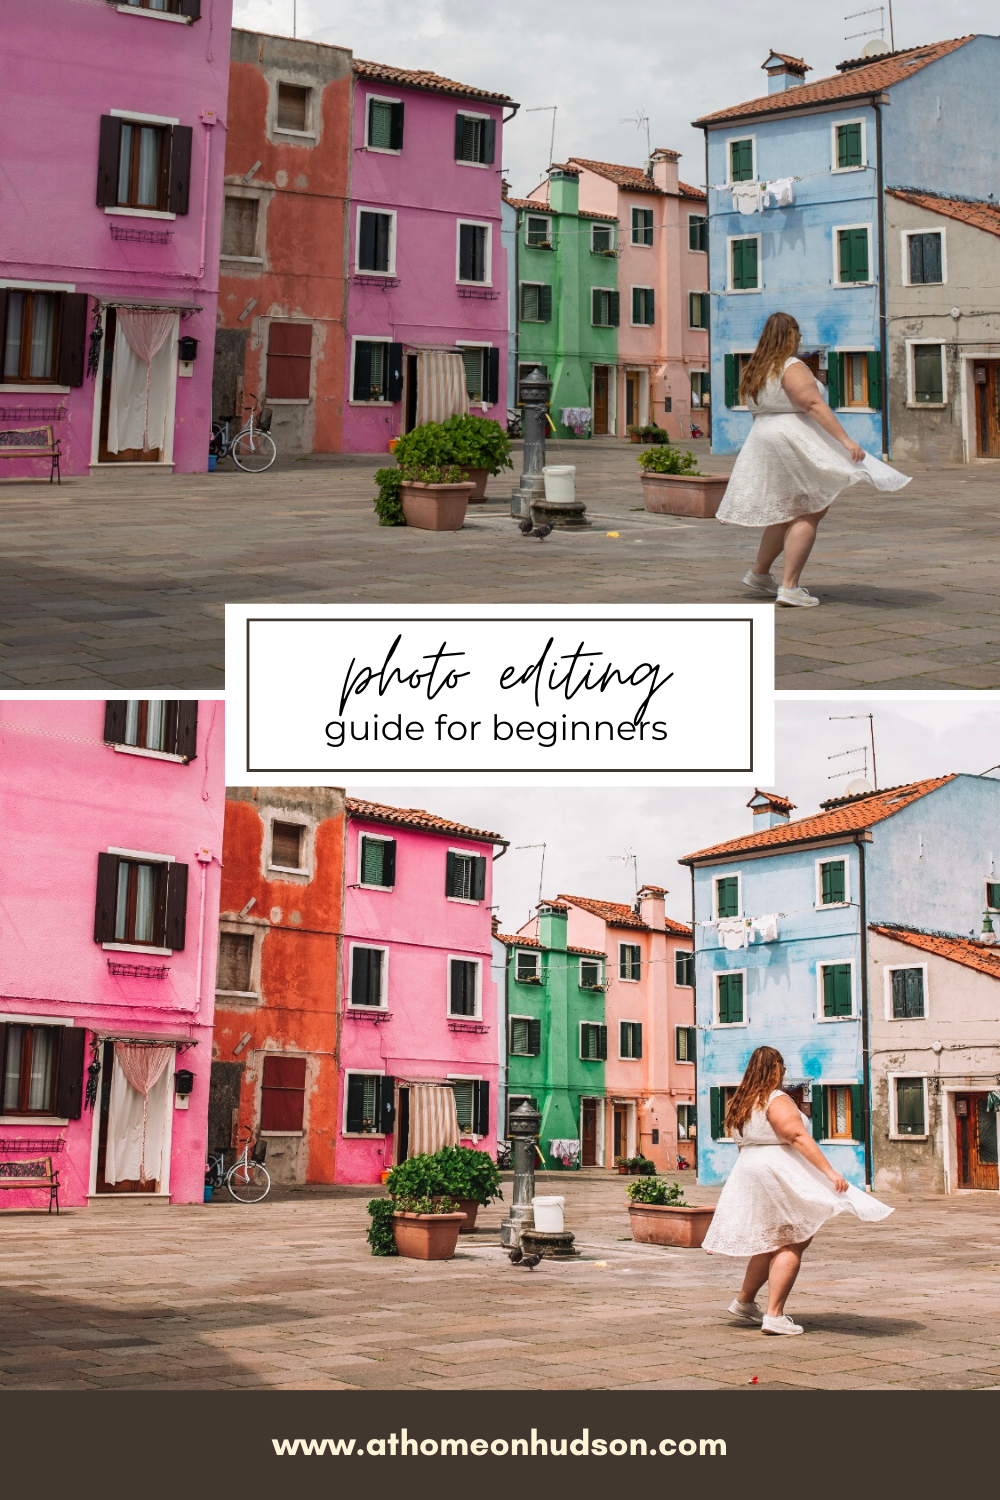
Perhaps the most fun part of editing is skipping the repetitive tedious manual editing and applying a preset/filter to your images. This is seriously what most bloggers do and there are a ton of collections that they sell! It is really the best shortcut that simplifies editing your images. There is a consistency to your image too when you use the same preset.
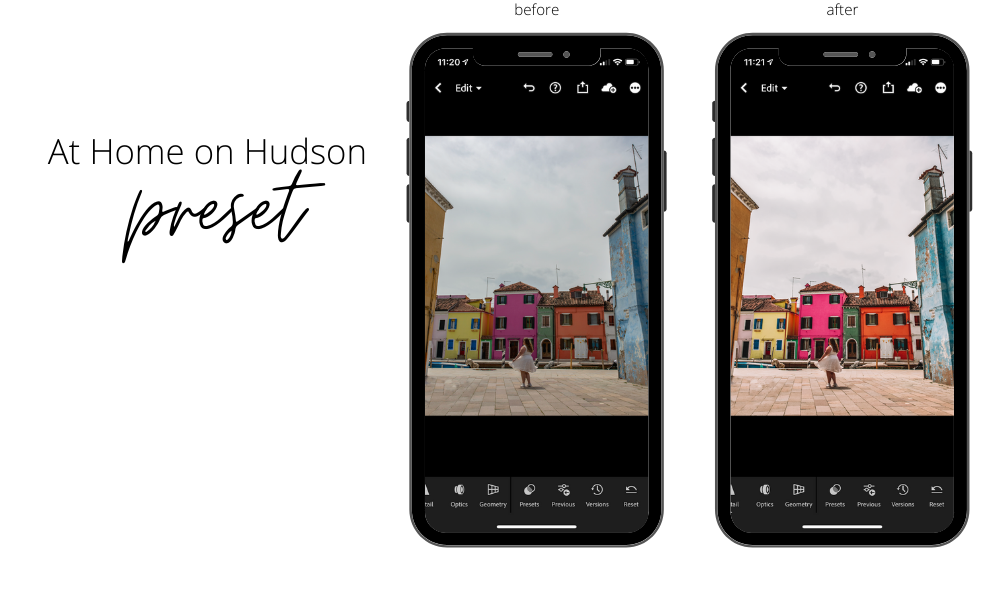
If you want to test out my go-to FREE Lightroom mobile preset, sign up to be a best friend of the blog! This one is my go-to preset I use for 90% of my images that brings an elevated look to your images without blowing out the colors.
One more note on presets- it is not the end-all-be-all for your images. Think of it as a stepping stone to nudge you in the correct direction. Yes, a preset can look great on images with minimal effort, but sometimes, you will have to manually tweak your images.
terms you need to know for manually editing your images
Before deep-diving manual editing, and without getting TOO technical, I am going to briefly go over some terms for you that are important when editing to truly understand how you are altering the photo.
Lighting
- Brightness/Exposure: this changes how light or dark the image can be altered. As a rule, it is recommended that you underexpose your photos (it will look like your photo is dark) when taking photos to be able to alter the image without blowing out your white highlights.
- Highlights: The hot spots (think the bright light areas) are controlled by the highlights. Bring your highlights down to lessen the difference between hot spots and shadows.
- Shadows: Exactly what you imagine it to be- the dark shadows in your images are controlled with this tool. It brights up the shadows so your image is not so spotty. Be careful with this tool because it will bring photo grain into your image if you bright the shadows too much. That makes little specks pop up in your shadows.
- Contrast: The whole idea of contrast is to show the difference between light and dark pixels in your images. It can truly change an image if you use it too much one way or another. Truly a matter of preference if you want high or low contrasted images.
Color
- Temperature: This can make your photo cooler (blue) or warmer (orange). This is a useful tool if you take photos indoors under wonky lighting. Sometimes you are able to save your photos and make them look more natural. I tend to lean toward warmer images but it depends on my subject.
- Tint: Another color changing tool that takes images more towards a green tint or a pink color. Very rarely do I use this tool unless I just screwed something up when I took my photos.
- Saturation: the amount of color your image has. A lot of bloggers use high-saturated images to make colorful destinations appear more colorful. Beware of the wolf in sheep’s clothing. ?
- Color Selector Mix: This tool is more for the advanced beginning editor but I use it all the time so I wanted to share. You can change specific color ranges in your images such as making your trees less yellow and more green.
- Hue: This is dependent on the color you change but you can alter the color of a specific color towards one spectrum or the other. I know that sounds redundant but as I mentioned in my previous example, you can change the trees to be more green than yellow.
- Saturation: How much of a specific color you want in a photo. If you want to desaturate the reds so they are not as bright or non-existent, this is where you do it. Conversely, if you want the focus to be on a certain color, again here is where you do it.
- Luminance: How bright or dark you want a color to be. I have seen recommendations that this is how you make yourself tanner by lowering the luminance on the oranges in your images. Enter at your own risk or you may end up in Oompa Loompa territory.
Effects
Dehaze: This is one of my favorite tools because it can crisp an image up really fast when you accidentally take a hazy image and have a major sun flare. Seriously, it has saved a ton of my images.
Hopefully, you have a basic understanding of the foundation of editing. But if you are still shaky, it’s ok. It’s a learning curve but so easy once you practice more and more.
photo editing guide for beginners
– my editing software preference –
Adobe Lightroom
Much like there are different levels of skills when it comes to photography, there are a million and one different editing apps/software out there for users. I use Adobe products, particularly Lightroom, for all of my social media edits and that is what I am going to talk about here. You can find other easier apps if Lightroom intimidates you but I promise, once you learn Lightroom and the easy editing it provides, you won’t look back!
Although the desktop version is available for a monthly fee (I already have a subscription for photography purposes), the mobile app is FREE! Who doesn’t like free things?? There really is no excuse not to download and play around with it for a bit.
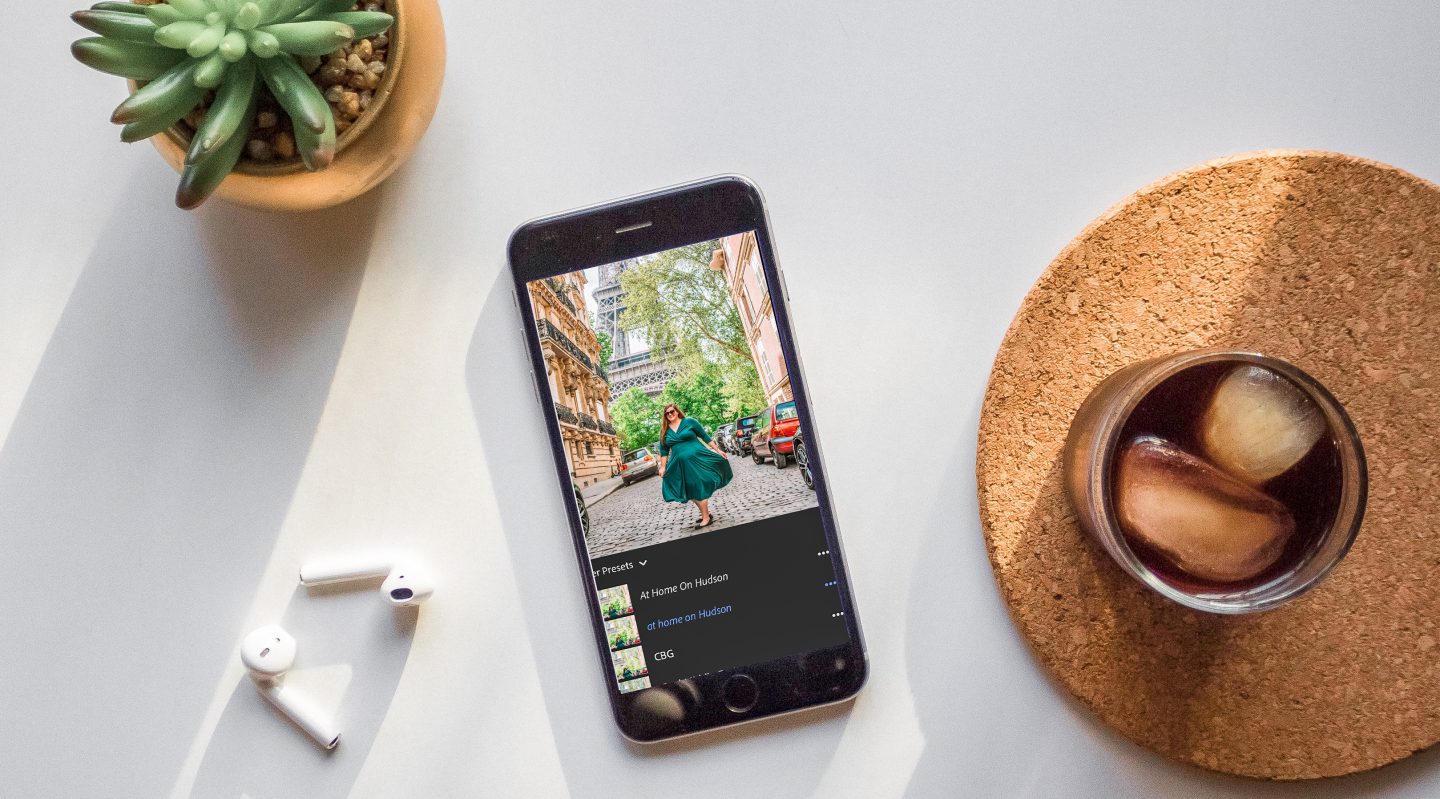
If you are curious about how to upload a preset, mine or anyone else’s you may have purchased, to your FREE Lightroom mobile app, check out this post! There are screenshots to help visually!
editing steps with Lightroom
My iPhone camera roll automatically adds my iPhone photos to my Lightroom albums of so no need to import those separately, but if you are wanting to upload a DSLR camera image to you Lightroom mobile gallery (this is for those WITHOUT the desktop version), you will need to get those jpeg files on your phone somehow. I have used Airdrop between my Apple devices but you can also Dropbox or Google Drive images, etc. It’s as simple as clicking import to get them into your Lightroom app.
After either importing your photo, here is my typical steps for editing an image.
- Remove blemishes or unwanted objects with the spot removal/heal tool. I have always done this first but you decide when you want to do this in the process. I don’t believe it should mess up your progress.
- Apply preset – Don’t forget to get the FREE At Home on Hudson preset here!
- Do final manual edits on your images to suit your preference.
- Last but not least, crop your images as recommended per social media platform! If you are looking for the best Instagram feed crop, I always recommend a 4×5 vertical crop because you will take up the most space available to you on your follower’s screen.
I know this photo editing guide for beginners seems like information overload, but I promise, once you understand these basics, editing will be a breeze. And you will consistently provide incredible content on your social media feed.
I hope this photo editing guide for beginners was easy to follow and you produce amazing content for your followers. If you have any questions, feel free to send me an email.
Loved this post? Share it or pin it for later!

The cool aunt. Plant novice who loves to travel to cool places, eat unadventurous food, and take pretty photos.
Find me on: Instagram
