
1345 words, 7 minutes read time.
Welcome to my newest obsession, Adults Arts & Crafts. (Not trademarked, but I wish!)
Today, we are diving into the world of grandmother hobbies: needlepoint. It’s totally having a moment right now- especially on TikTok. The girlies are bringing needlepointing back because it feels both old-fashioned and totally fresh at the same time. It’s creative, calming, and gives you something beautiful to show for your time. And it gets me off my phone, which is a major plus! But let’s be honest: those pretty hand-painted canvases can get expensive fast.
That’s where DIY Needlepoint canvas making comes in.

If you’re new to stitching or just looking for a more budget-friendly way to keep up with your hobby, this guide will show you how to get started with DIY needlepoint and how to make your own canvases at home. It’s simpler than you might think and way easier on your wallet.
What Is Needlepoint, Anyway?
Needlepoint is, in my humble opinion, the cooler and fun love child of embroidery and cross-stitching. You thread or yarn through a grid-like, predesigned canvas. Unlike cross-stitch, which uses counted stitches and fabric like Aida cloth, needlepoint usually uses a stiffer canvas with a design painted on it. You just follow the colors and fill them in with your stitches. I think that makes needlepointing the superior craft because you don’t have to worry about miscounting and messing up the whole design. You just follow the painted color pattern!
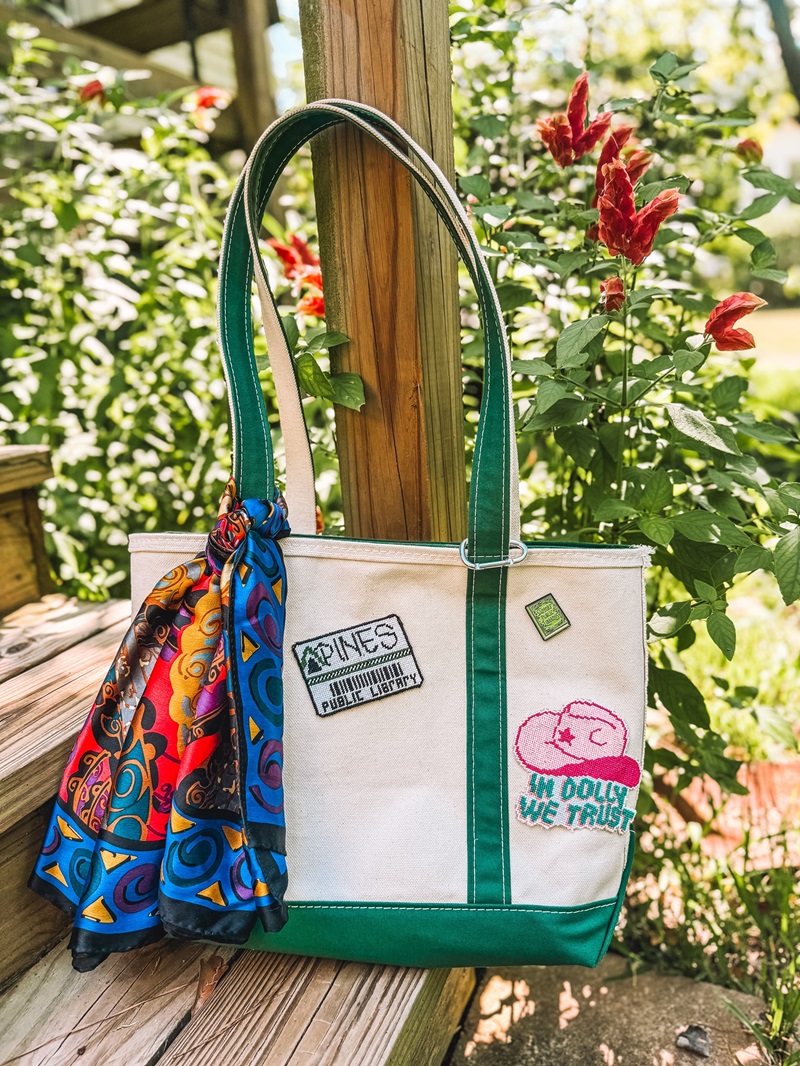
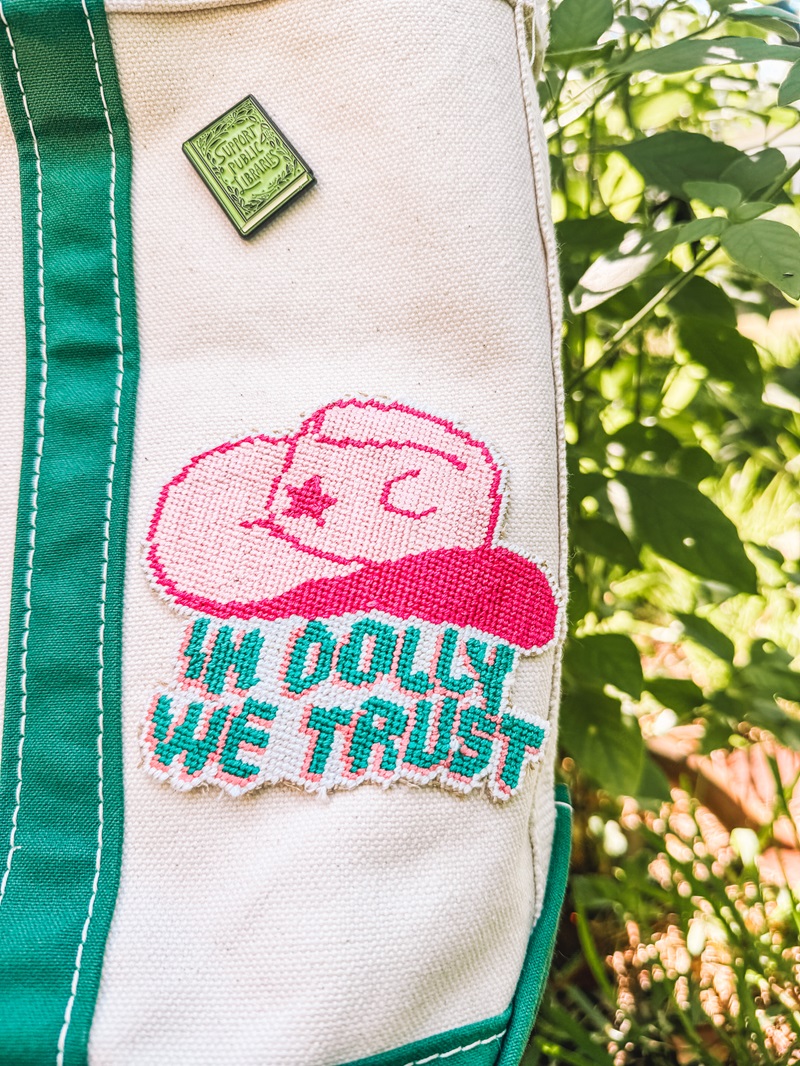
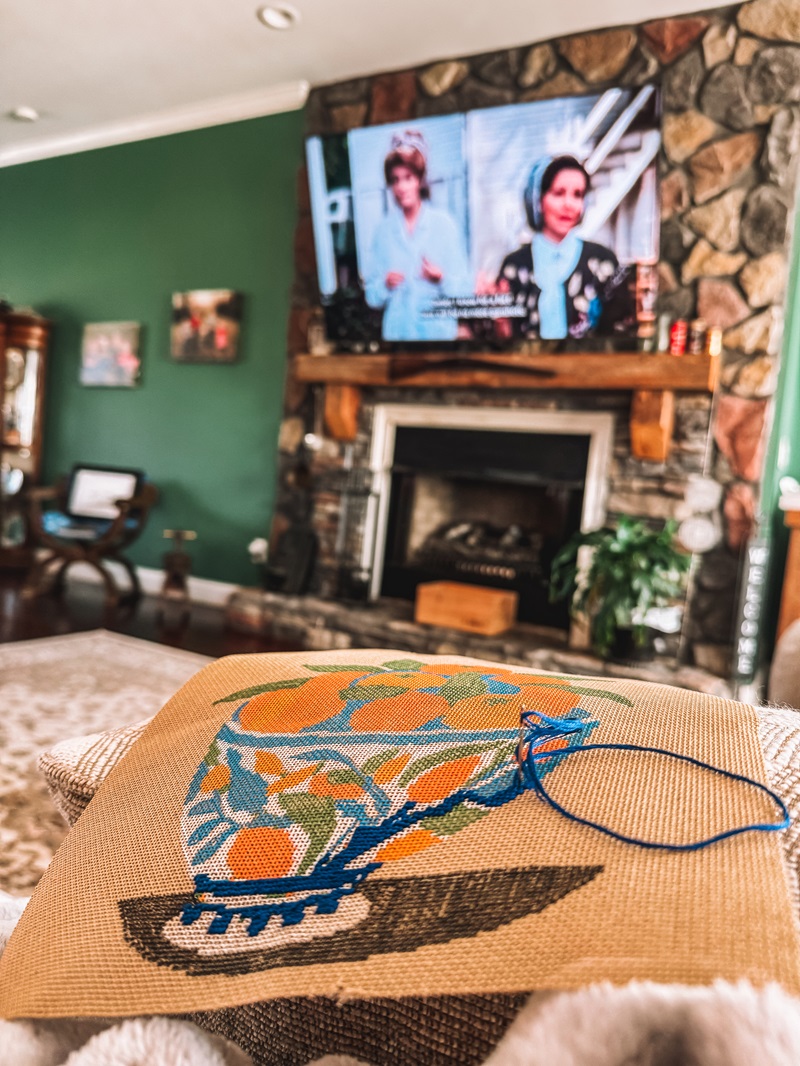
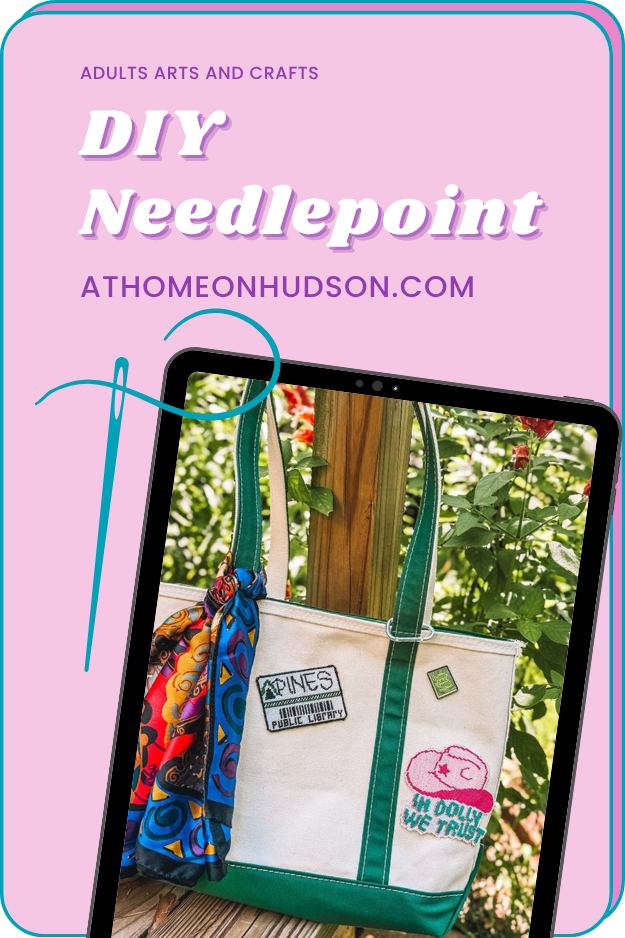
You’ve probably seen it on things like ornaments, bookmarks, pillows, or keychains. I am currently knee-deep in creating boat and tote patches, and I am obsessed! Don’t look too closely at the edges of each patch 😬
What You’ll Need to Start DIY Needlepoint
You don’t need much to get going. Here’s the basic list:
- Needlepoint canvas (commonly 10, 13, or 18 mesh; I prefer 18 mesh myself, which is the smallest and hardest, naturally)
- Tapestry needle (blunt-tipped so you don’t poke yourself). This is wholly dependent on the size of the canvas mesh you use. If you are using 18 mesh, get a size 22 needle!
- Yarn or Flossing Thread (cotton, wool, or even silk or velvet, depending on the look you want.) I personally use DMC floss from craft stores since it is the cheapest, and I think it is best for beginners. You can then move up to higher quality silk threads if that is your vibe.) I started off with a cheap multipack on Amazon! This one has 124 colors for $10!!
- Design (either pre-made or DIY)
- Scissors – these small, sharp ones will do the trick!
Other things you may want for your DIY Needlepoint, but are not required:
- Magnetic needle minder. This is where you place your needle when you are not working on your project. Just pin it directly on your canvas and voila. There are just so many cute ones, but I love the book stack one!
- A seam ripper for removing stitches more easily
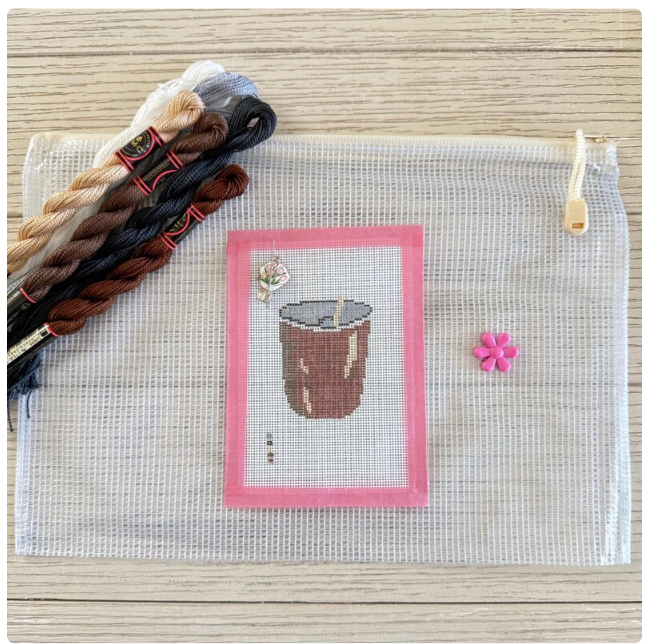
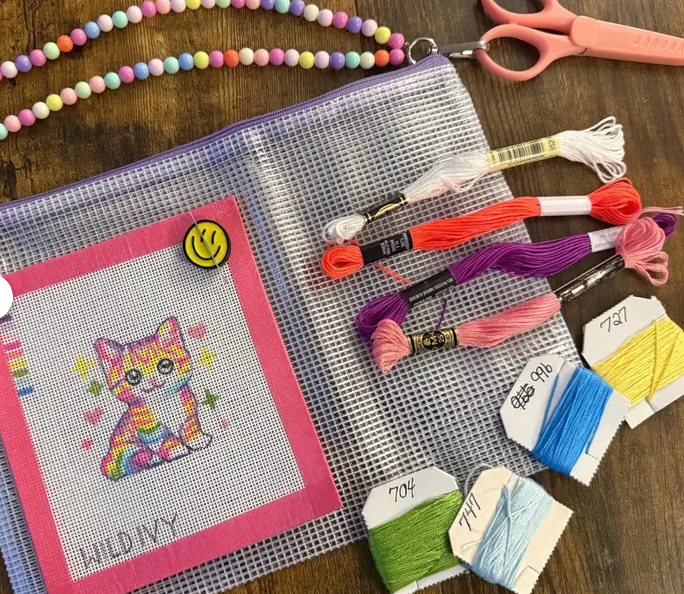
- Project bag. I find that having one small bag per project keeps the threads from becoming a mess and using the wrong color by accident!
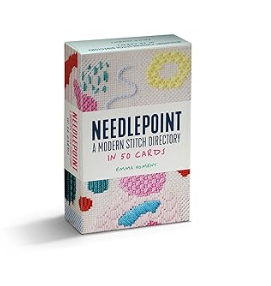
- Needlepoint Stitch Directory Cards for different stitch varieties
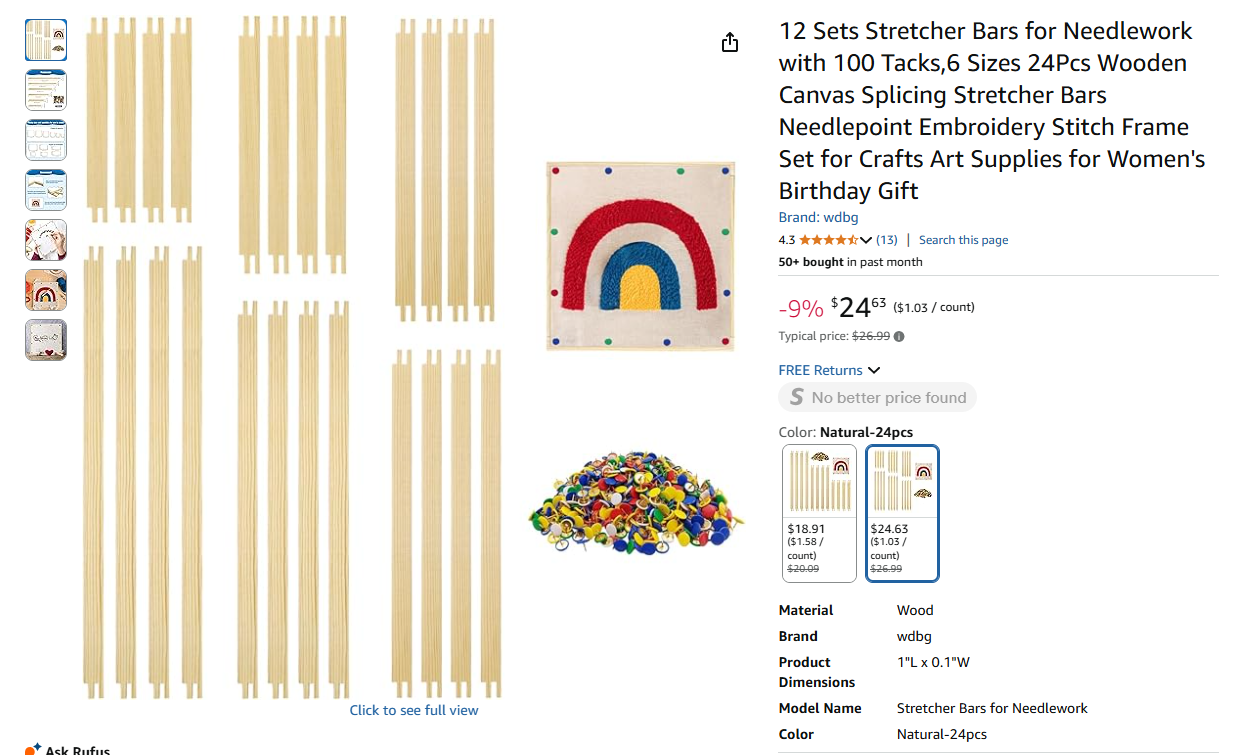
- Needlepoint frame (to keep your canvas tight – kind of optional since I have yet to purchase one)

The canvas and the design are usually the most expensive parts, which is why making your own can really cut down on cost.
How to Make Your Own DIY Needlepoint Canvas
Let’s talk about the fun part: making your own DIY Needlepoint canvas from scratch.
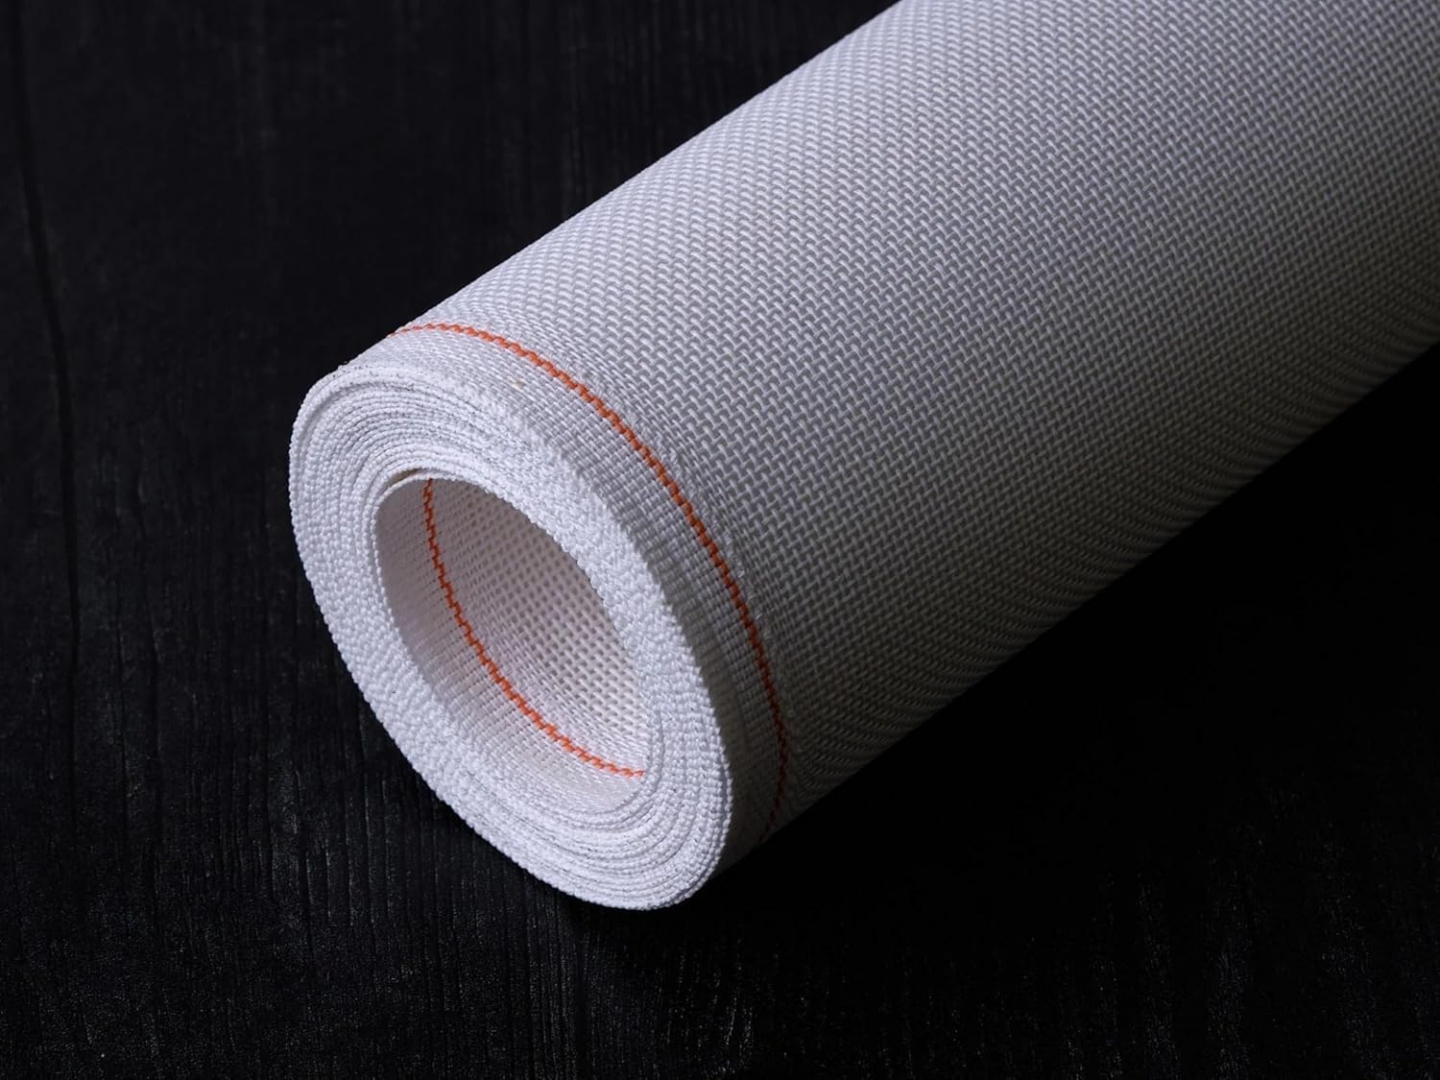
Step 1: Get the Right Canvas
Buy a piece of blank mono needlepoint canvas. You can find it online or at most craft stores, although I have not had much luck in stores myself in terms of canvas. For beginners, try 13 or 18 mesh. Lower mesh means bigger holes and faster stitching. Here is the 18 mesh canvas I use personally.
Step 2: Pick a Design
You can:
- Draw something simple on your iPad with Procreate if you have it.
- Use a simple photo or pattern
- Freehand and let the creative juices flow.
Start with something simple like stripes, flowers, or letters. Nothing too detailed your first time.
Step 3: Create a Stitch Pattern online
I use Stitch Fiddle, which had a bit of a learning curve, but it is FREE, and once you figure it out, I think it is so great.
- Go to StitchFiddle.com and click “Create a New Chart.”
- Choose “Cross Stitch” as your craft type.
- Select DMC as your thread brand.
- Pick your design option:
- An empty chart to draw your own pattern
- From picture to convert clip art (stick to simple designs with minimal colors)
- Change the fabric count to match your mesh size (e.g., 18-count Aida).
- Adjust the maximum number of colors to control detail and complexity.
- Set your chart size to the preferred width and height.
- Click “Save Chart.”
- You can continue editing certain areas of the canvas and tweaking after saving. I find that I always need to edit because it doesn’t quite get the curves/colors right.
Step 4: Paint or Mark Your Canvas
When it comes to needlepointing, especially when using the continental stitch as a beginner, you are stitching over the cross sections of the canvas mesh. Keeping that in mind, I will learn from my mistakes. Carefully color the cross sections of your canvas using a marker or paint. If you go the paint route, try not to glob on too much paint, or it’ll clog the holes and make stitching harder. Let it dry completely before you start stitching.
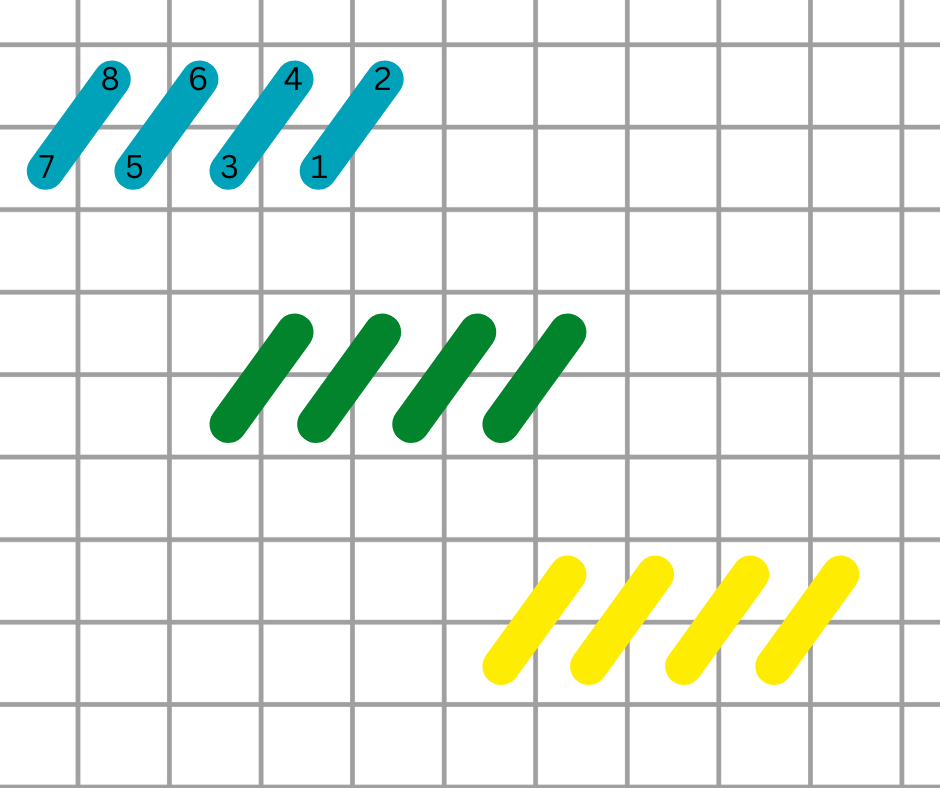
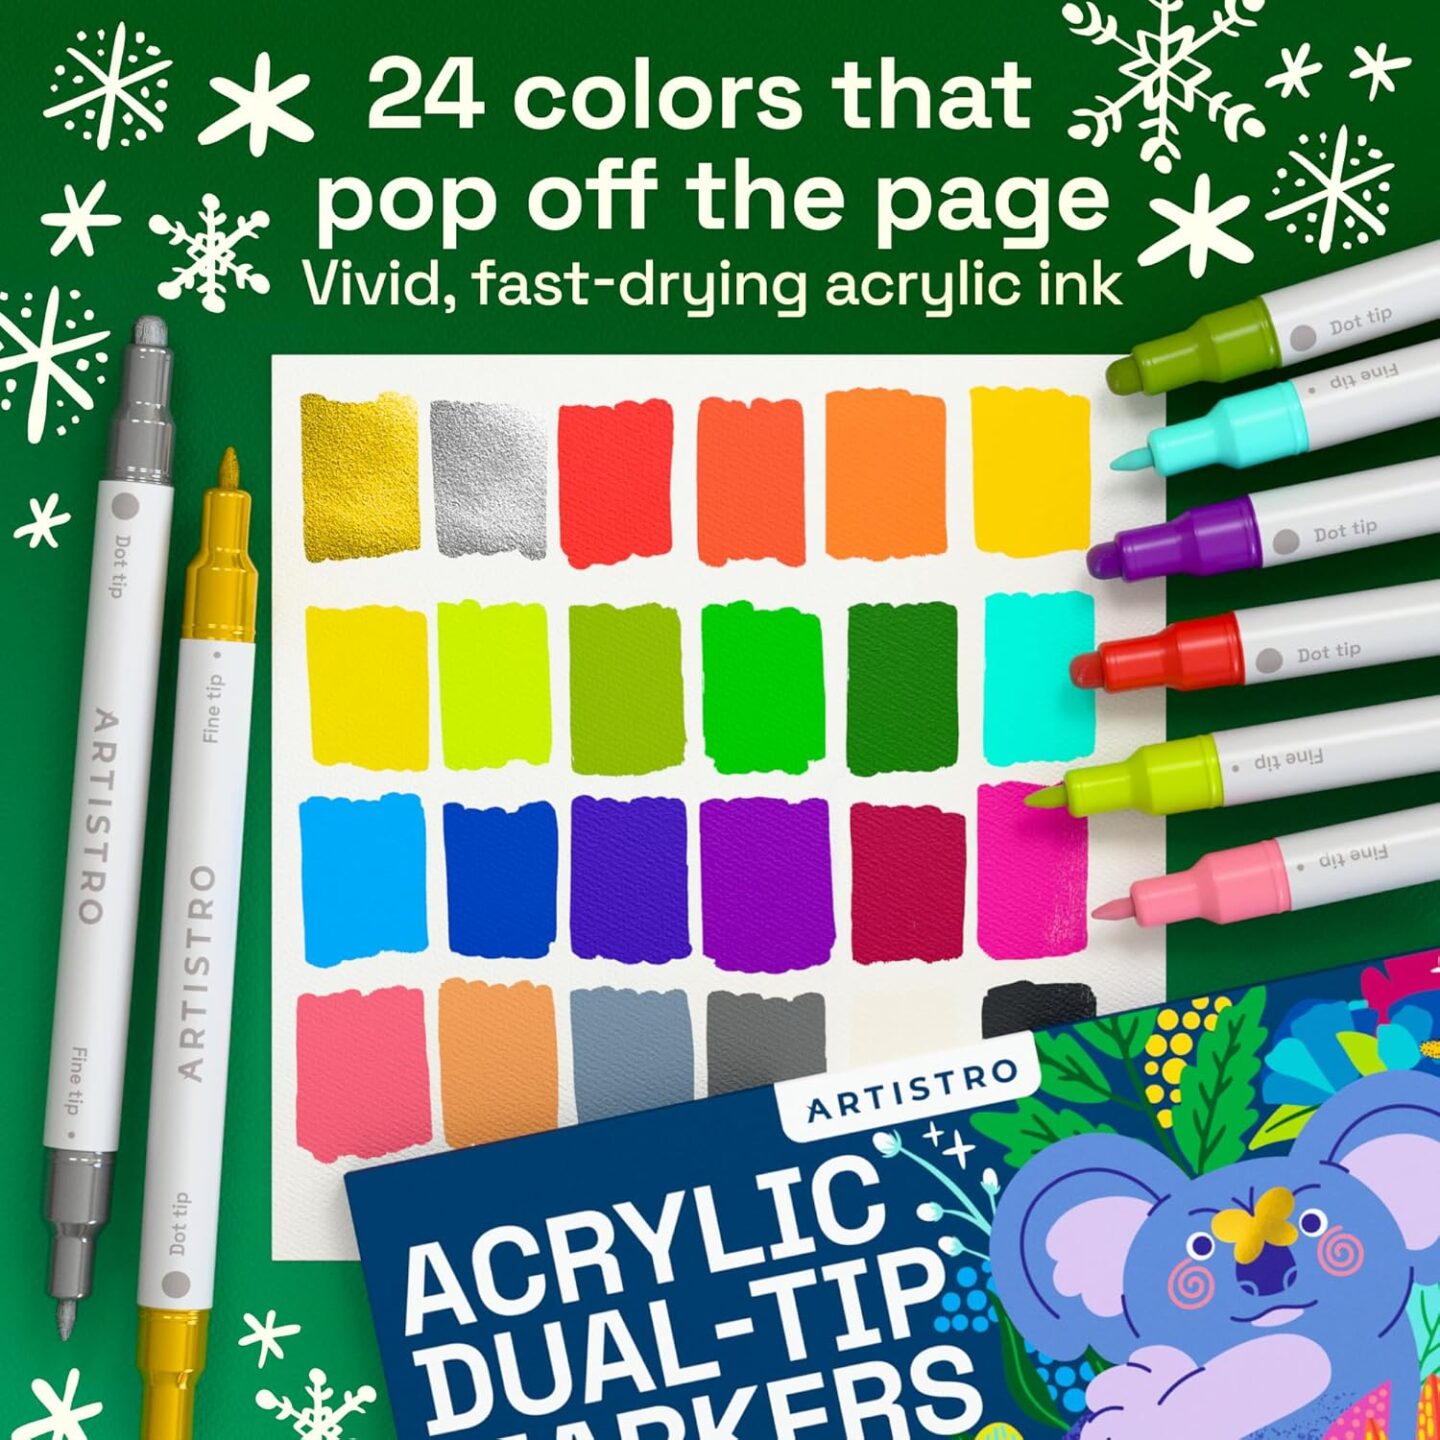
I highly recommend you use acrylic markers with dual tips because they are so much easier, in my opinion, than using paint! Something like these markers is a dream to work with. I count the # of stitches and listen to an audiobook as I create my canvases. I think creating the canvas is half of the fun! The colors may not match exactly to the color you need, but I find that in the end, that makes no difference because at least on 18 mesh, the thread is very dense.
Sami Says: Use the fine tip for majority of the work and the dot tip to fill in the spaces.
Once you have your design complete, head to the craft store and go grab some thread. I honestly don’t know how to tell you how much thread of one color you need. Without fail, I almost always over-purchase thread because I don’t want to run out. I guess the more you do the craft, the better you can estimate how much you need.
Why Make Your Own Canvas?
There are a few good reasons:
- It saves you money
- You get to make something totally unique
- It adds another layer of creativity to the process
Plus, it’s just fun.
If DIY Needlepoint just sounds overwhelming, don’t fret. There are tons of kitted beginner kits out there that are a little expensive but give an idea if this is something you want to stick with before you jump headfirst into a new hobby.
Helpful Tips for First-Time Stitchers
- Keep your thread short (about 18 inches) to avoid tangles
- Don’t pull your stitches too tight or too loose
- Use the “waste knot” method to anchor your thread when starting out
- Be patient. It takes a bit to get the hang of it, but you’ll improve with every stitch
Needlepoint doesn’t have to be perfect. Just keep going and enjoy the process. And when you add in the extra satisfaction of making your own canvas, it becomes even more special. It’s a great way to slow down, disconnect from your phone, make something with your hands, and maybe even create a gift that someone will treasure. So grab a blank canvas, sketch something out, and give it a try. You might surprise yourself with how much you enjoy it.
Thanks for reading! If you found this helpful, feel free to save it for later or share it with a friend.
📌 Pin the image below to keep this post handy!

The cool aunt. Plant novice who loves to travel to cool places, eat unadventurous food, and take pretty photos.
Find me on: Instagram
