
Back in August, my brother-in-law mentioned to me that his great-aunt was moving out of her home and they were going to hold an auction for most of her furniture online. I decided to give it a quick browse in case there would be something I could use for my house. Going from a small apartment to a ~1850 sq ft house, just know I was lacking in a LOT of items. Boy howdy, am I glad I did check it out, though!
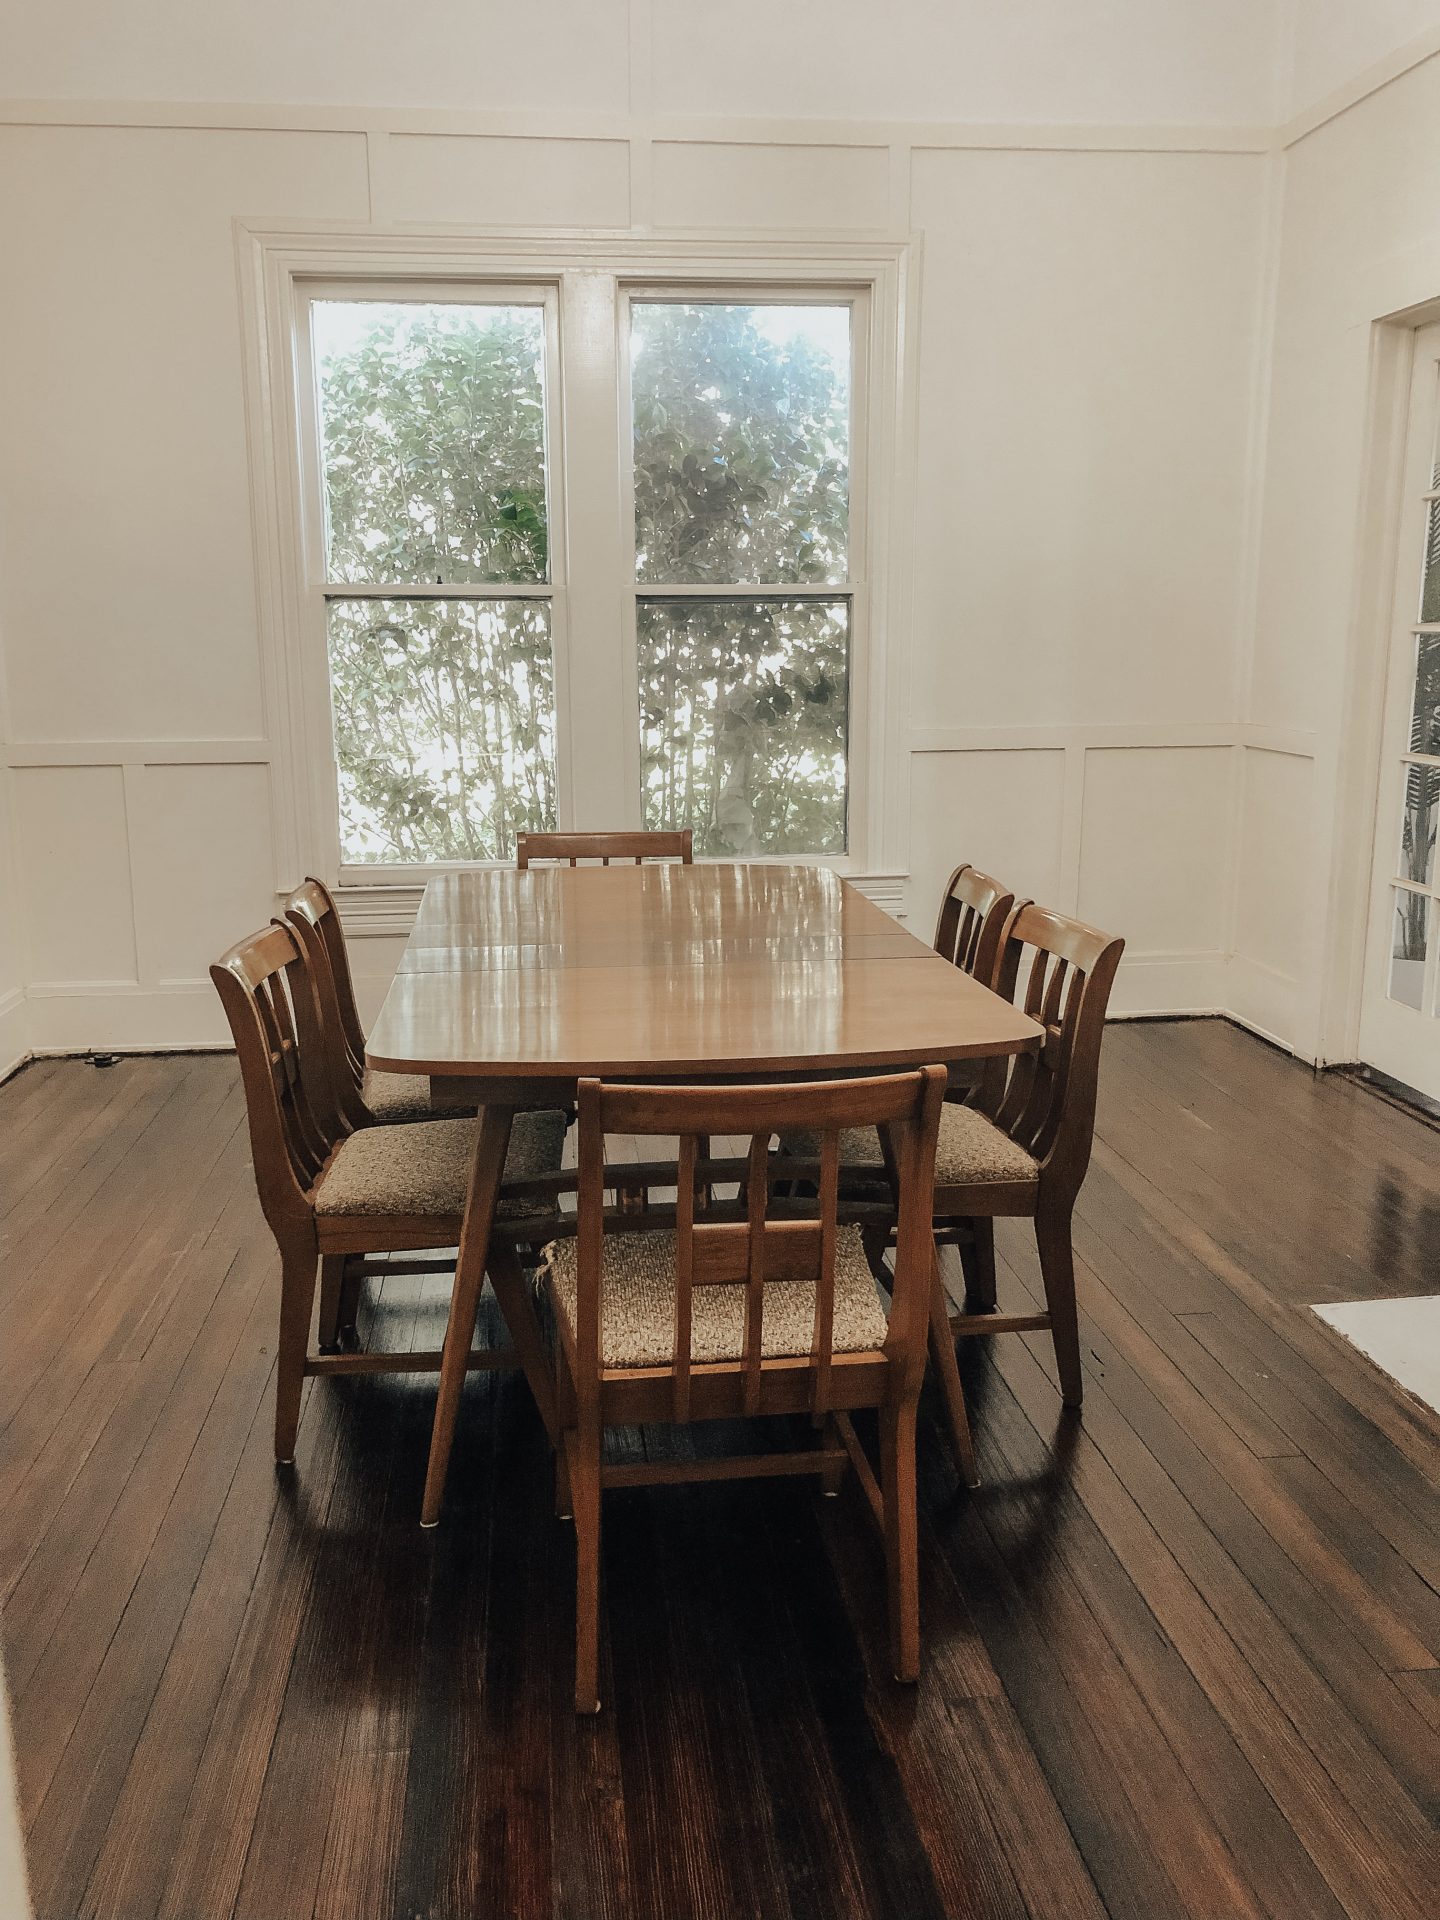
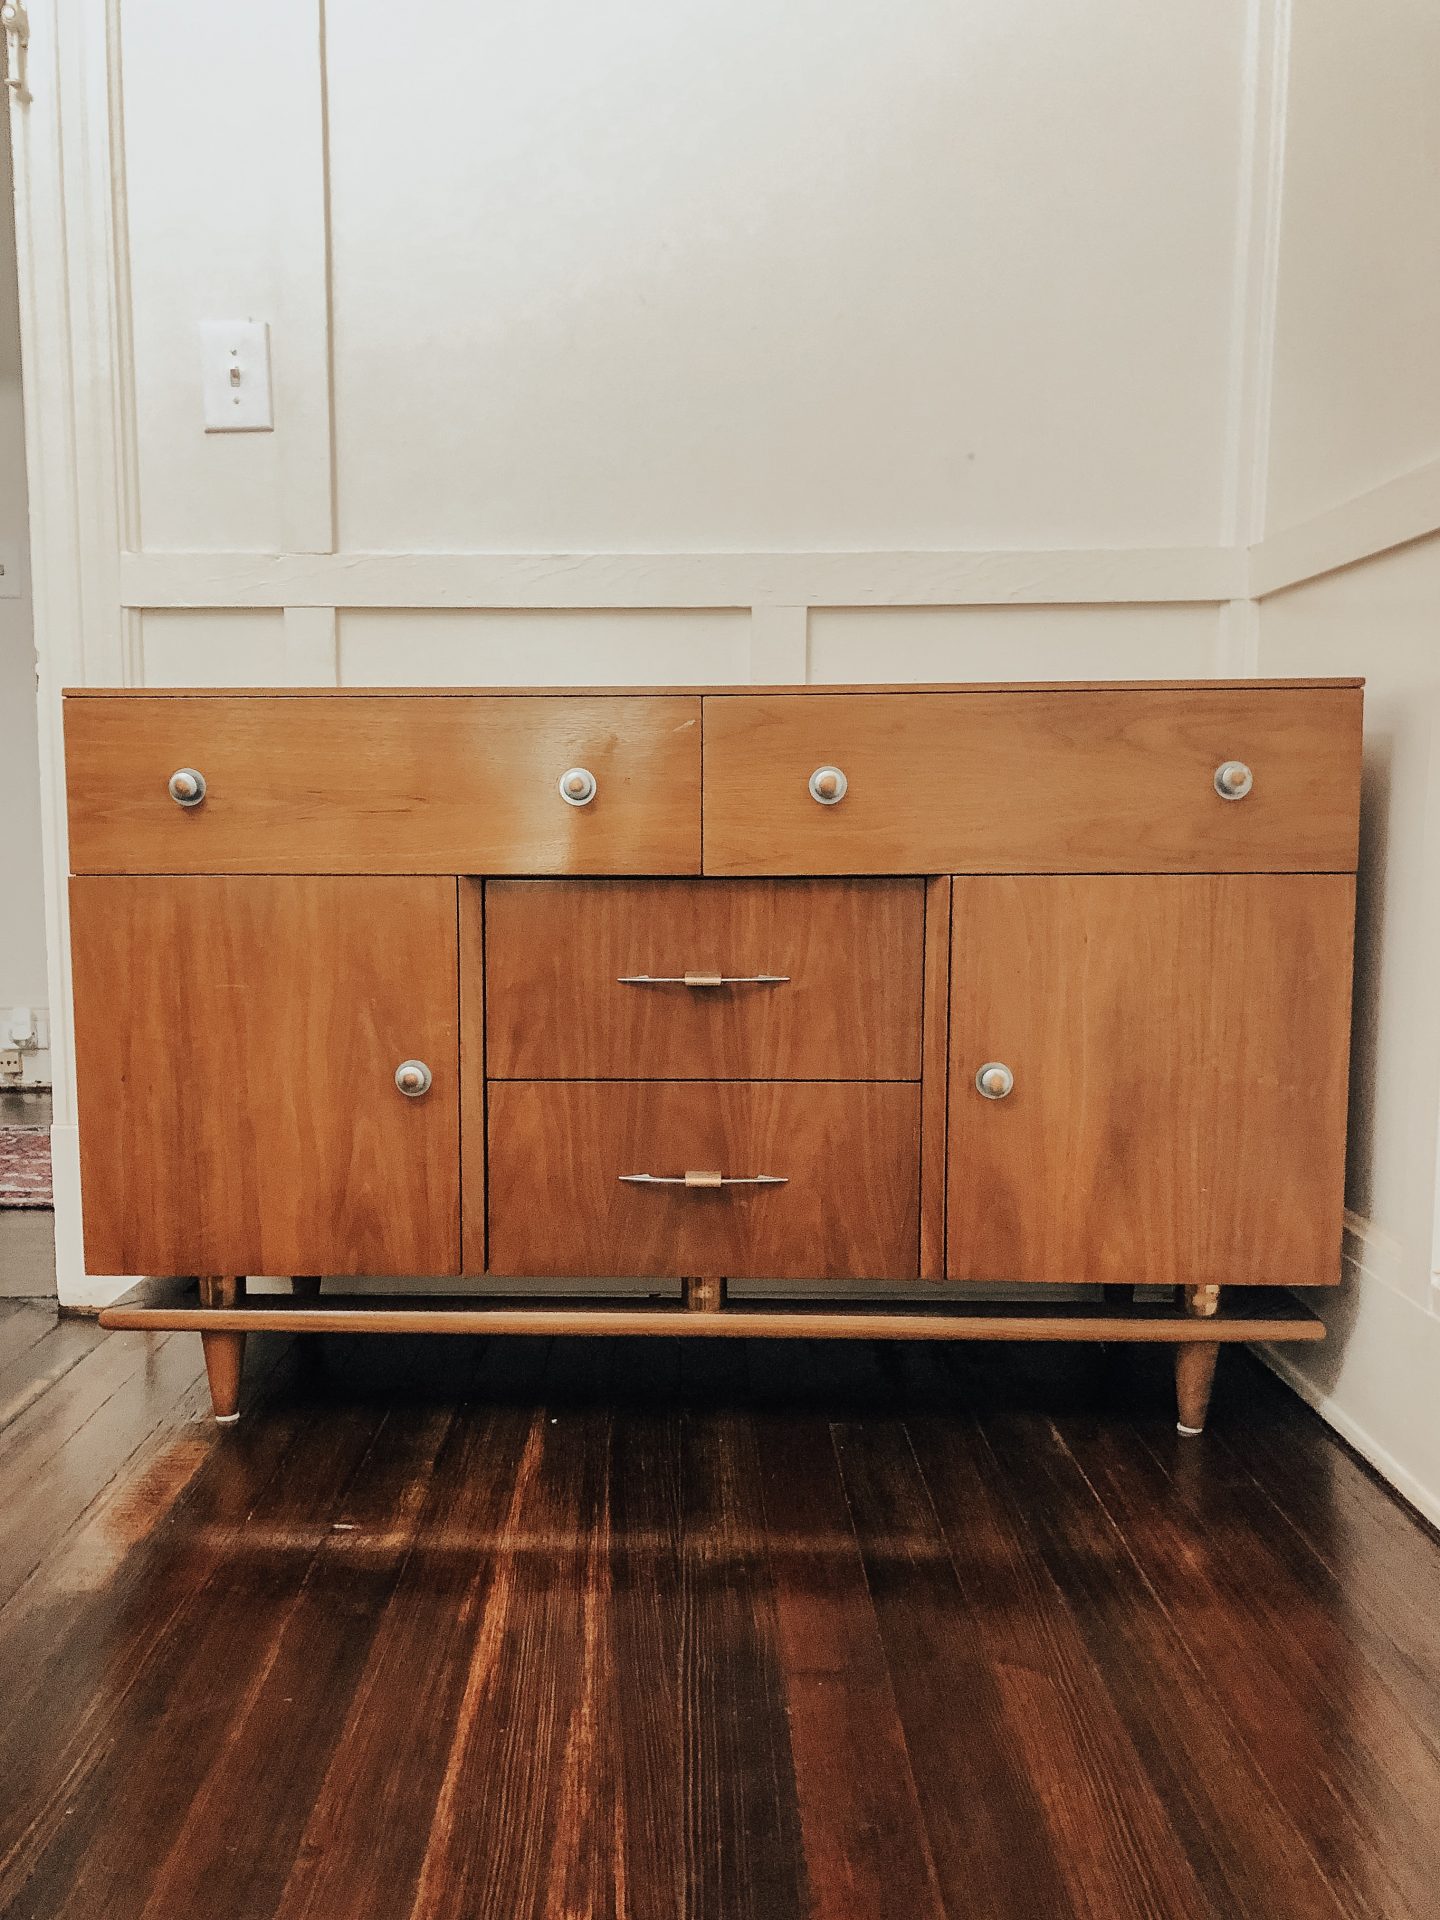
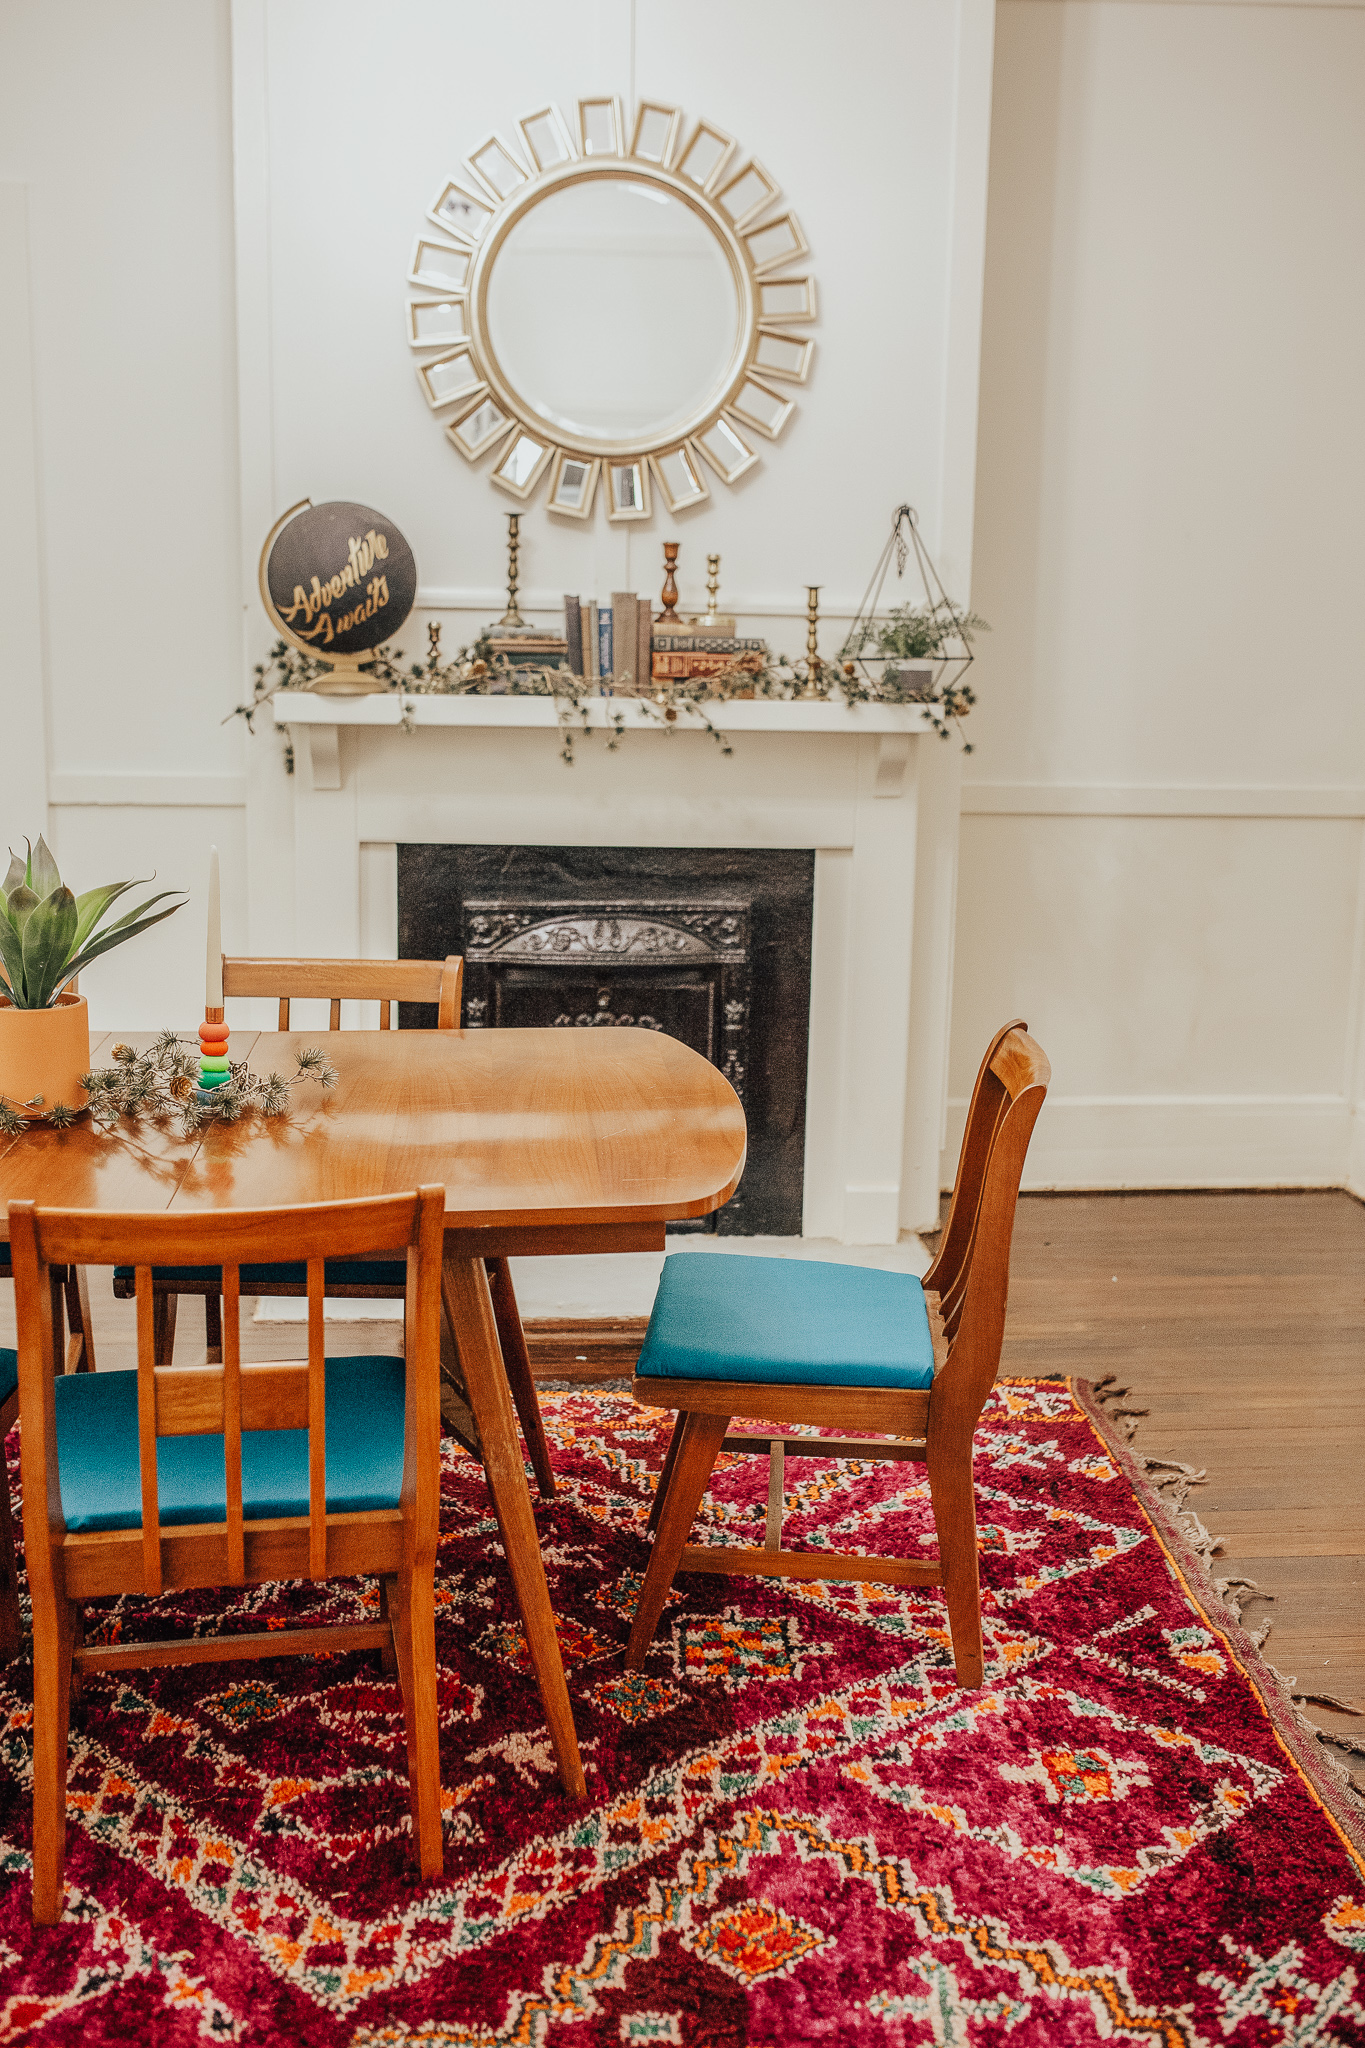
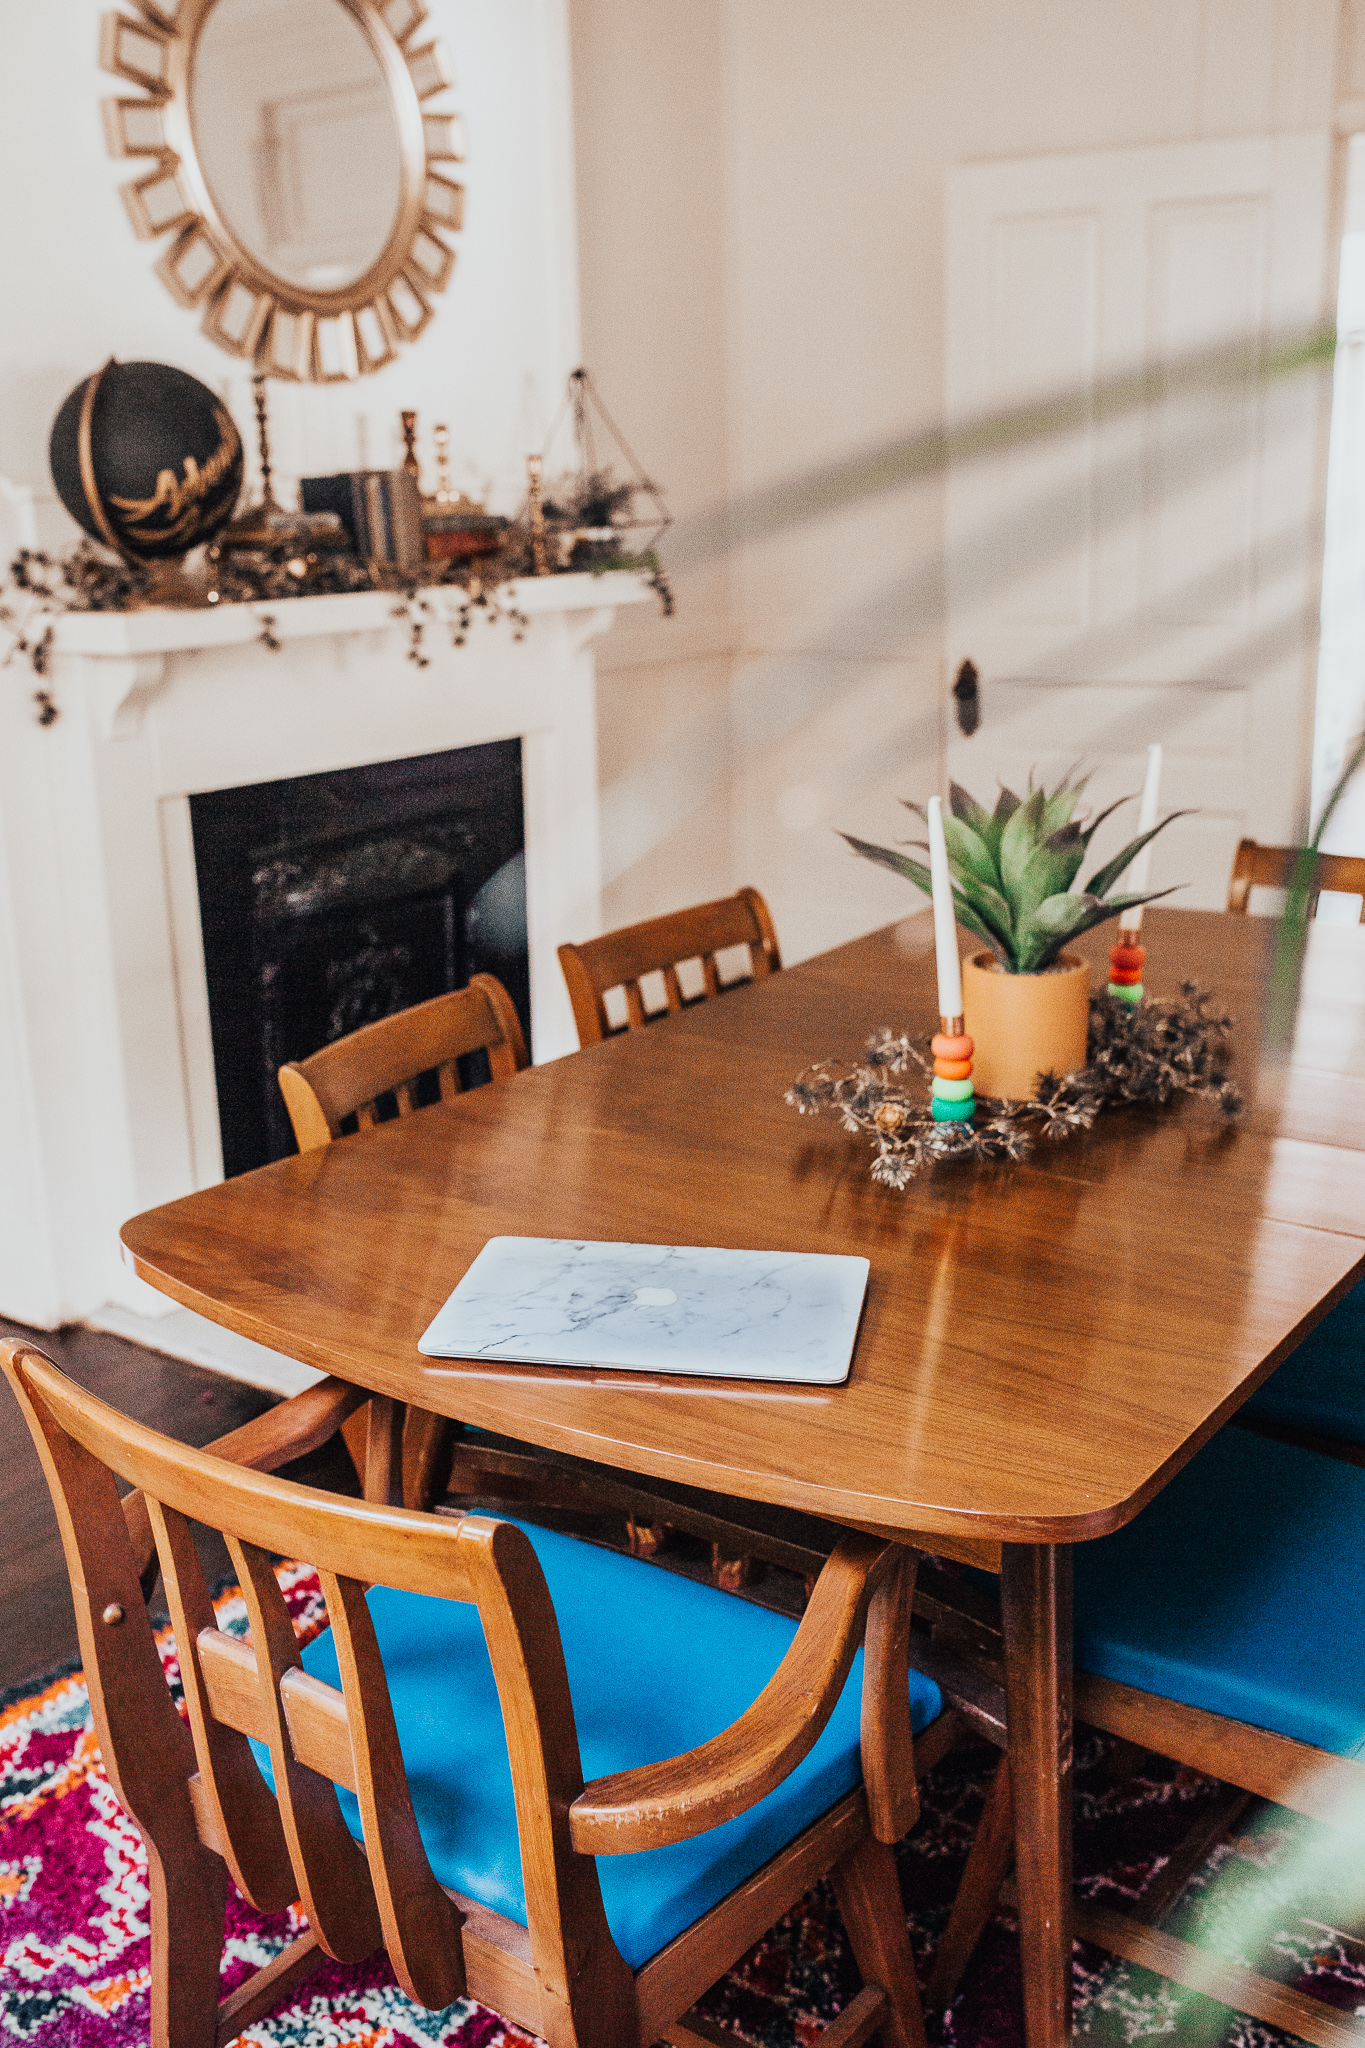
After scouring the many pages of items listed, I immediately saw this amazing mid-century modern (my guess based on the style since I don’t know the exact date), 6 chairs, and matching buffet and began drooling figuratively. I knew these would be perfect in my empty dining room.
*knuckles cracking*
*deep stretching*
So began my work.
I had such false confidence that I would secure these pieces with minimal effort. I mean, how many people could possibly know about the auction? I bid the $25 minimum on each of the items. The two items sat at those bids for a good 6 days. I was stoked at this incredible deal. Quality furniture for such a low price???
But alas, someone decided to start a bidding war with me on the last day of the auction during the last 20 minutes. Those poor opponents truly didn’t know that I learned my online auctioning skills from my daddy via eBay many moons ago. I bid a time or two above their bid to just let them know I was there but I learned that to truly make a strike and win a bid, you get them right at the last minute. And ya girl won that auction.
CHA-chingggggg.
My bill, after paying tax and my % of auction fees, came to a grand total of $142.83. Yea- I got a deal because this furniture is the REAL deal. Made with real wood, amazing quality, and just lovely.
On another note, as you know from my previous post, I fully believe rugs make a room. And oh my ‘lanta, this gorgeous Moroccan gem looks perfect under my new set as you see above.
Be sure to check out my post about purchasing rugs for your space here!
recovering cushions process
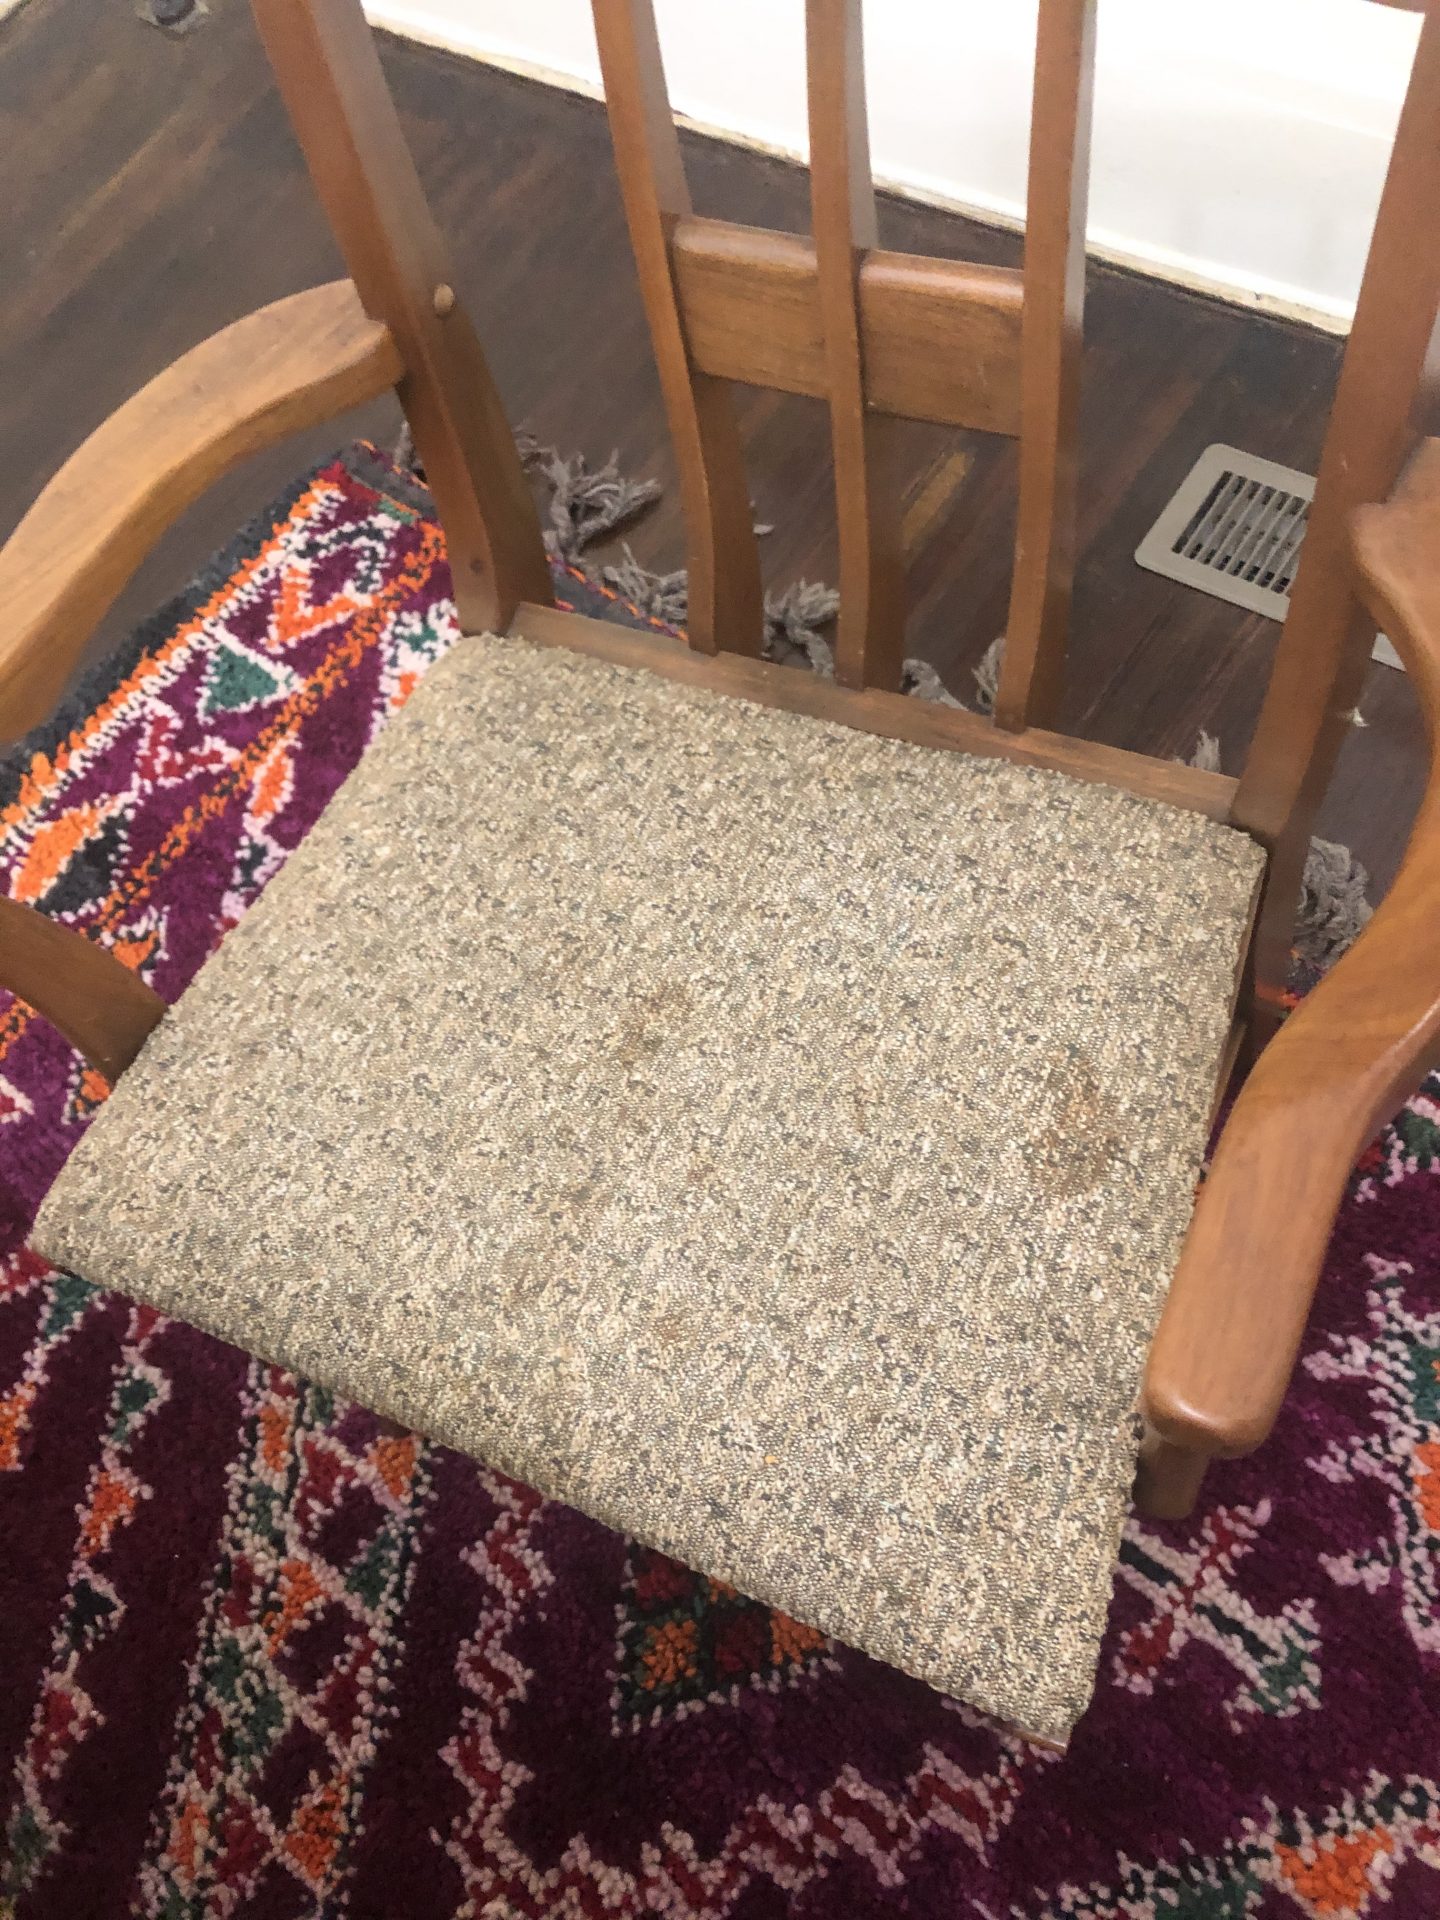
Now onto the purpose of this post- recovering the chair cushions. When I got the chairs, I noticed that there were several tears/rips in the fabric on the seat corners. The fabric was also scratchy, stained, and the seats were very hard! But let’s be honest, my main reason I wanted to make the change was my overall need for pretty and seeing a grand vision in design.
Sorry for the poor quality of this image. This is apparently the only picture I have of the chairs before recovering. ??♀️
FYI- I have 6 chair cushions that are 18 inches at their widest to 15 inches at their narrowest point.
Here is what you need:
- 1 1/2 of the size of your cushion size in fabric x the number of chairs. For my purposes, I got 4 1/2 yards of solid teal duck cloth canvas from Joanns with a coupon. I had PLENTY of fabric which definitely came in handy because I had to do cut out a couple more coverings due to flaws in the fabric that I didn’t notice when we first cut out some of them. You want to choose a fabric that is durable and somewhat resistant to fabric pilling and fading. You may also consider that if you get a patterned fabric, you may need to get enough so that the patters flow in the correct direction.
- My math process (if you care): 18in x 1.5 = 27in x 6 chairs = 162 inches ÷ 12inches = 13.50 ft ÷ 3 = 4 1/2 yards of fabric.
- Enough cushion foam to cover the chair at the widest point.
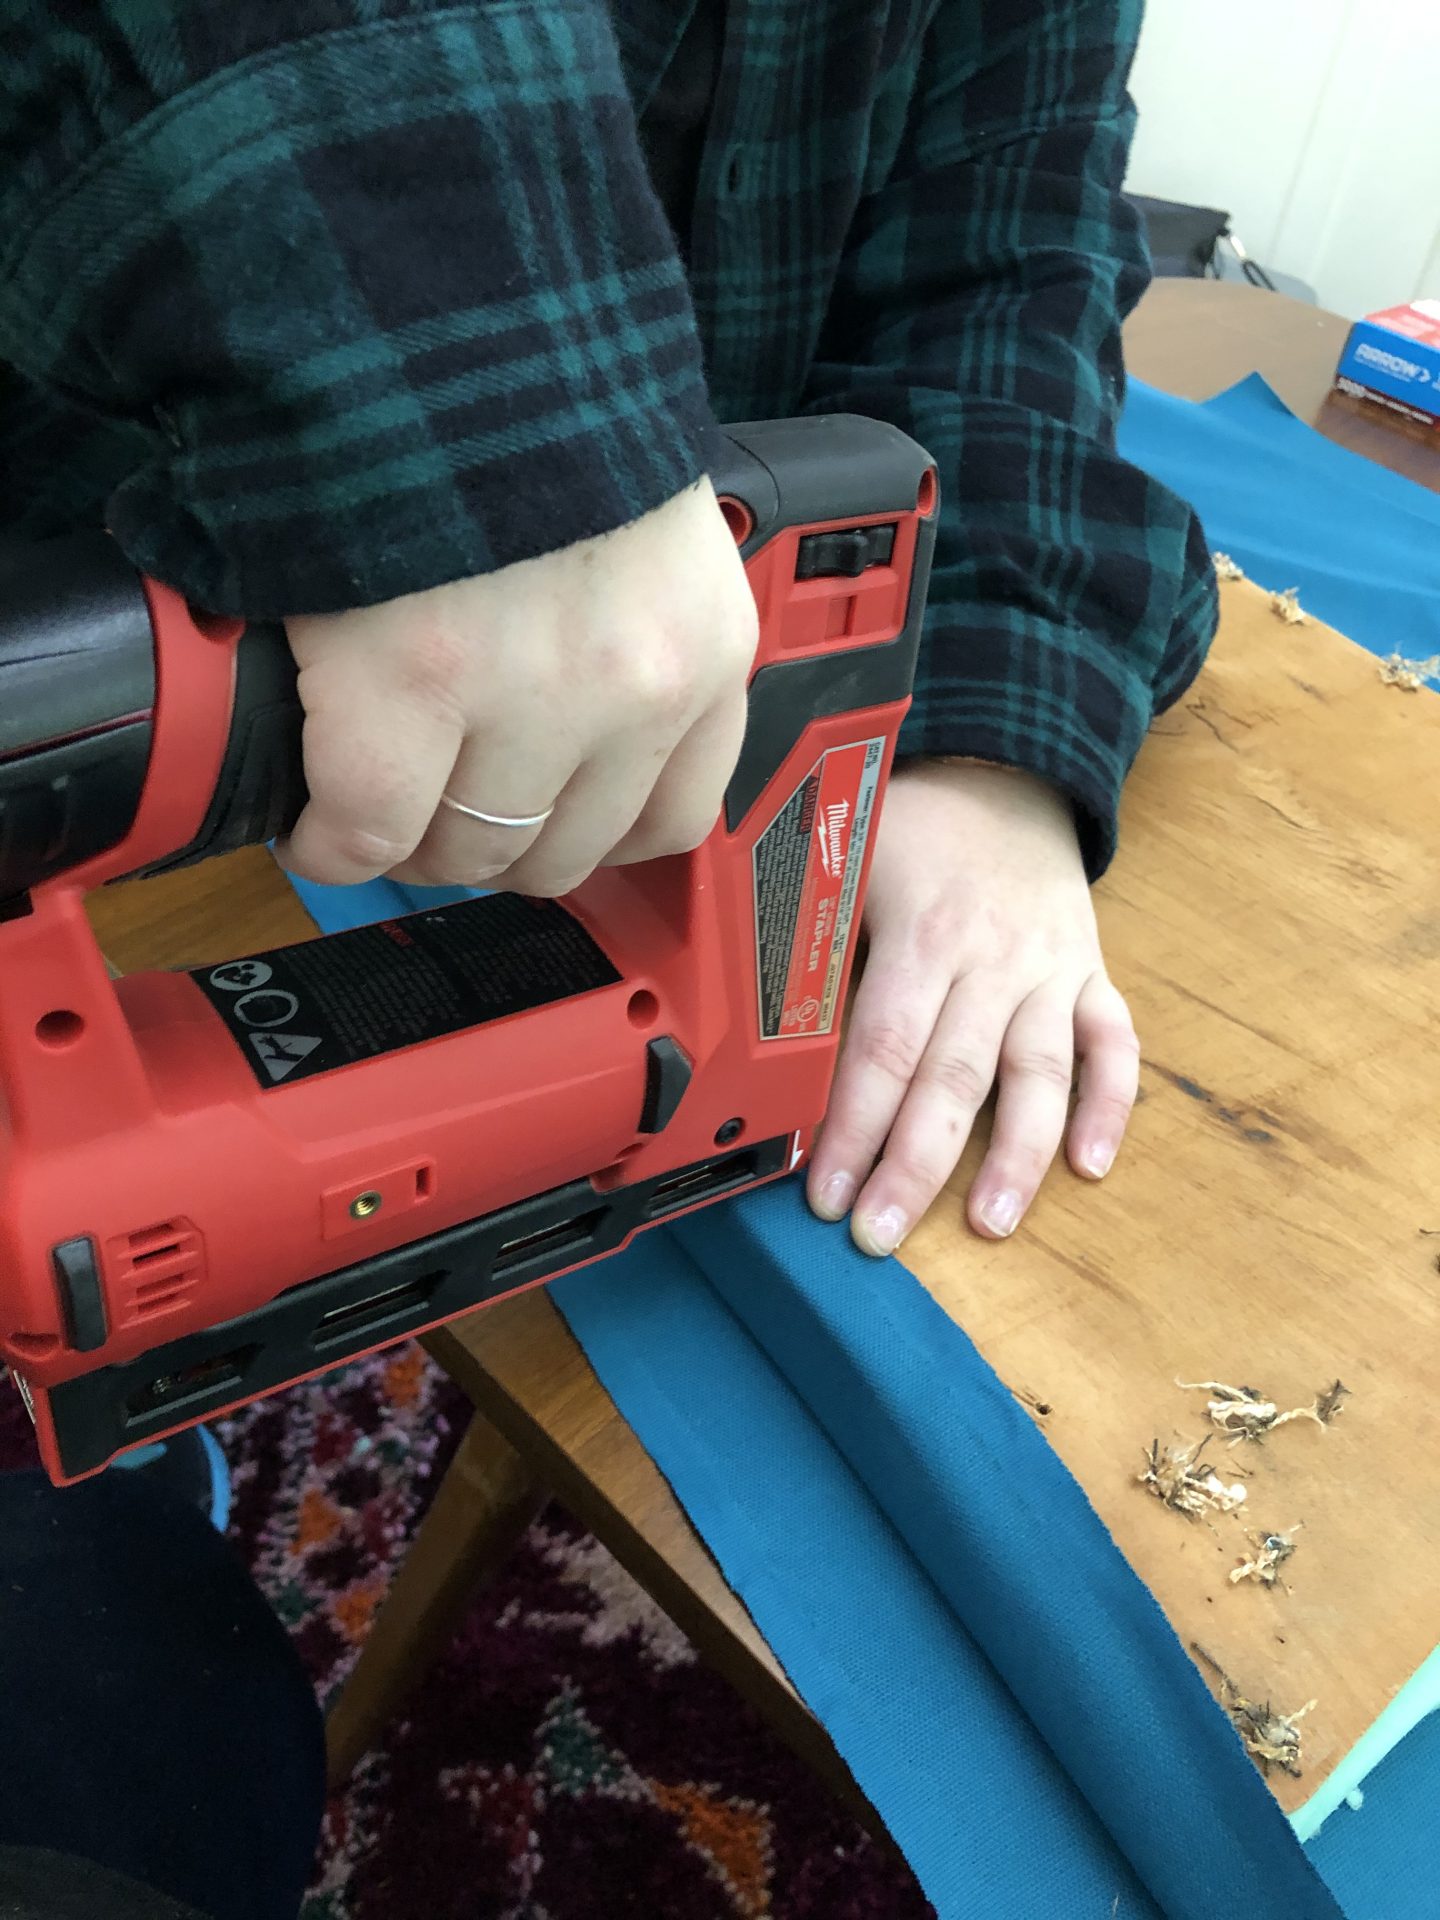
- Heavy duty stapler with extra staples. I used a battery-powered Milwaukee stapler that I promise will make your life EASIER!
Other things you may also need:
- Optional: upholstery batting to smooth out the foam edges and to offer a little extra cushion.
- some kind of tool to remove the old staples. This one may help!
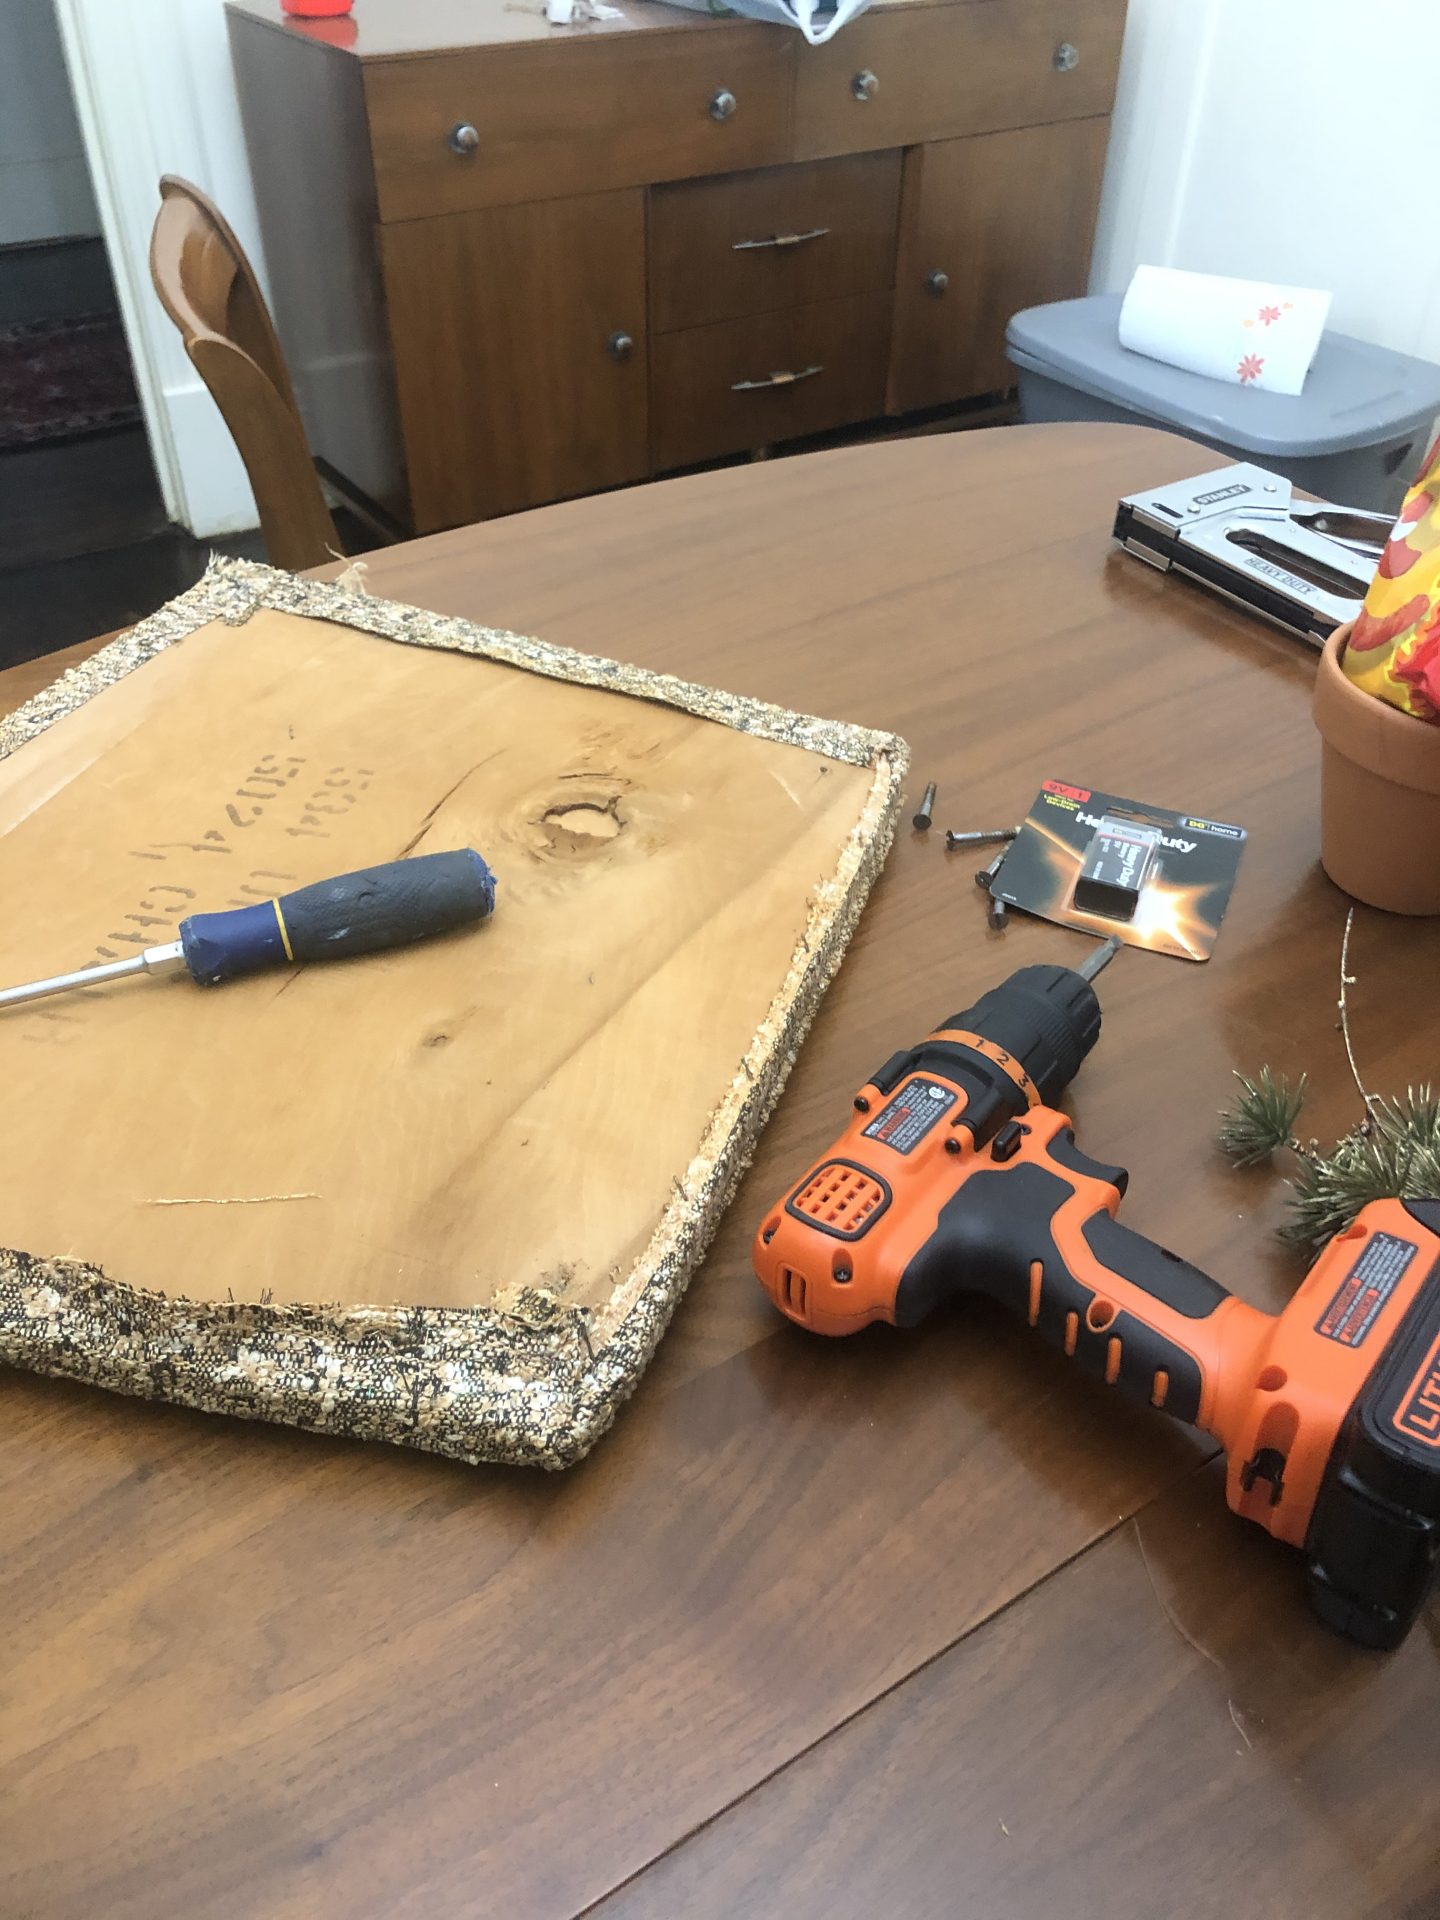
- Screw gun to remove the cushions from the chairs.
Steps for cushion recovering
1. Remove the cushions with your screw gun.
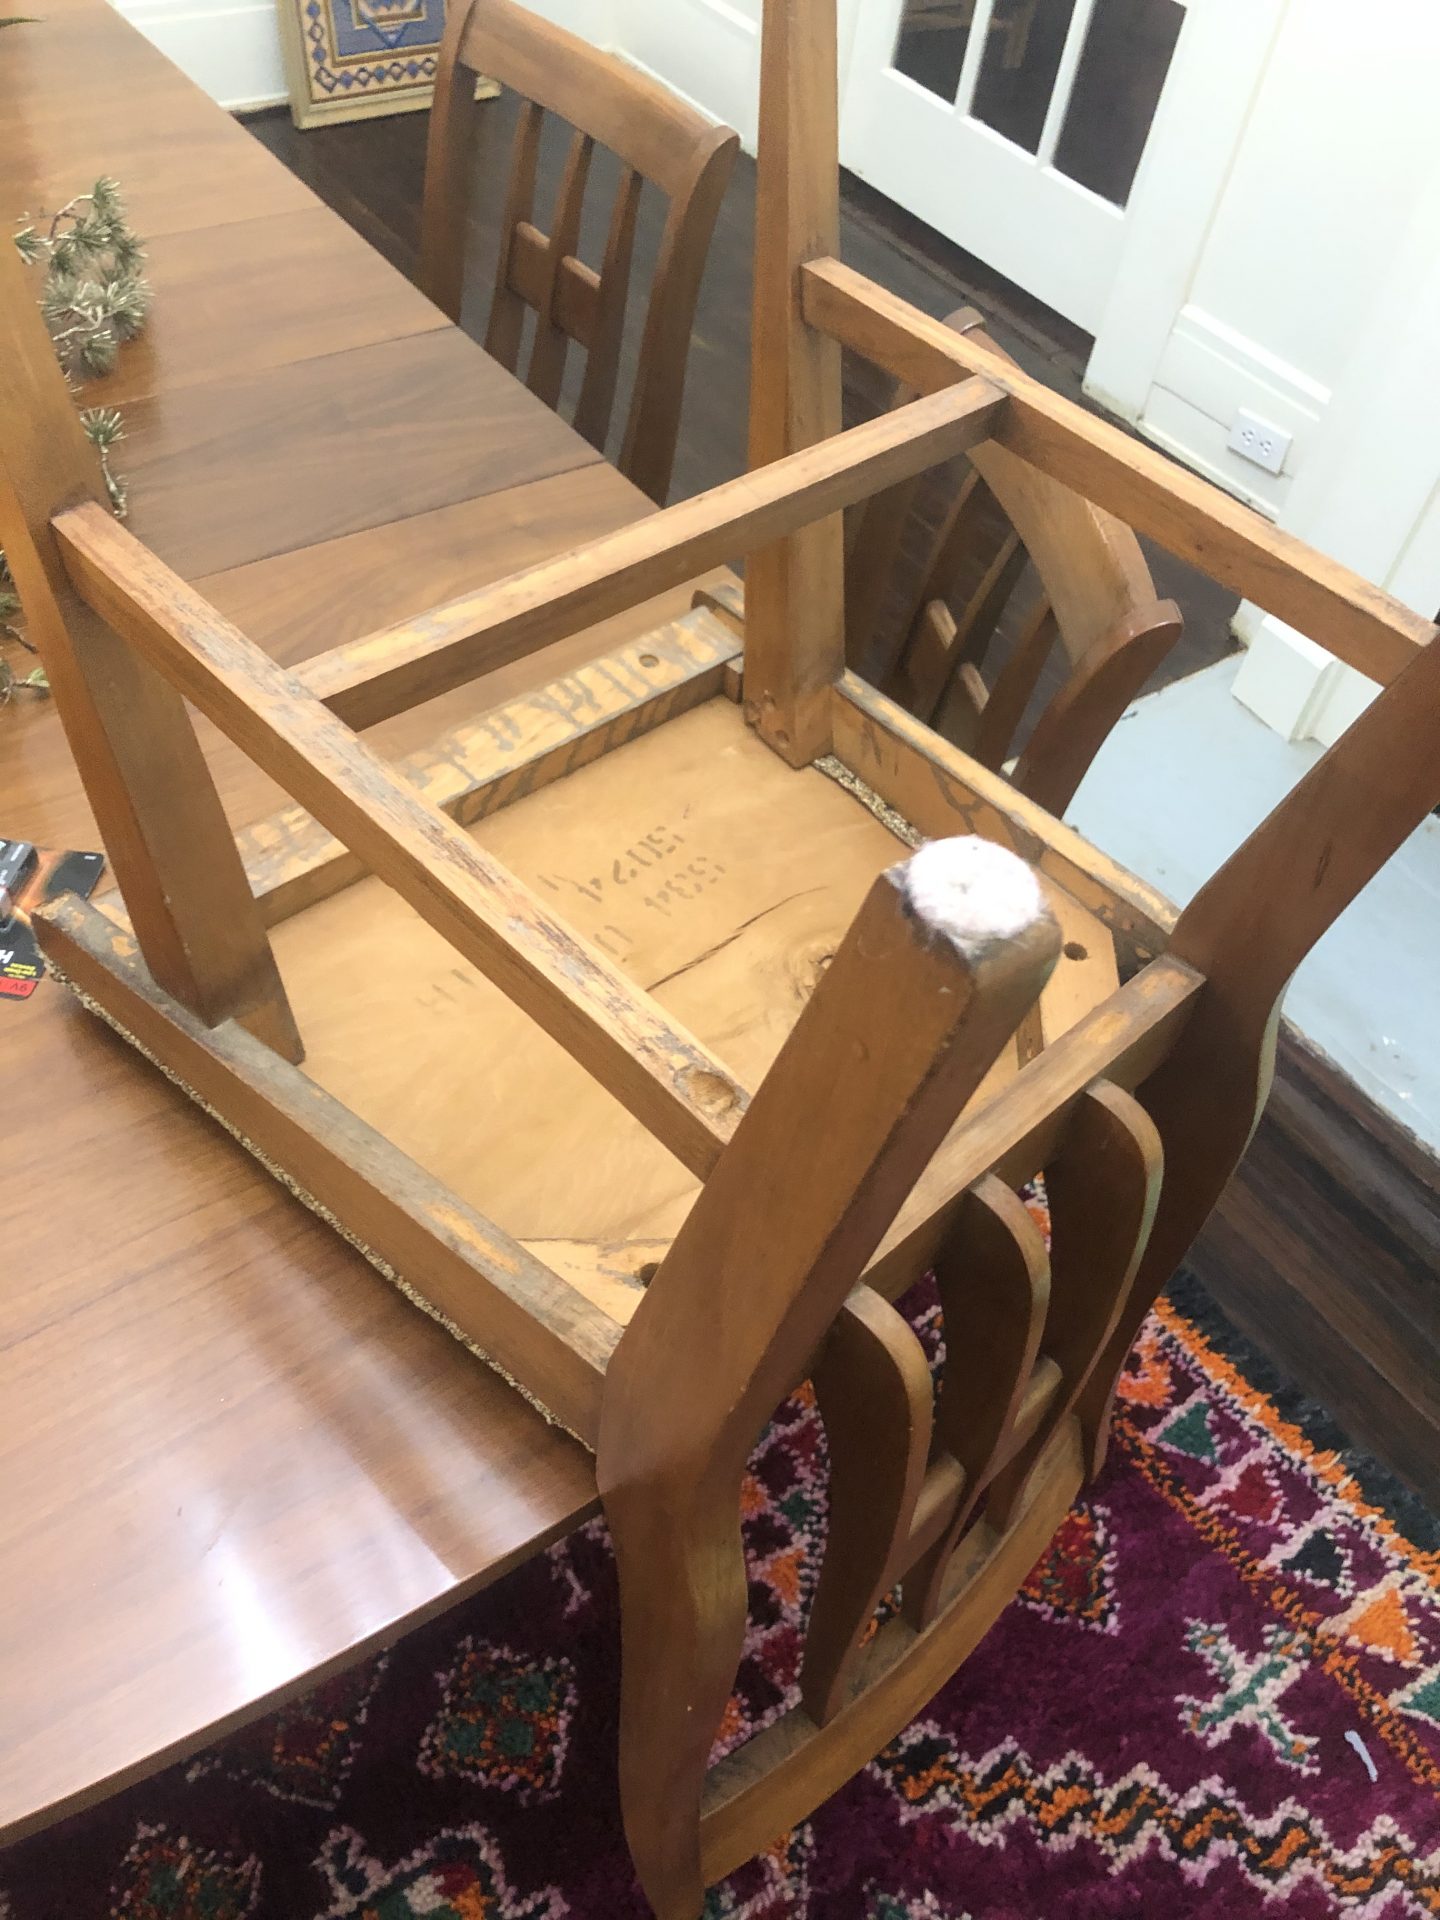
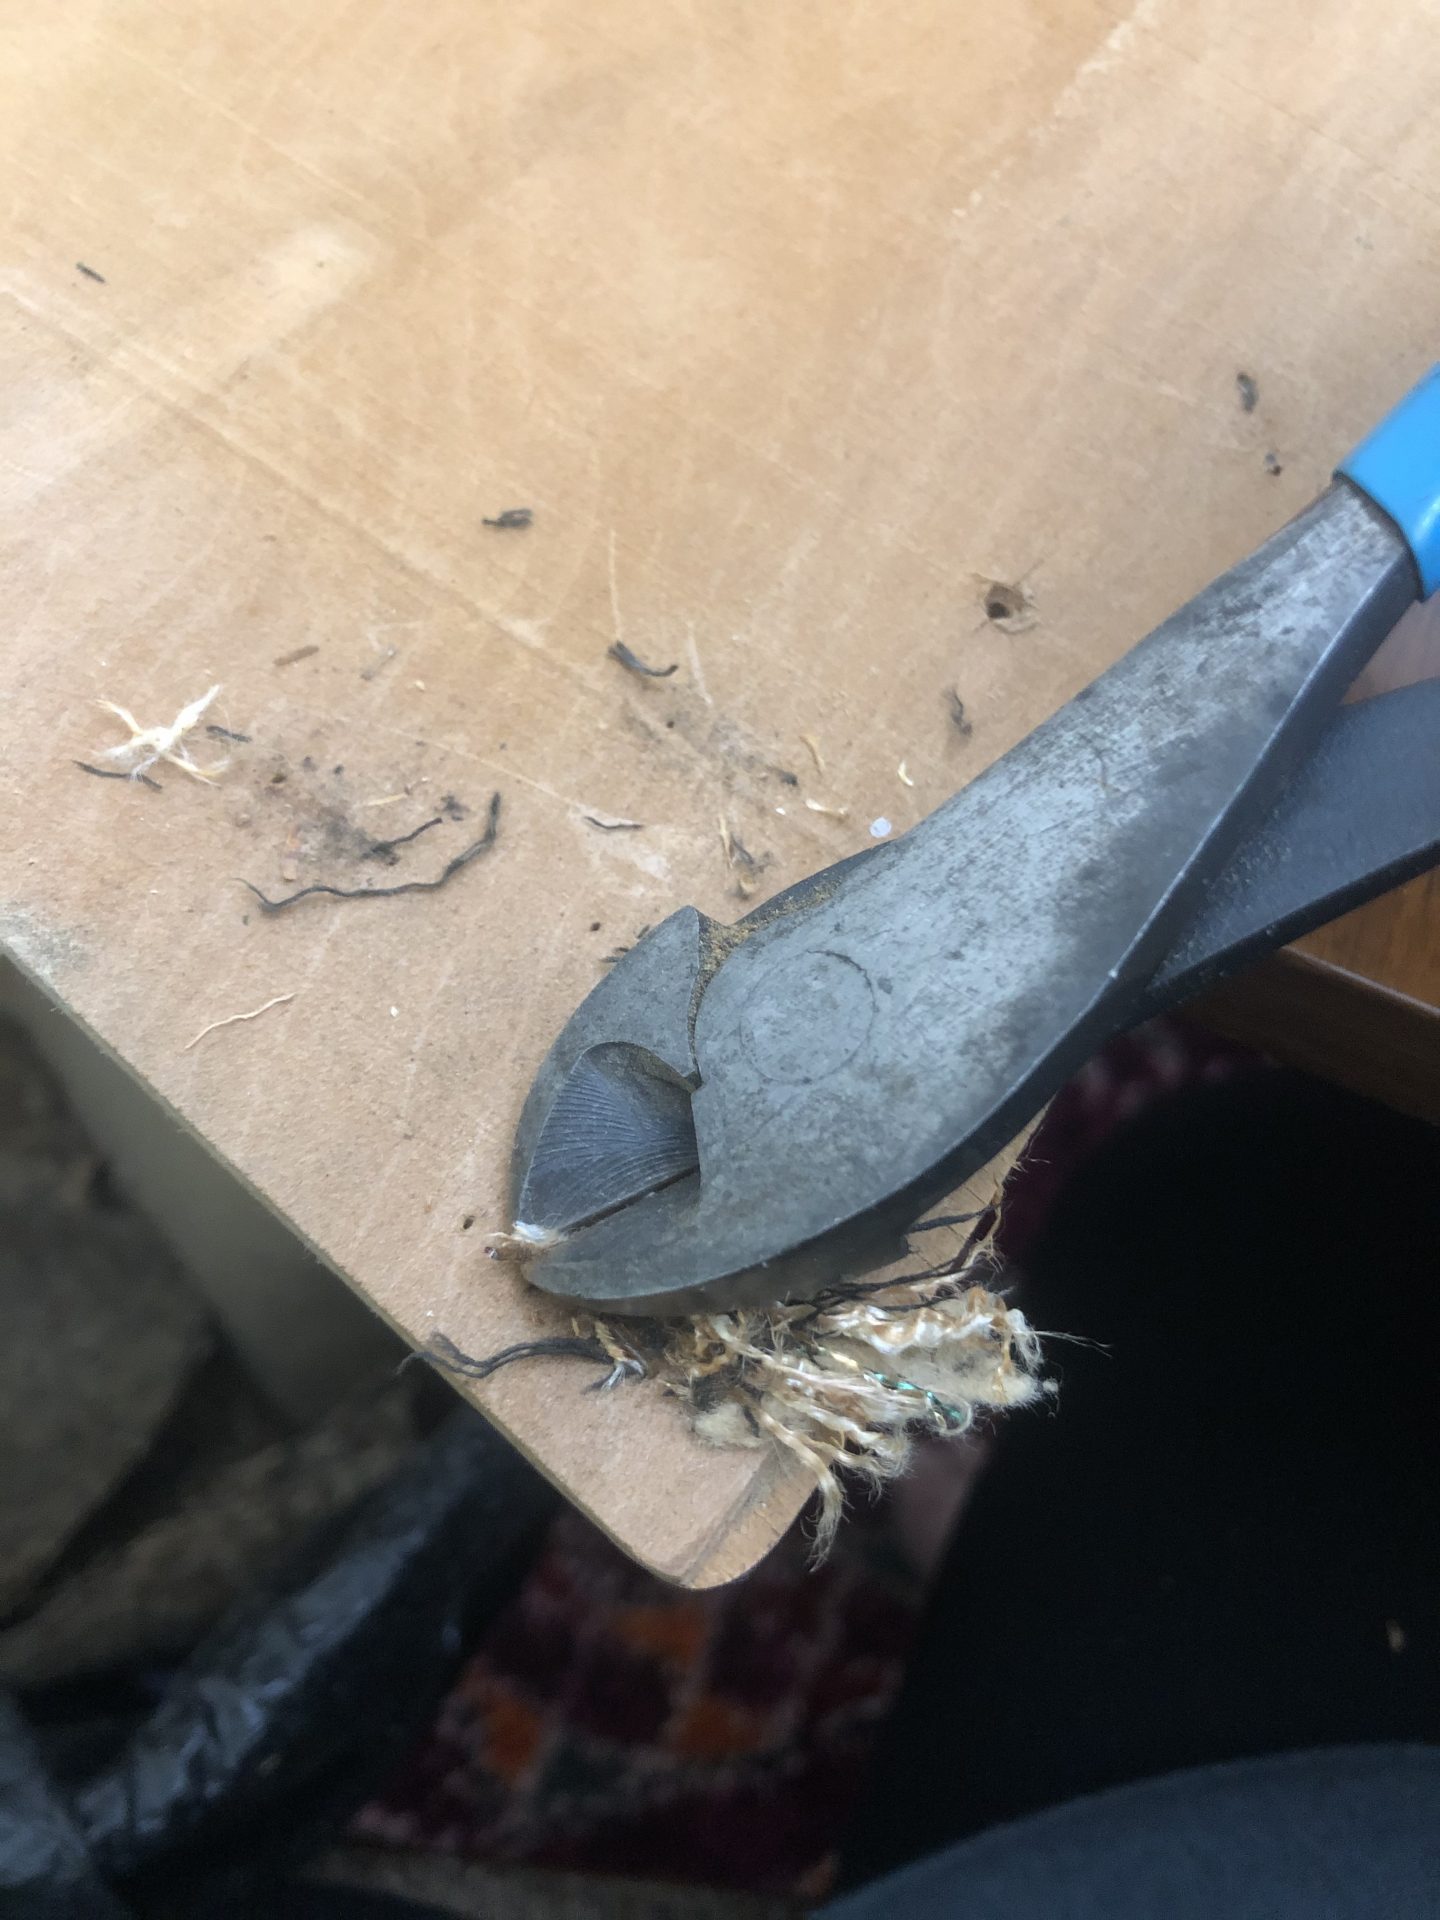
2. Remove the old fabric by taking out the staples. This was hard because some of the staples were rusty and STUCK. I had to cut many of them and pull them out with the pliers below. But I imagine an upholstery staple remover would be ideal.
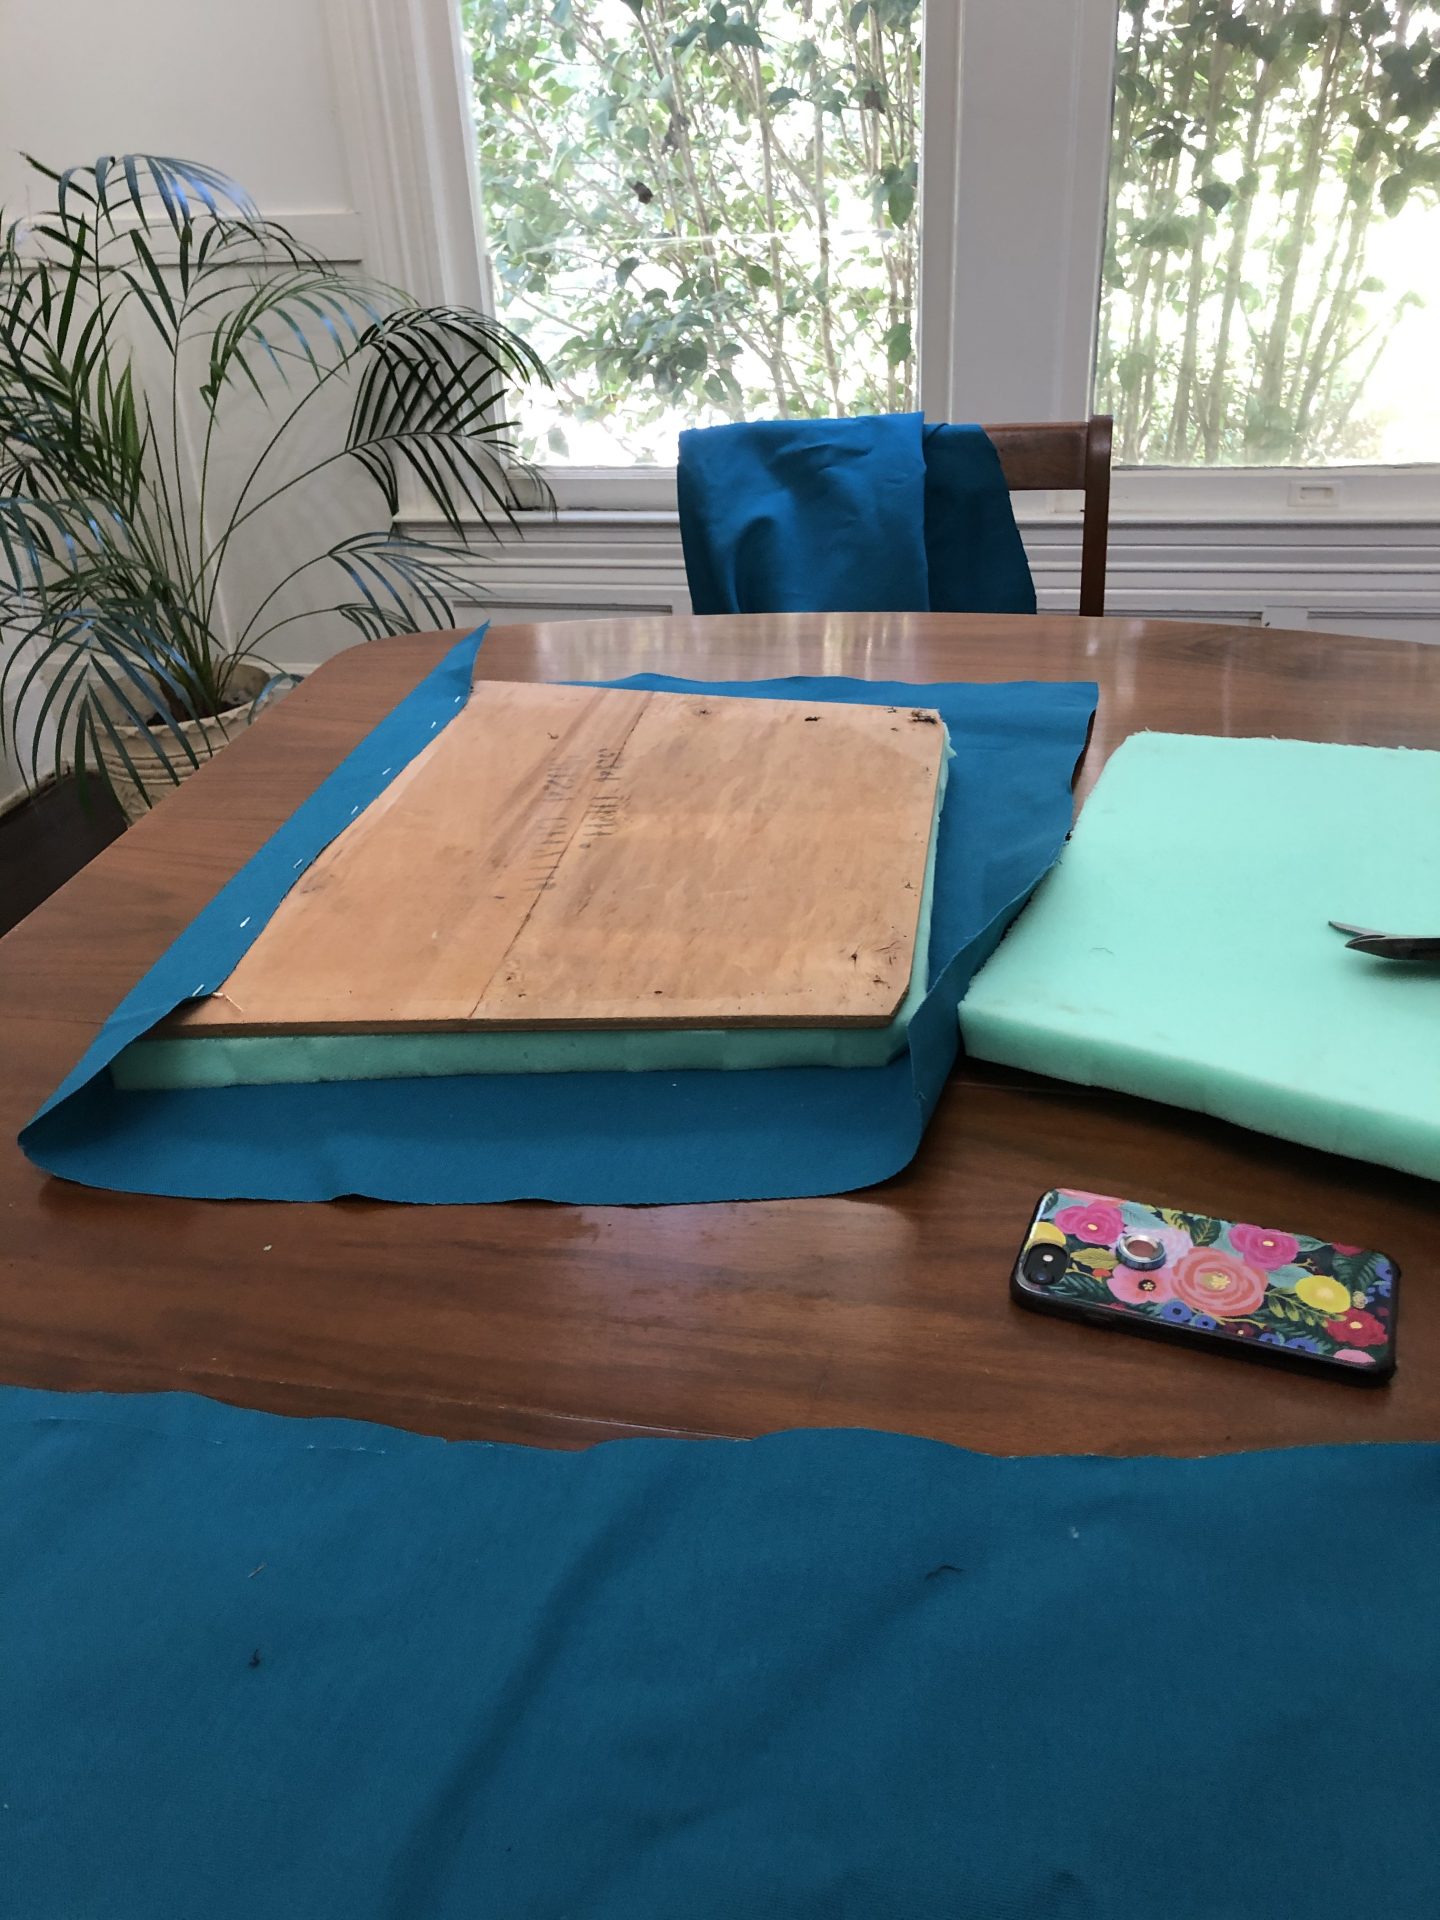
3. Place cushion base on foam and trace your cushion with a pencil. I was able to cut my foam with a pair of scissors!
4. Take cut foam and base and place on fabric. Be sure to cut enough fabric to be pulled up and stapled around foam and base. For my chairs, I left a good 3-4 inch border. It can always be trimmed later!

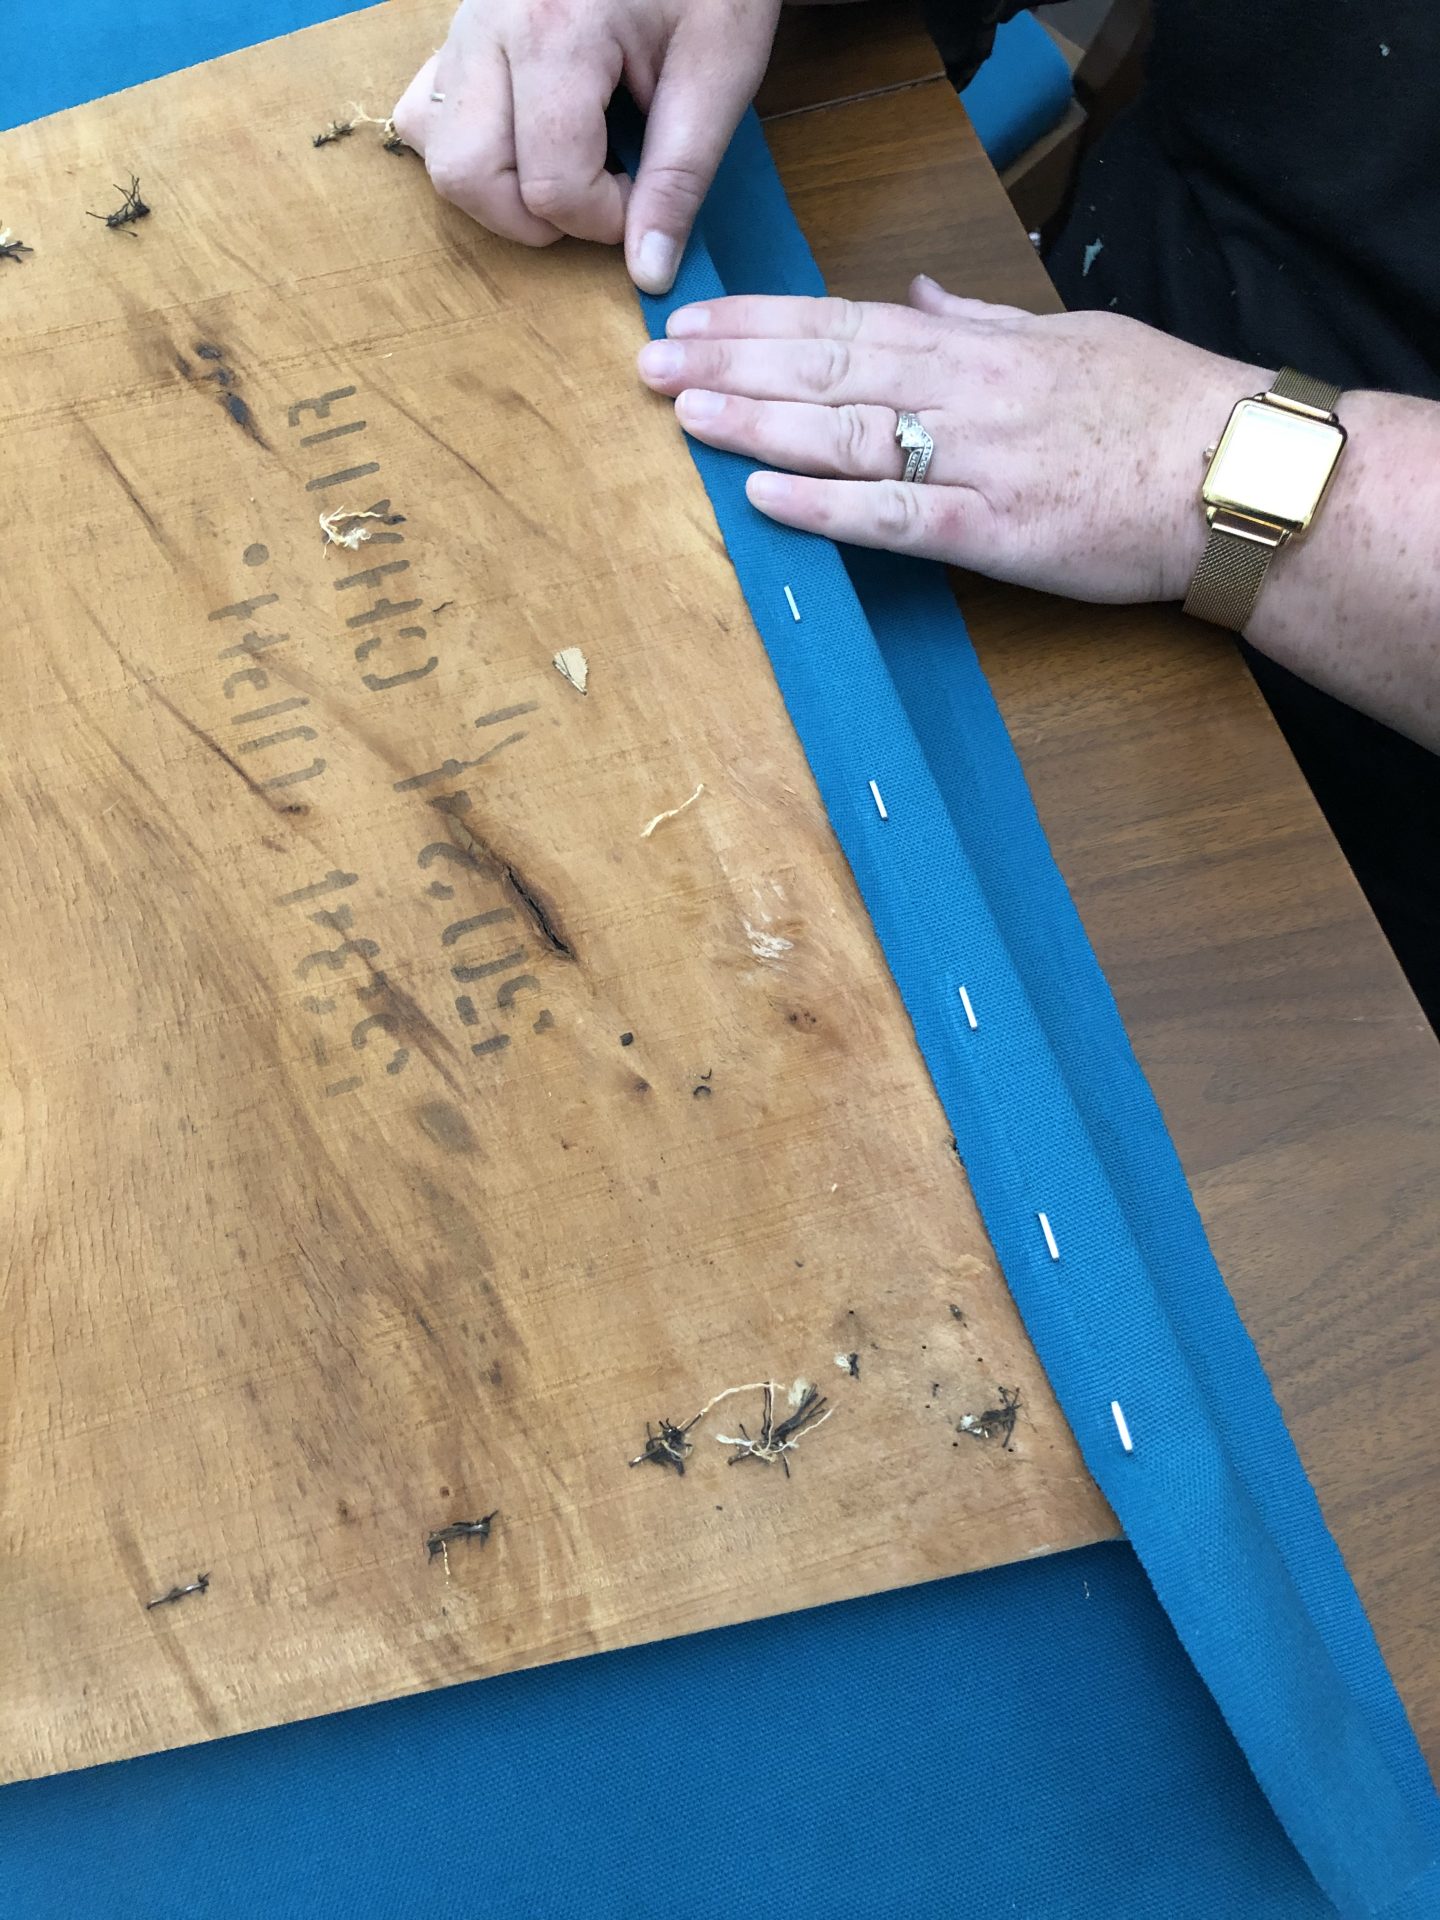
5. Pull and staple. Pull and staple. Repeat. Make sure your fabric is tight and smooth in the front and sides. Corner folding will more than likely occur. Just keep your lines crisp.
6. Trim excess fabric. I just think it looks cleaner!
7. Screw chair cushions back on chairs.
VOILA!
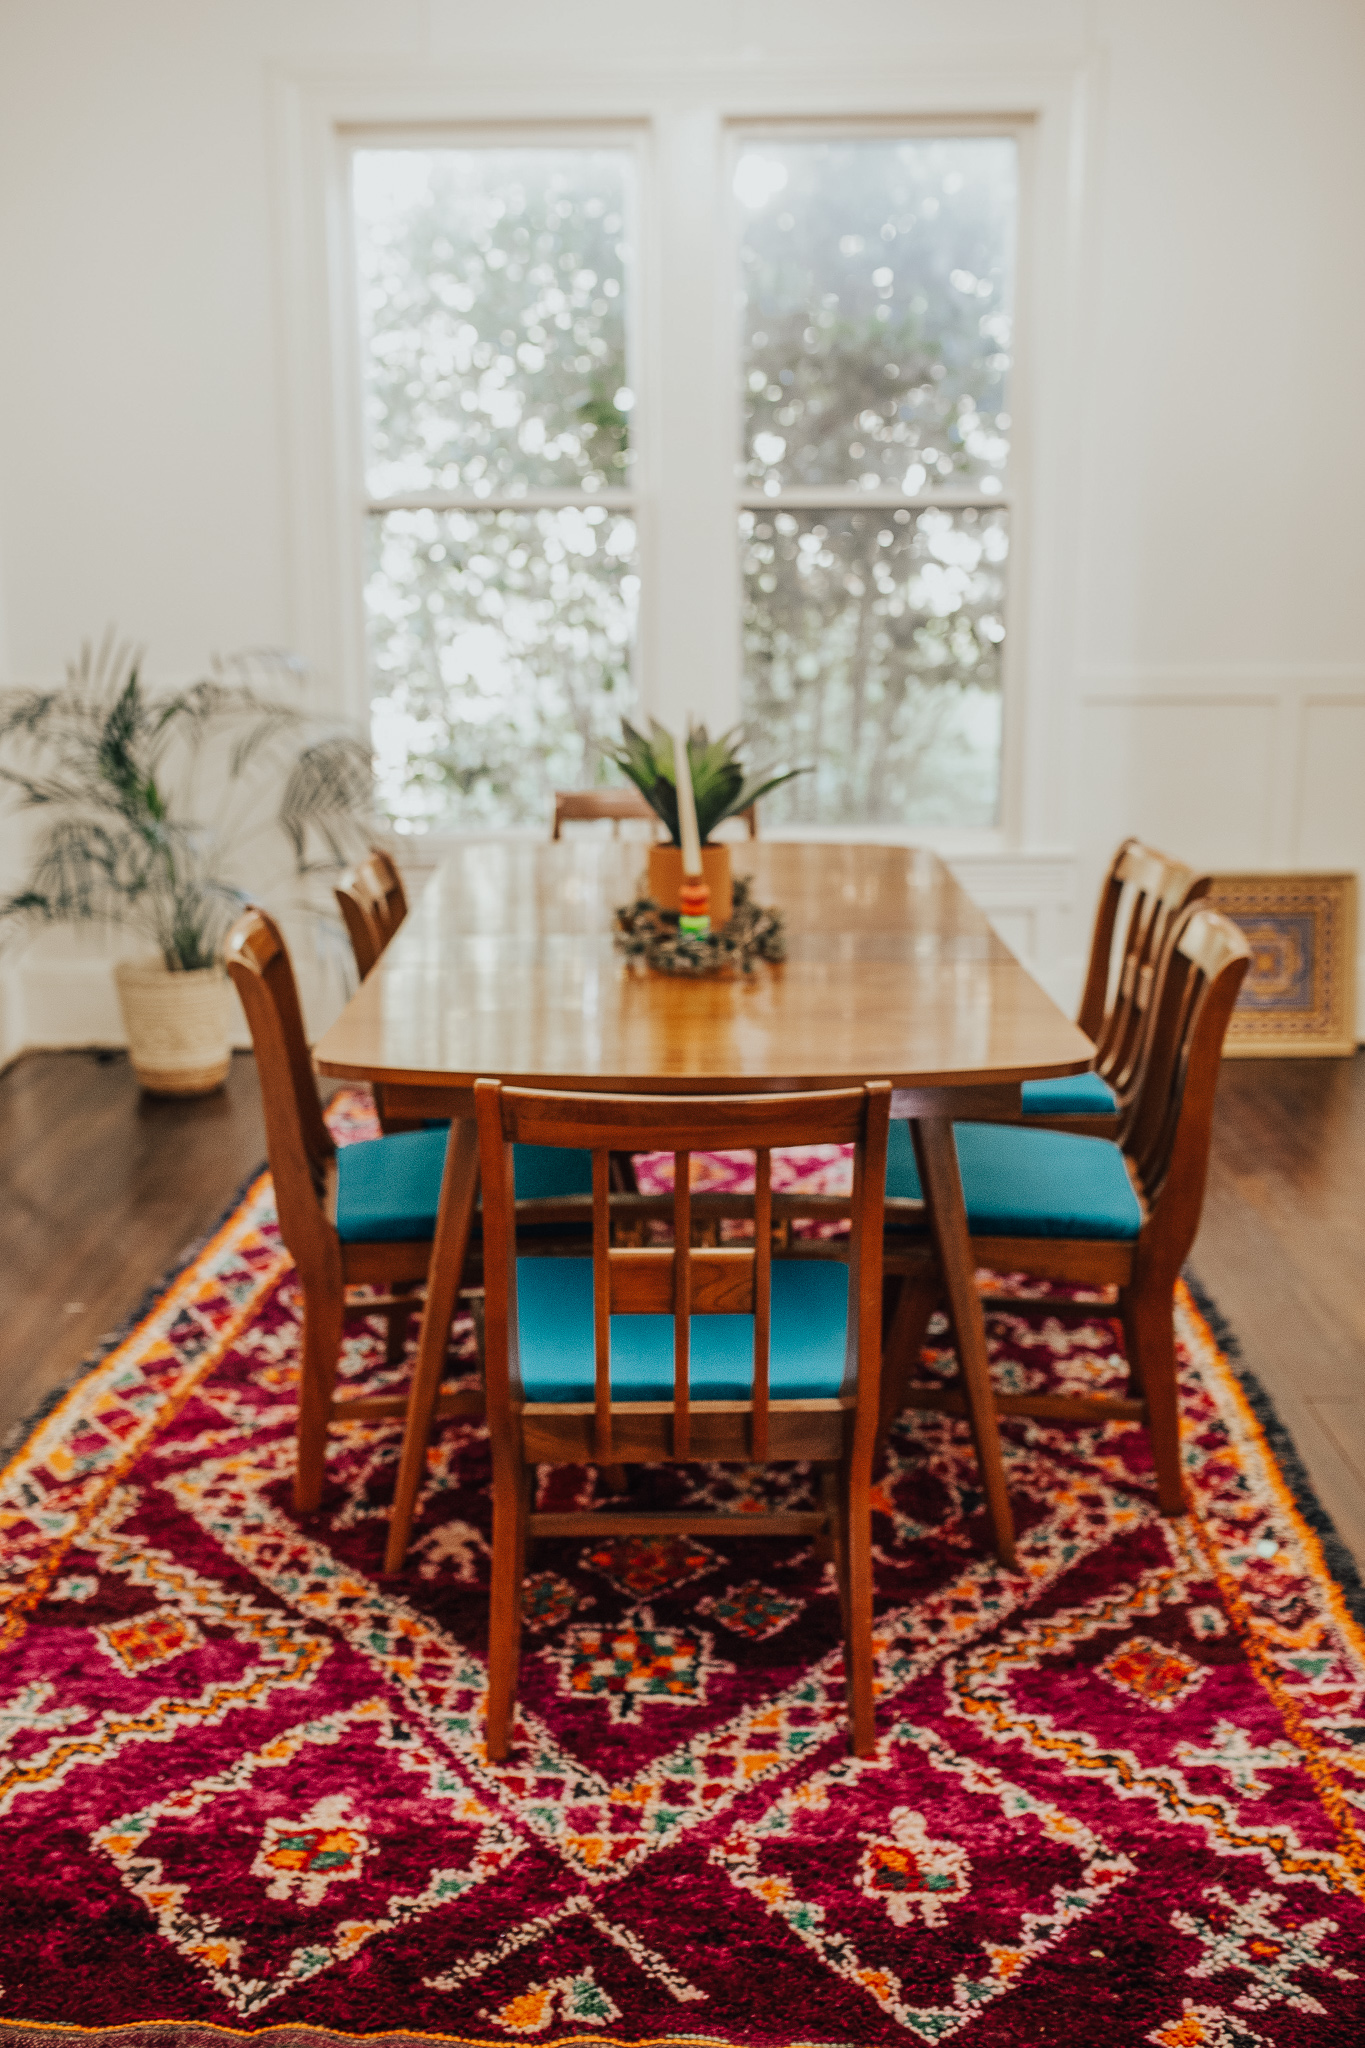
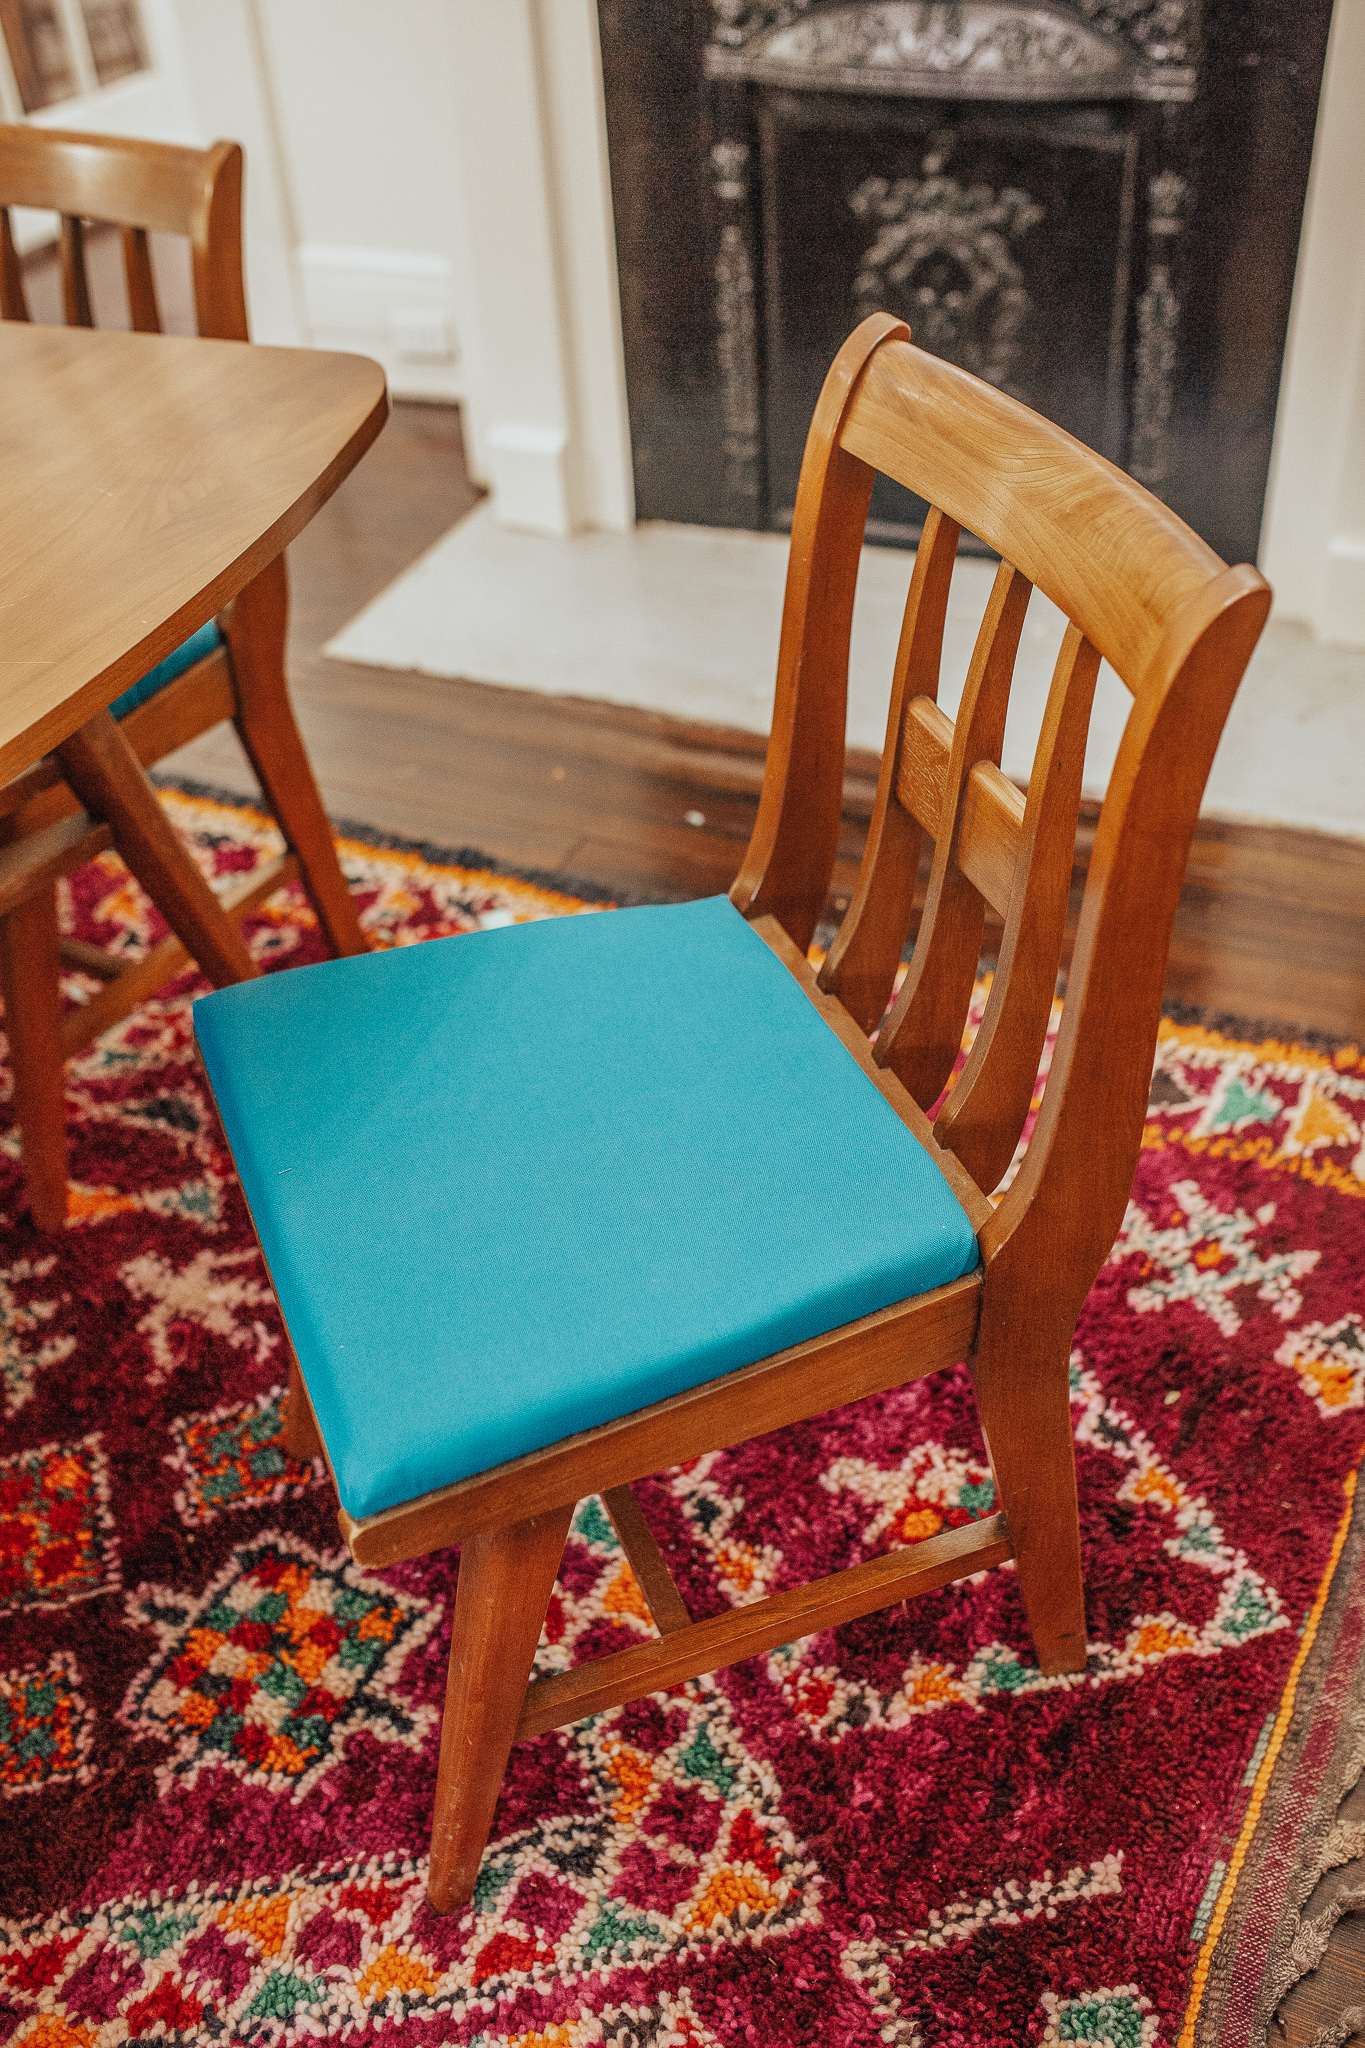

What do you think?
xx,
Sami

The cool aunt. Plant novice who loves to travel to cool places, eat unadventurous food, and take pretty photos.
Find me on: Instagram
