
Are you tired of doomscrolling? Spending hours of each day reading the insane news, spending hours watching TikTok videos, or doing the constant content creation for everyone else but yourself? Check, check, and check.
Honestly, it is so exhausting to be so connected 24/7, and I really think that life is not meant to be lived that way.
I was looking for something to get me off my phone, turn off technology, and ultimately, my brain. I found my new-to-me grandma hobby: needlepointing. I love an arts and crafts moment. I love to zen out and just create something for art’s sake. Needlepoint really scratched that itch because once you start, you literally can just focus on the repetitive stitches. I can just be present, sitting on my front porch, swinging and meditating on anything and everything.
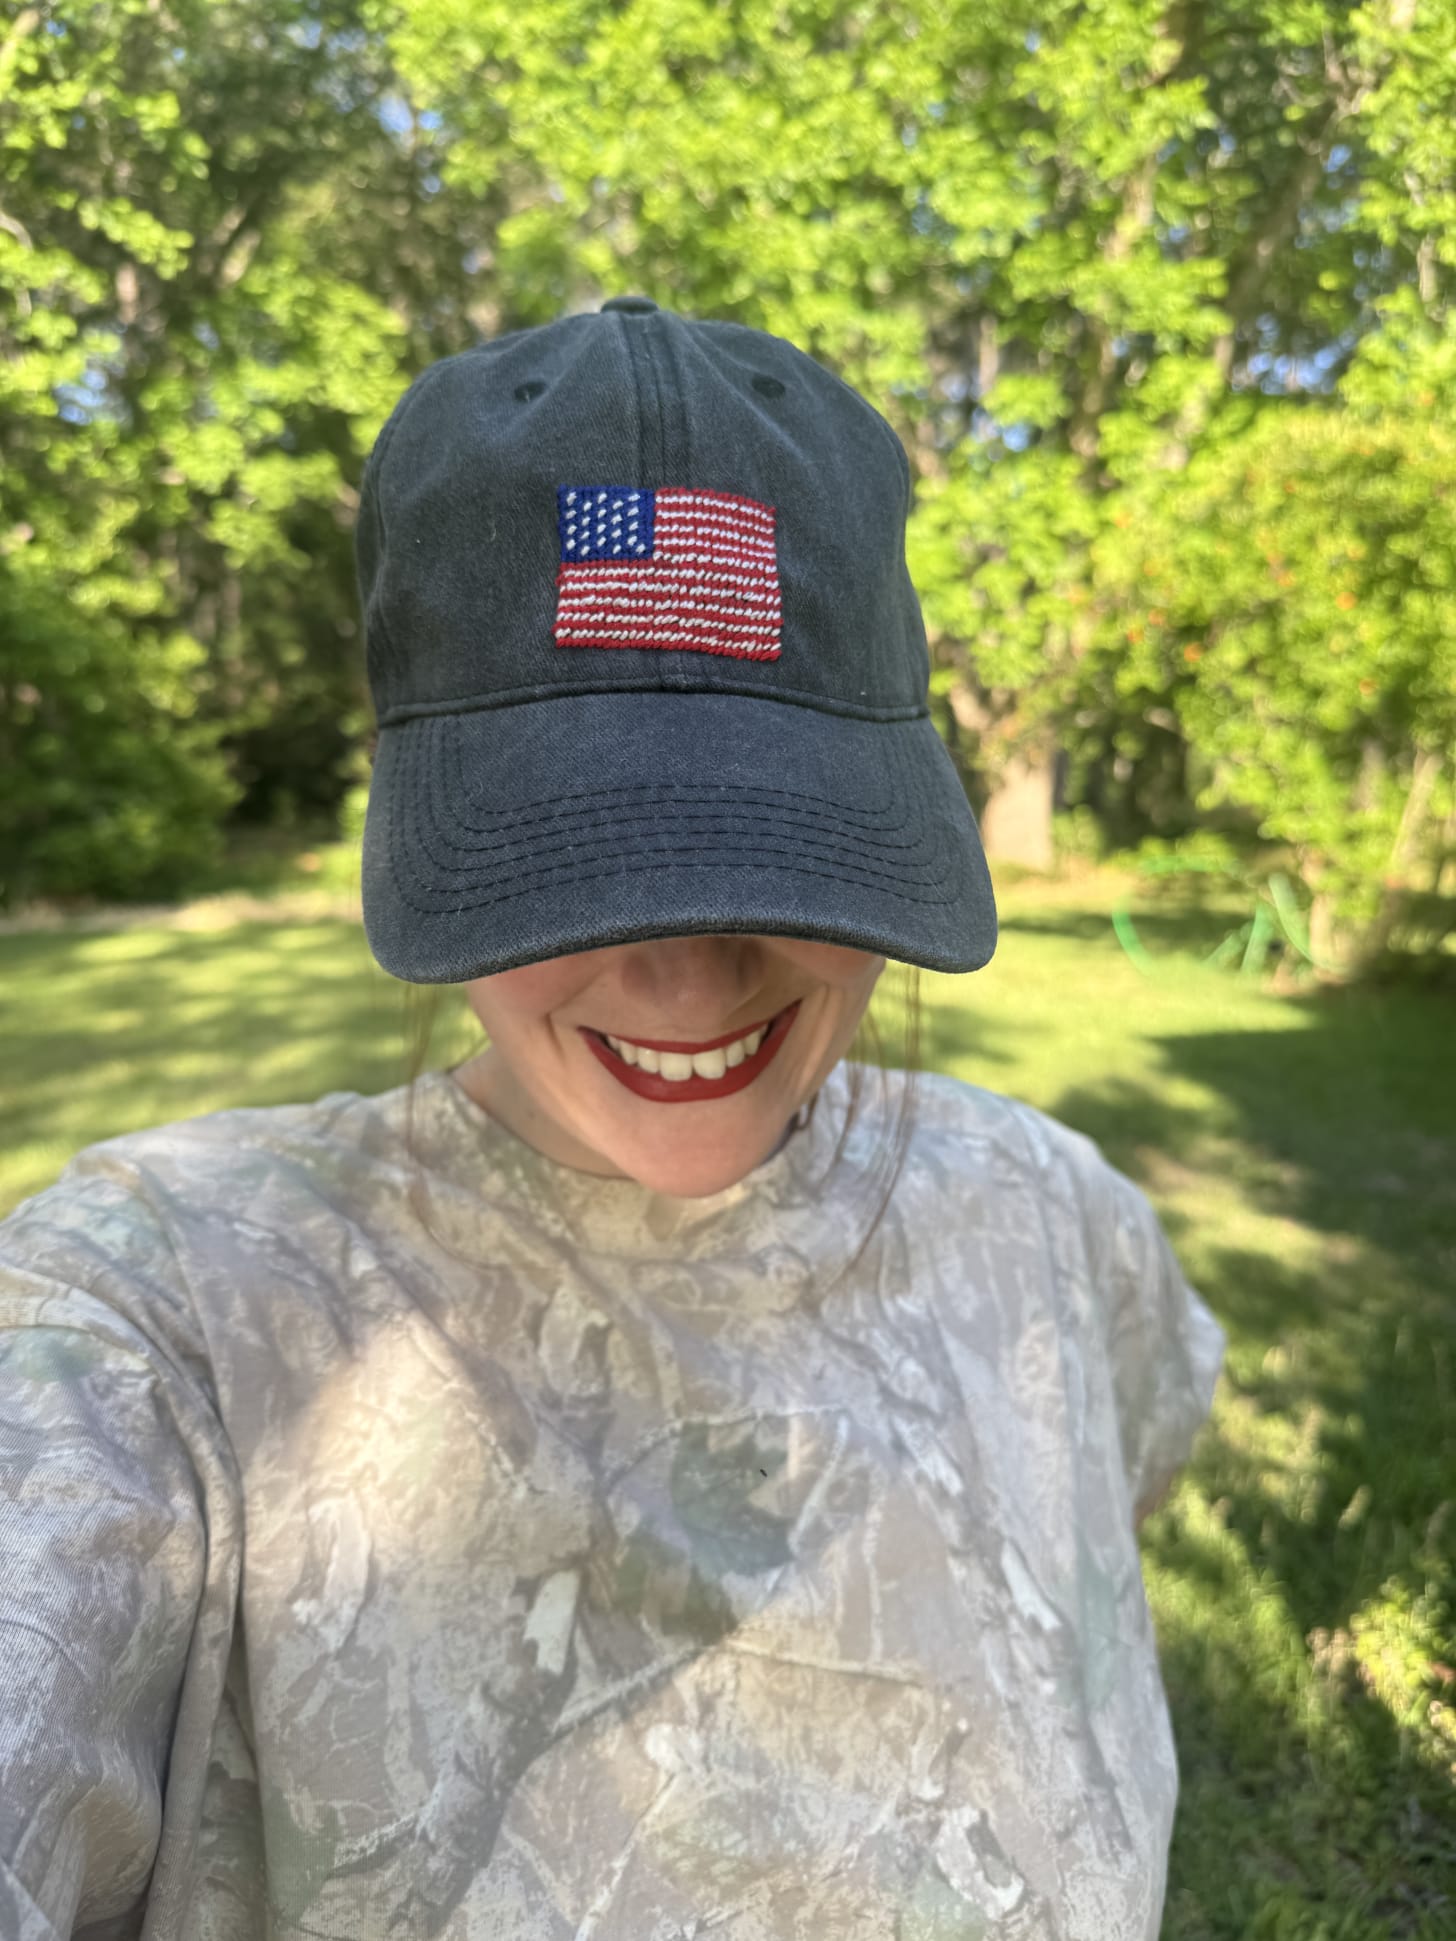
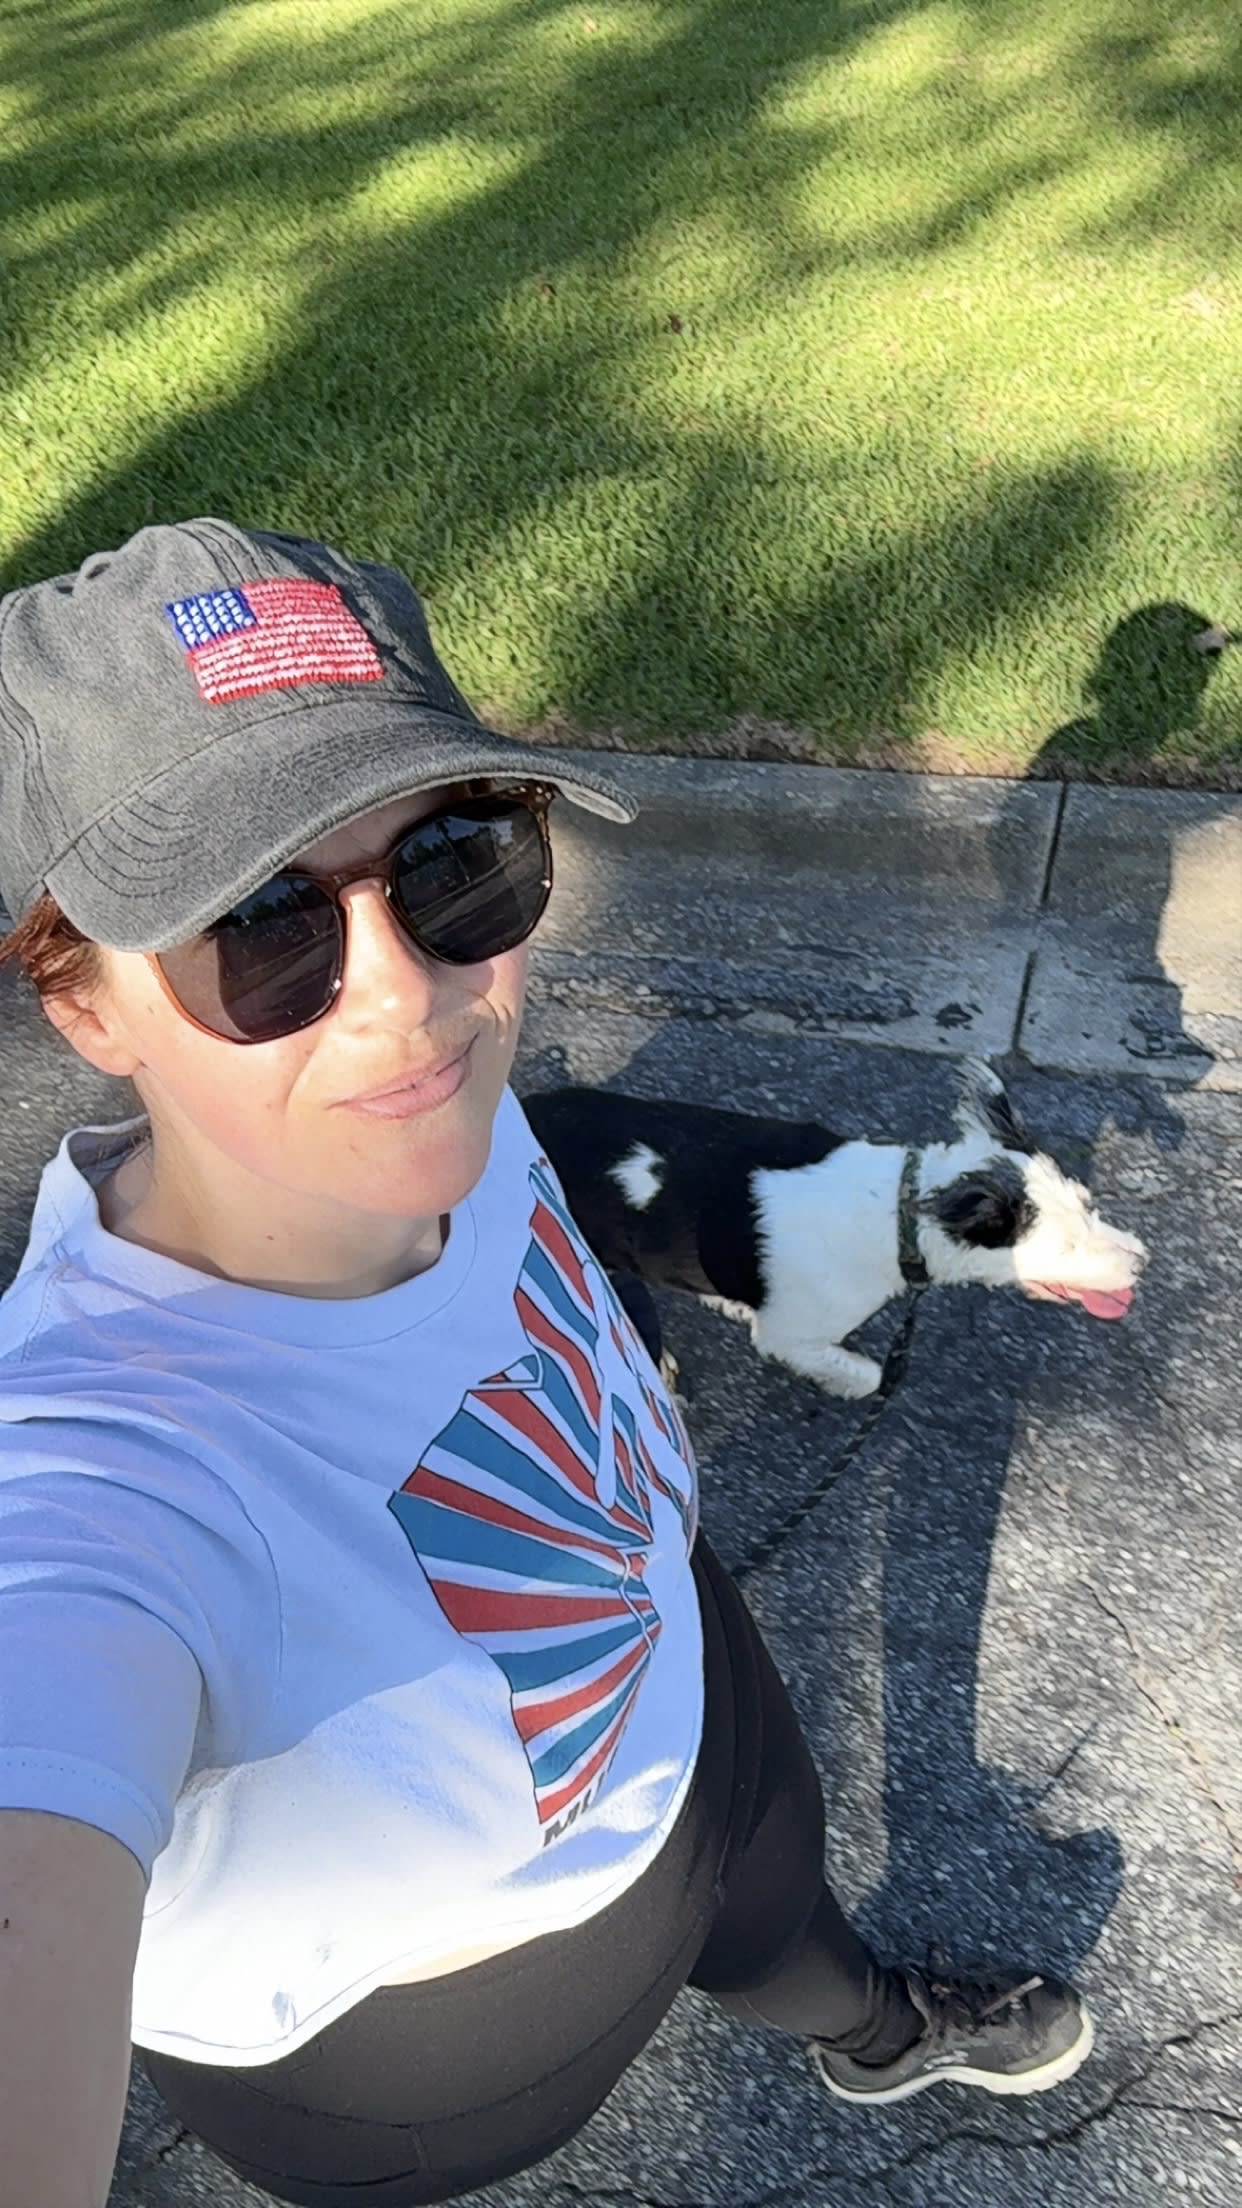
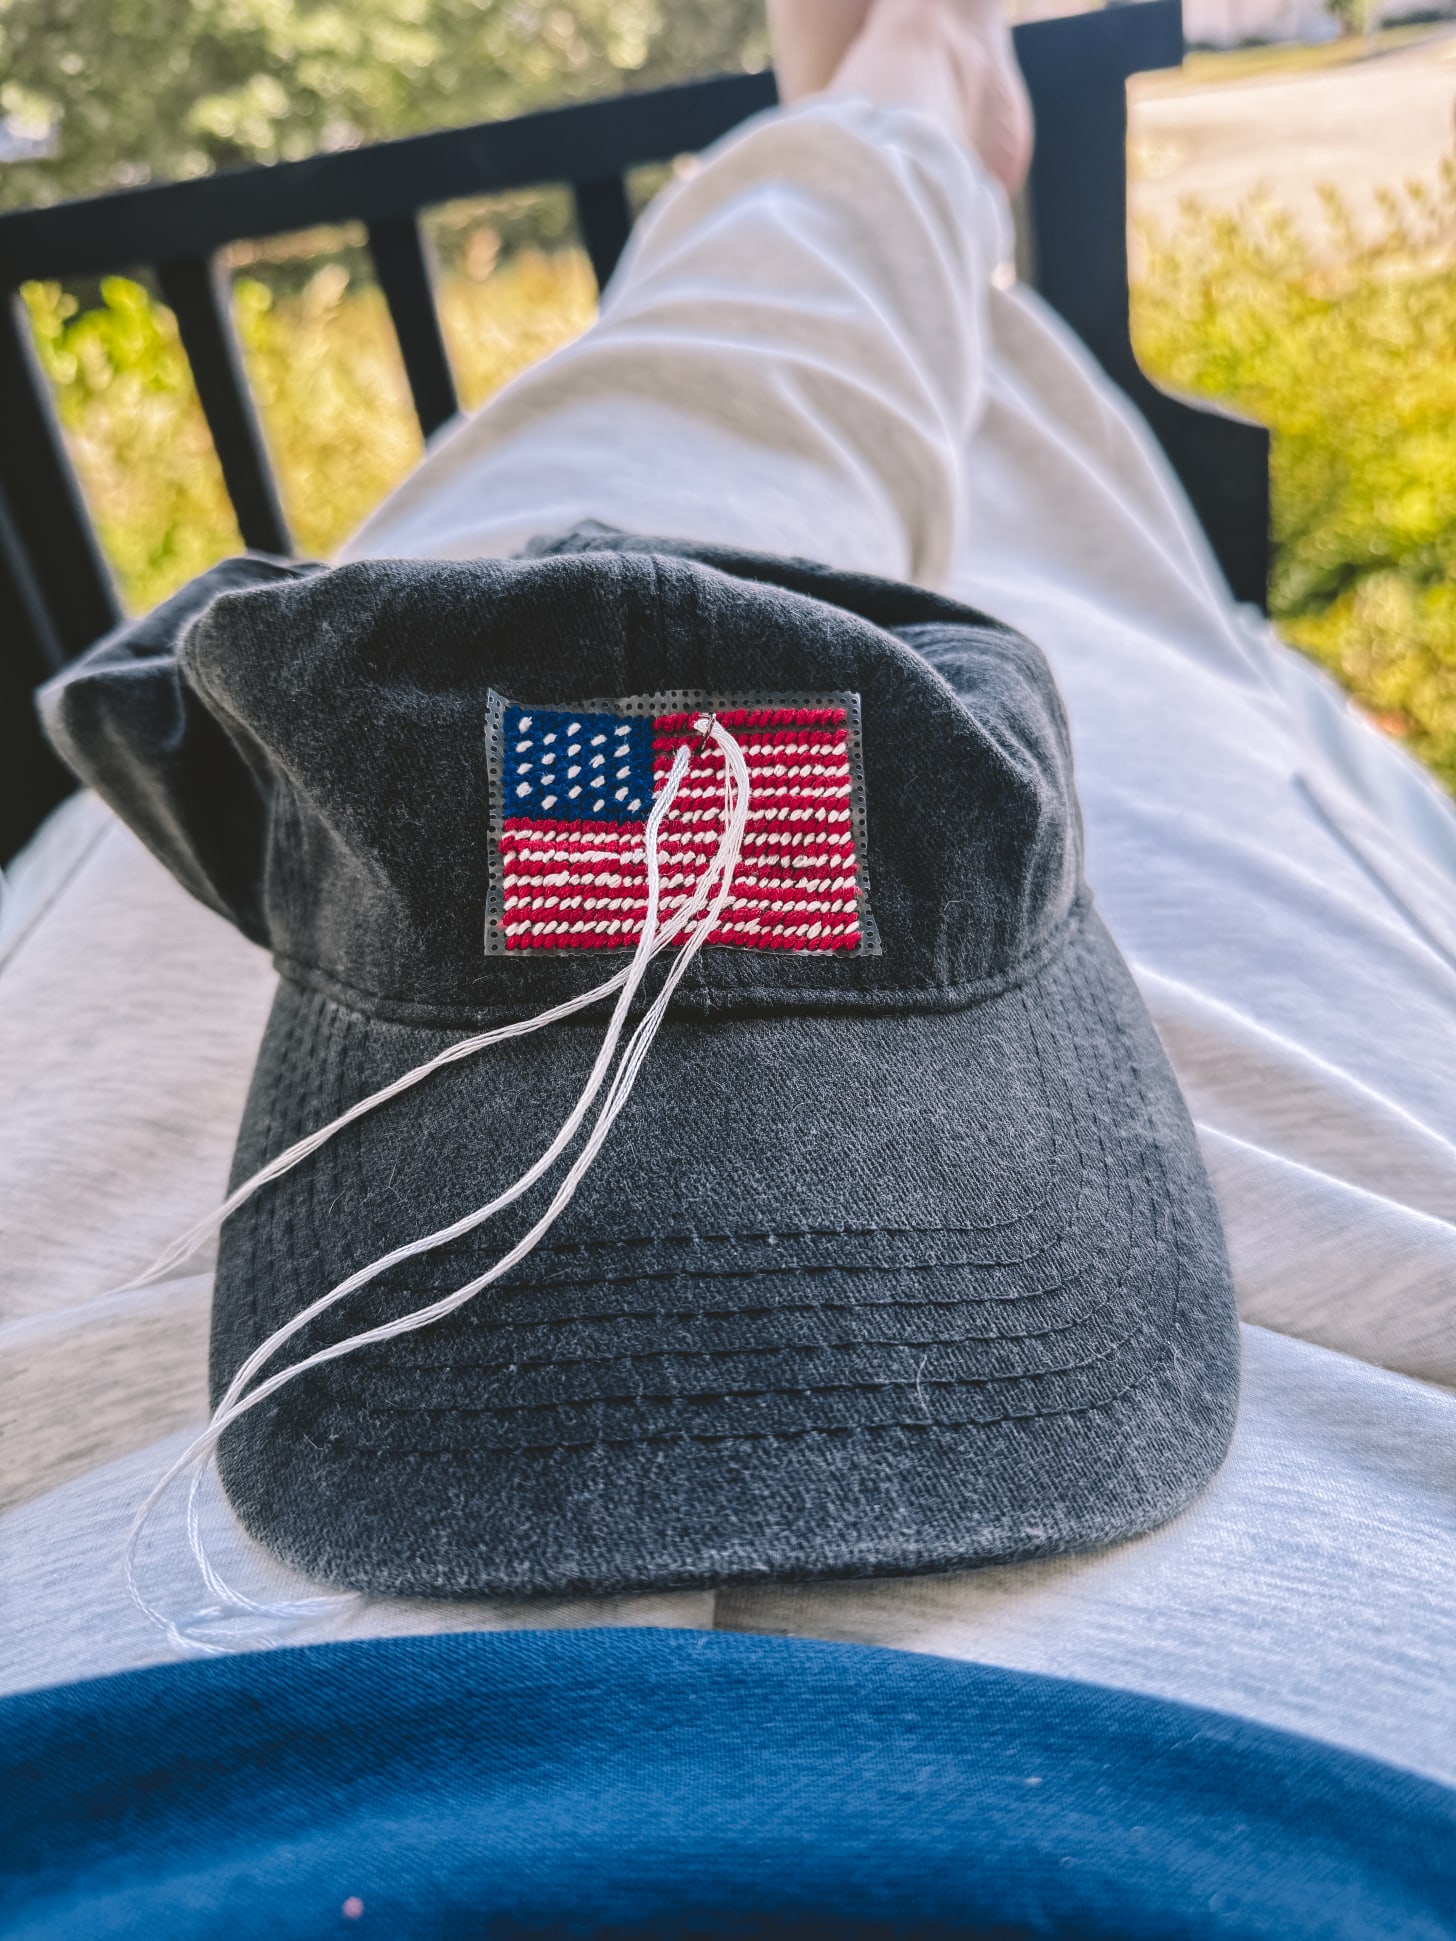
One of my most recent projects that caught my fancy was creating a DIY needlepoint ball cap. I decided to give it a whirl and made a (non-accurate) American flag. It turned out so cute, and it was the easiest design. I hand-drew the design on the water-soluble canvas with the acrylic markers, selected my thread colors, and got to work. I had a few porch swing sessions, but I finished it just in time for an evening walk around the neighborhood with my dog, Ruby.
And now you can join in on the fun and create your own 4th of July hat – or whatever design you want – the world is your oyster!
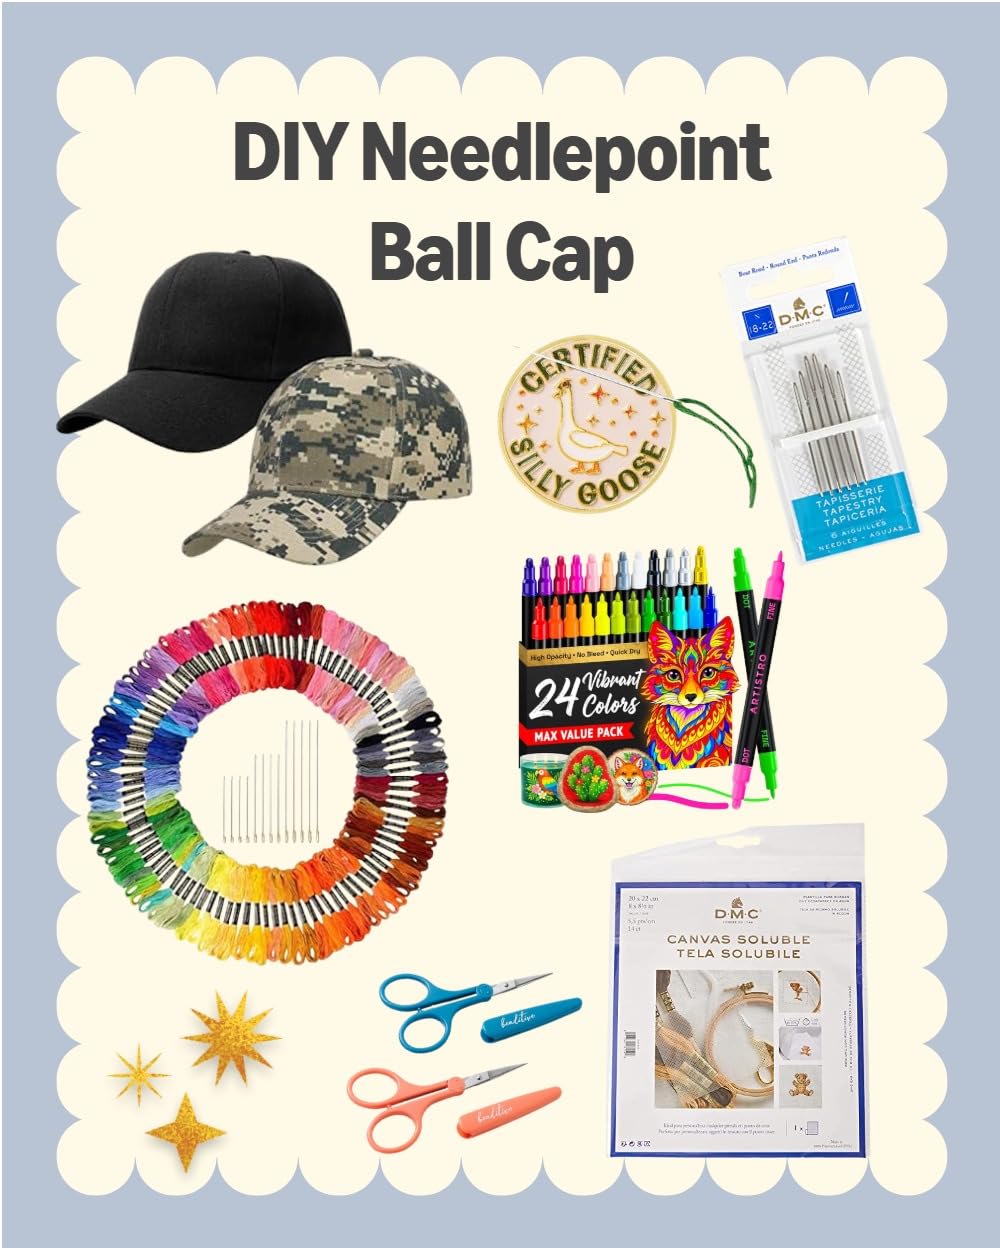
Here are the supplies you need for your own DIY Needlepoint Ball Cap:
Steps to create DIY Needlepoint Ball Cap
Step 1: Choose a small, simple design for your first cap and draw it on the water-soluble canvas
Think of designs like:
- Small sports icons
- Flags
- Bugs/flowers/sun
Pay attention to the stitch counts. Also, keep in mind that the center seam on many hats can make detailed stitching tricky due to the thickness of the fabric. I definitely recommend simpler designs for hats unless you plan on your design sitting off to the side – cute!
Use Stitchfiddle and this tutorial to create a needlepoint design if you need a little guidance for drawing the design. But I highly recommend you keep it as simple as possible and try to hand-draw a whimsical design.
Step 2: Prep the ball cap
Lay the cap flat and decide where the design will go. The front center panel is the most common, but again, you get to decide. It is your hat!
If the hat is wrinkled, lightly steam or iron it first. Avoid stretching the fabric.
Step 3: Cut and Attach the Water-Soluble Canvas Design
Cut a piece of water-soluble canvas slightly larger than your design.
Position it on the cap and secure it:
- Use large temporary stitches around the edges, or
- Tape it in place with painter’s tape
Make sure the canvas stays smooth and aligned while stitching. It can bunch up if you are not careful. Trust me – I had to remove a whole row of stitches because it went wonky. Seam ripper to the rescue, though!
Step 4: Thread Your Needle
Use 2 strands of embroidery floss for a lighter stitched look, or the full piece of floss for a fuller design. I used the full piece of embroidery floss, personally, because it was easiest, plus I liked that there was no space between the stitches.
Step 5: Start Stitching
Follow your chart one stitch at a time directly through:
- The water-soluble canvas
- The hat fabric underneath
Try to keep stitches snug and even. Again, you do not want to pucker or bunch up the canvas. Make sure that the needle is not going through other portions of the hat, especially the bottom right above the front cap. There tends to be a little lip.
Step 6: Finish the Back
Once stitching is complete:
- Weave in your thread tails securely
- Trim excess threads carefully
Step 7: Remove the placement stitches and dissolve the canvas
- Use your sharp scissors to remove the canvas placement stitches from the beginning of the tutorial (or remove the tape).
- Some recommend soaking your hat for 5-10 minutes to remove the water-soluble canvas, but I found just running it under warm water worked perfectly. The canvas will begin dissolving into a gel-like texture. Gently agitate the water and rub lightly until it disappears completely.
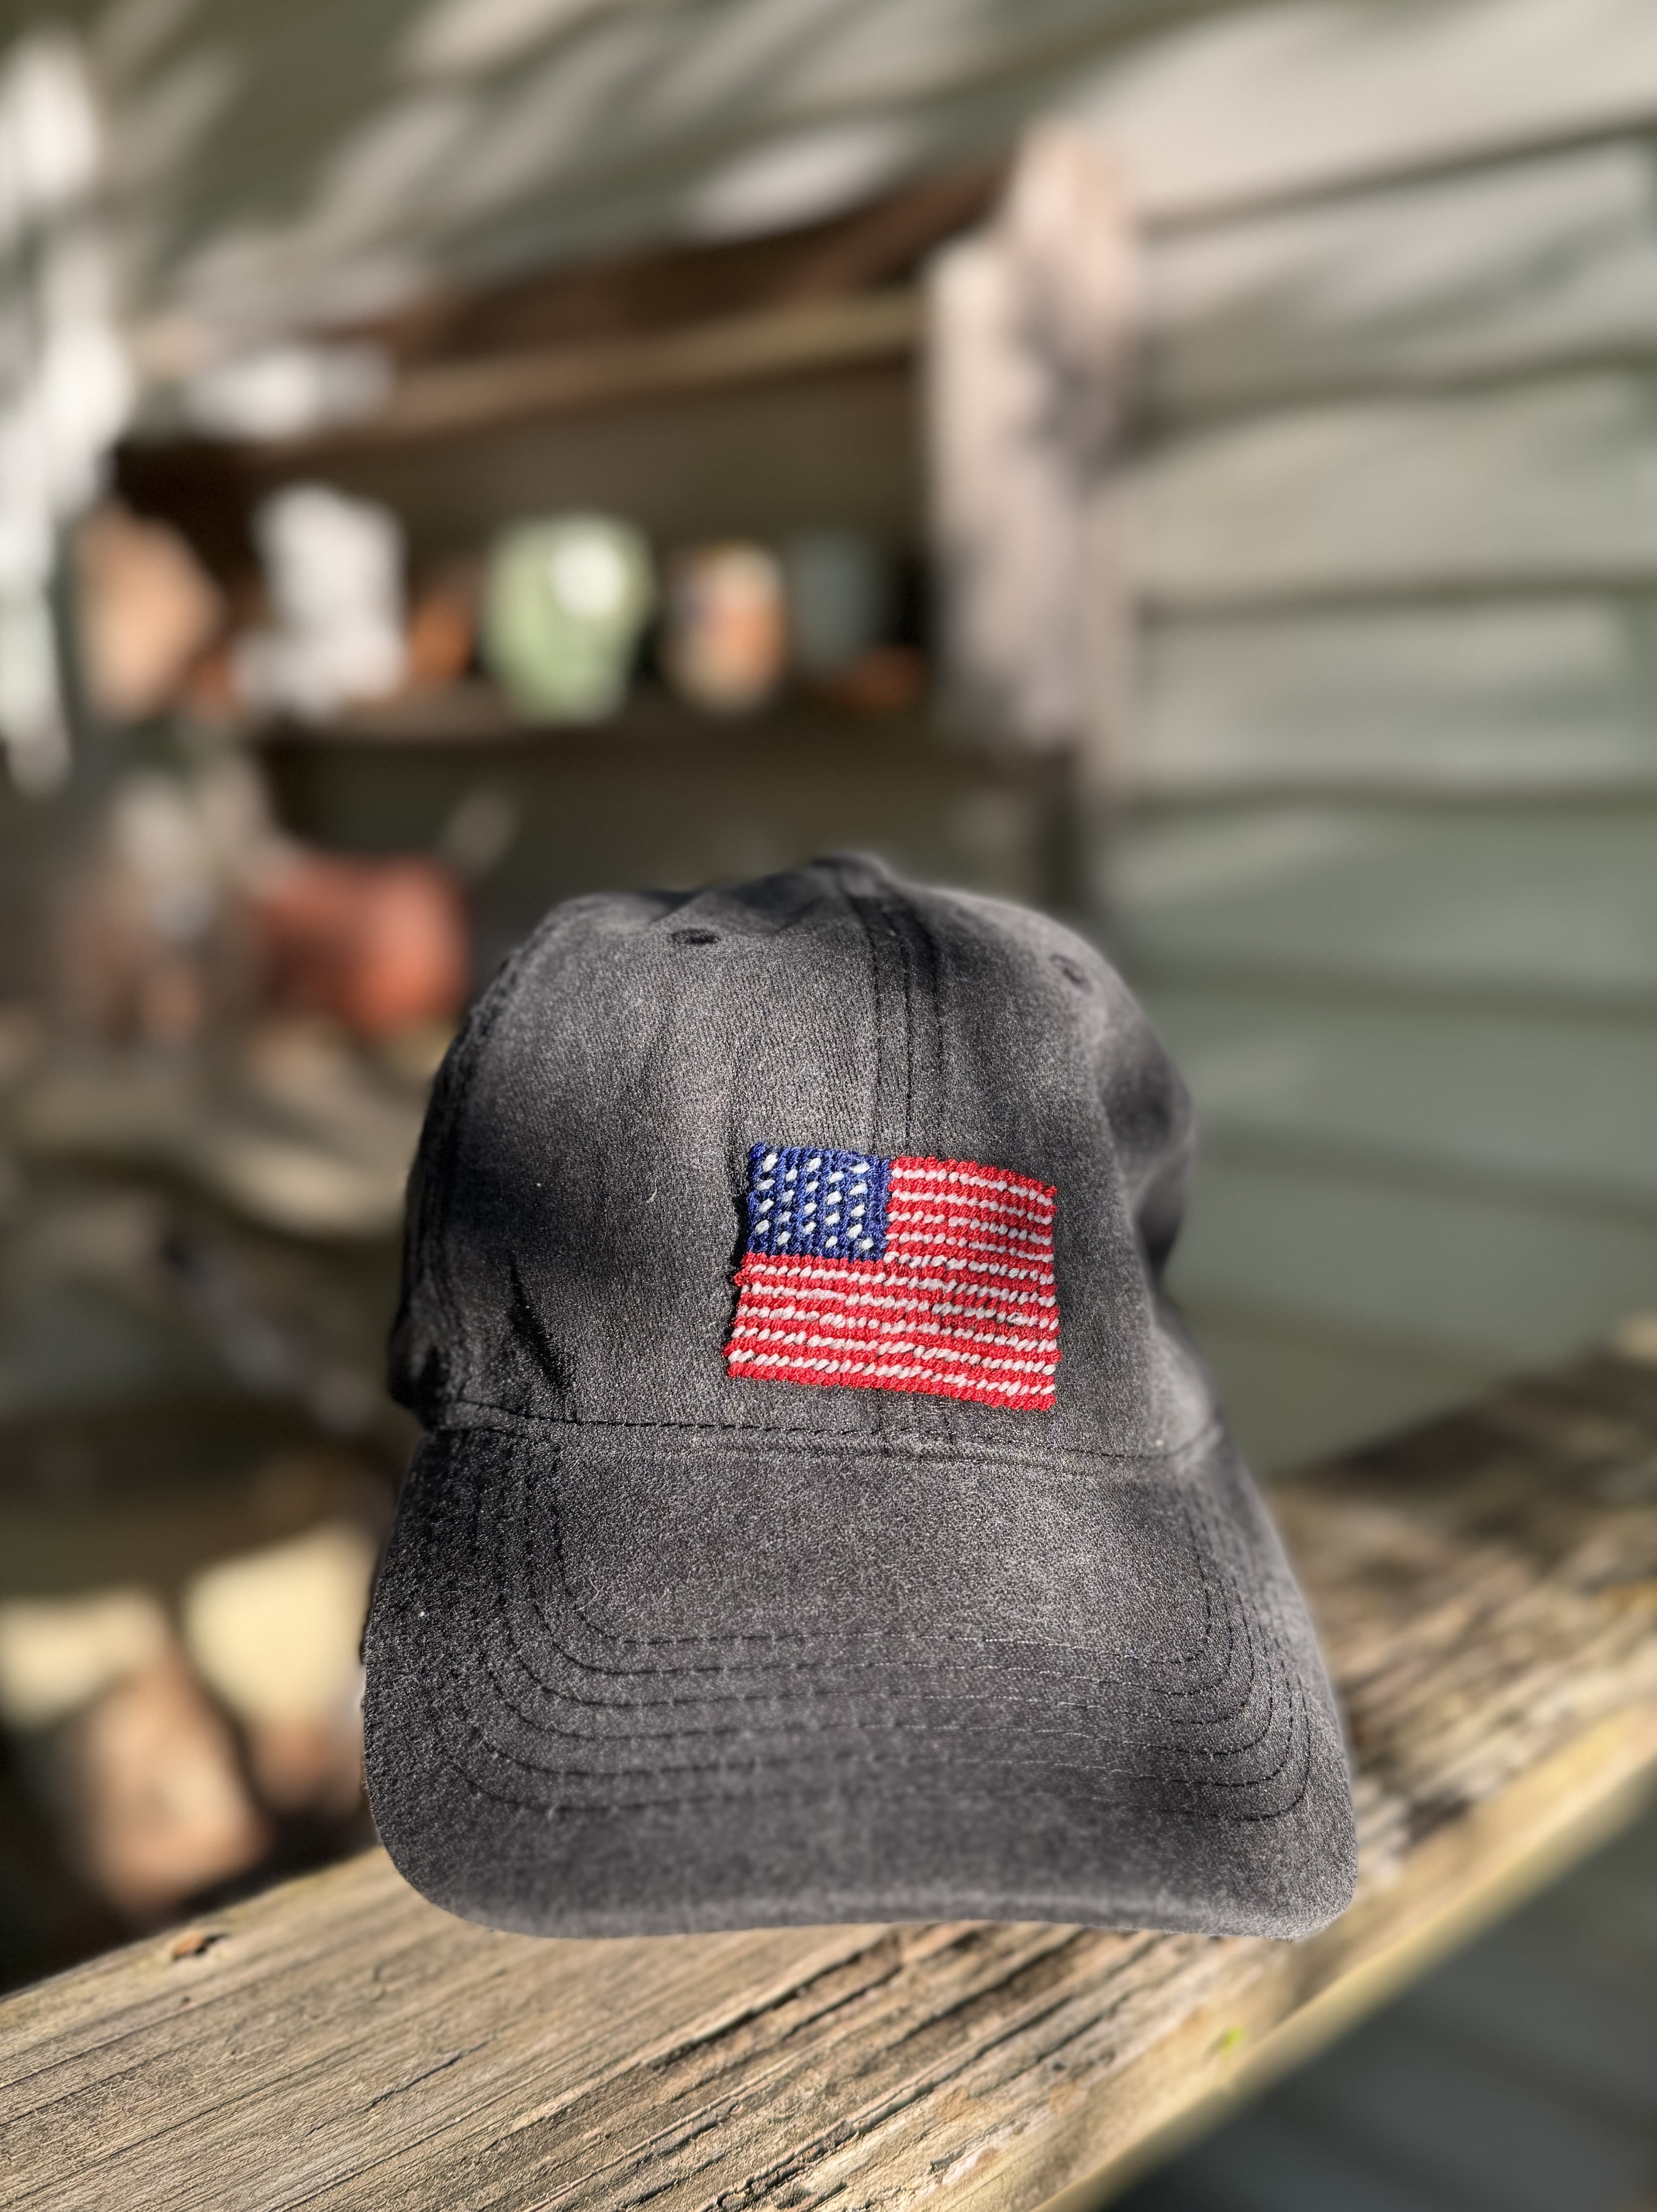
E VOILA! A new hat just in time for the 4th of July!
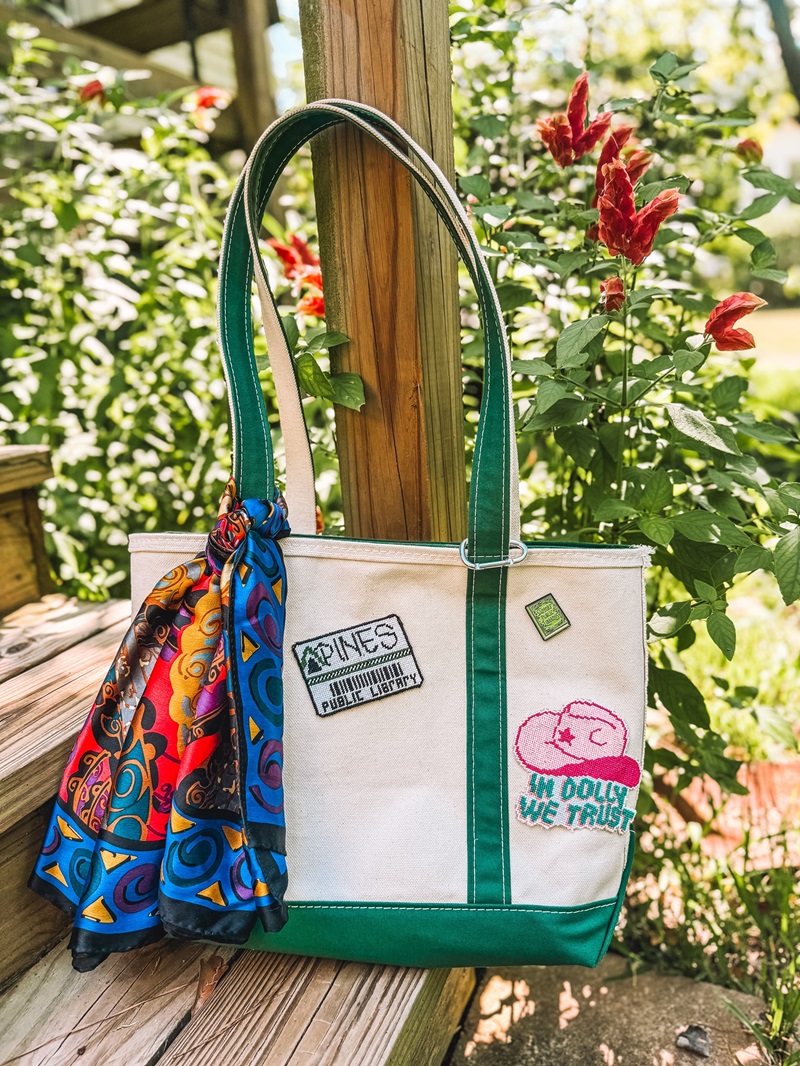
Are you planning on creating cool one-of-a-kind hat designs? Or are you going to put it on your jeans pocket or a tote bag? So many design possibilities! Let me know in the comments.
Happy needlepointing!
xx, Sami

The cool aunt. Plant novice who loves to travel to cool places, eat unadventurous food, and take pretty photos.
Find me on: Instagram
