575 words, 3 minutes read time
Need a step-by-step guide with screenshots on how to install Lightroom Mobile presets? Look no further than this post!
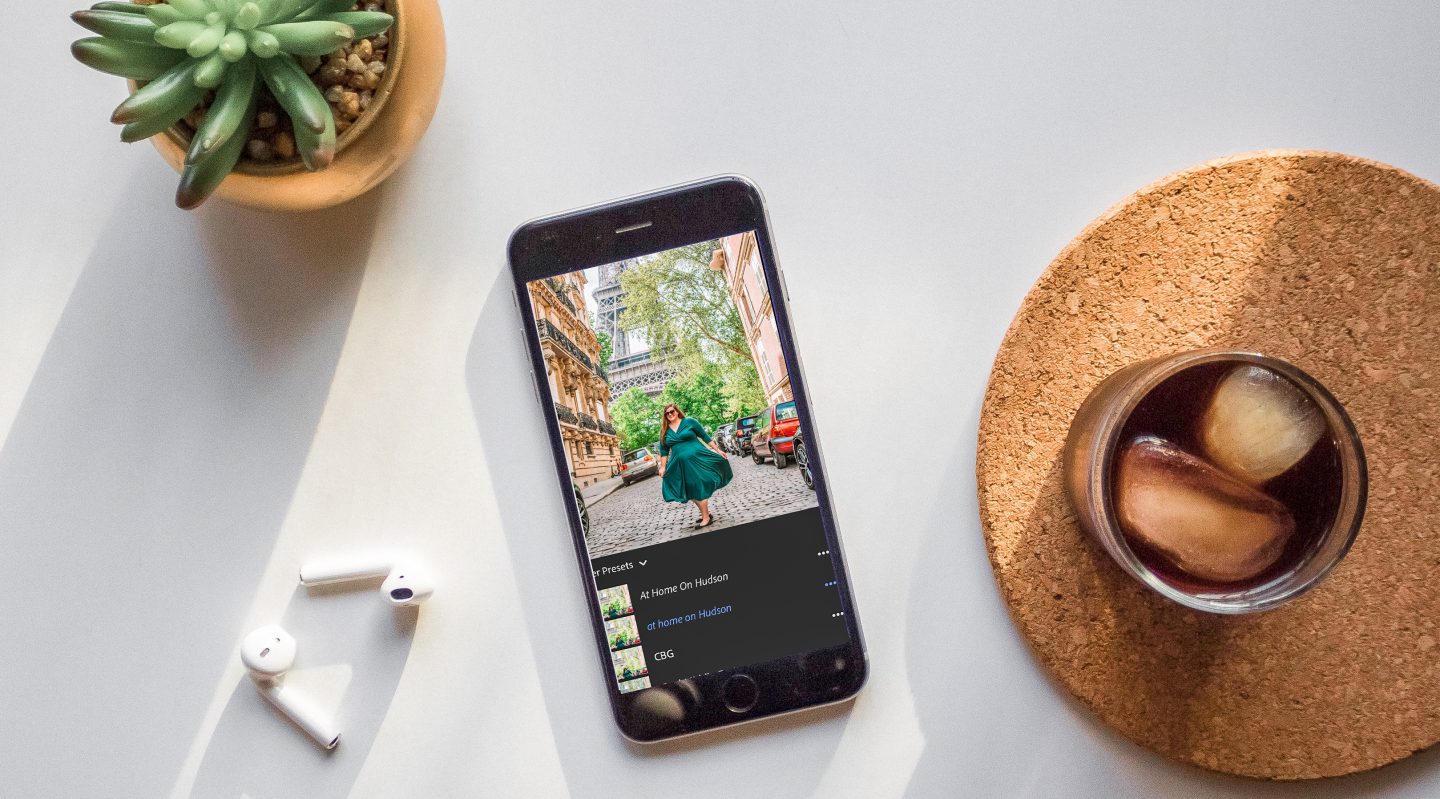
It is the year 2025, and we are living in a digital, highly visual age. With social media’s uber popularity, everyone wants to curate a feed that is not only aesthetically pleasing in content but cohesive in color. As a millennial, I look for ways to work smarter and more efficiently. In enters the photo presets. They are usually a one-click adjustment to your photos via the free Adobe Lightroom mobile app. You can find preset collections all over the internet from many influencers, but figuring out how to install Lightroom Mobile presets can be kind of confusing!
Before we dive in, did you know I even have my go-to preset I use pretty much exclusively FOR FREE up for grabs when you sign up for my newsletter? Just fill in your info below, and you will receive a confirmation email with a link to download. Easy, peasy
Sometimes it is very hard to figure out how to add these presets to our phone. Well, look no further because I am here to offer a step-by-step guide on how to install Lightroom mobile presets without a computer.
How to install Lightroom mobile presets
– Step 1 –
Get the presets on your phone
Most mobile presets are delivered to you in a DNG file. It’s typically a picture that you add to your LR mobile app and copy the settings from. Sometimes, if you purchase a collection of presets, they are delivered in a zipped file. Use apps like iZip to unzip the file directly on your phone.
You will need to save these DNG picture files to your camera roll.
– Step 2 –
Import the presets to free mobile Adobe Lightroom app
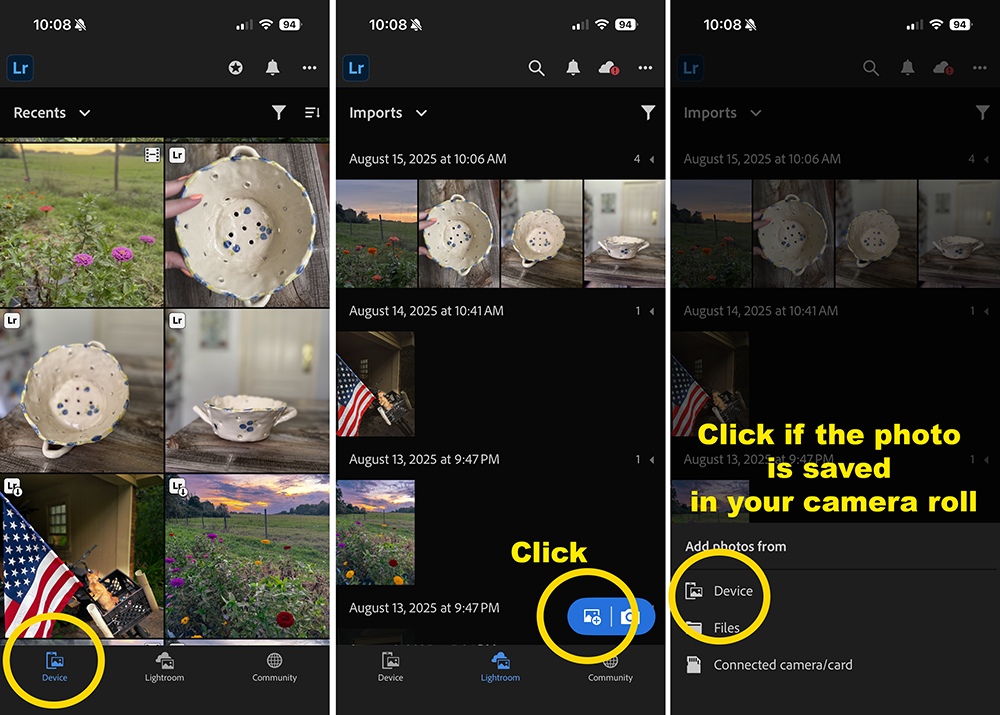
Importing to install Lightroom Mobile presets is super easy! Again, make sure you have the preset “photo” already saved in your camera roll.
- Open Adobe Lightroom Mobile App
- Your camera roll should automatically be synced with your Lightroom app. But if it is not, click Lightroom in the bottom middle.
- Click on the image with the + icon. Select your photo to import.
- Click on the imported picture/s with your preset settings on it. Importing multiple images is quick and easy by just selecting multiple images.
- Click “Add”
– Step 3 –
Save/Name your new presets
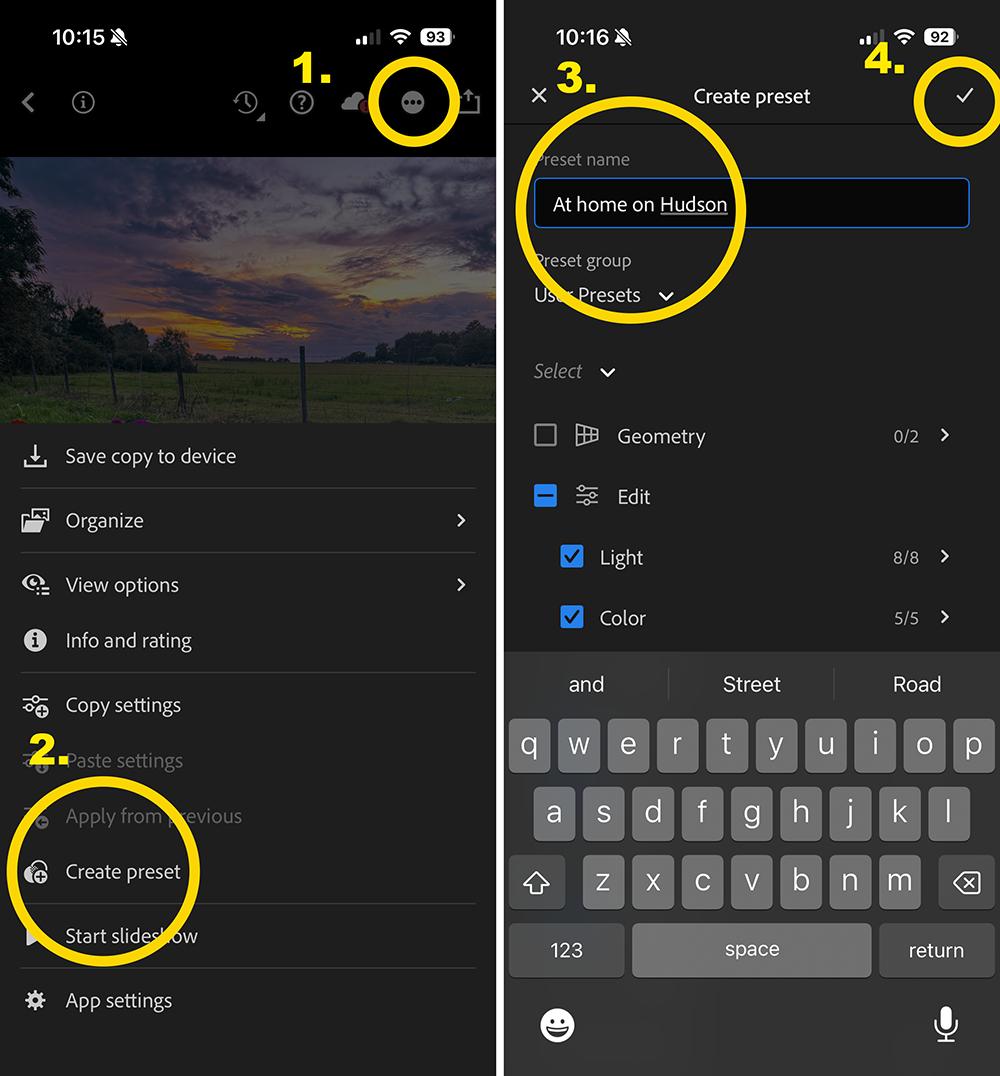
You will need to take each of these photos you imported (if you have multiple) and create individual presets from each.
- Click the three dots in the upper right-hand corner
- Click create preset
- Name your presets. The checkboxes should automatically populate with the correct boxes checked.
- Click the check mark. Voila!
It’s not hard, but if you have 10 or so from a collection, it can get tedious! Power through because it is worth it when you have mastered how to install Lightroom Mobile presets.
TIP: Be sure to name each preset with something easy to differentiate them with. “Preset 1” and “Preset 2” may be confusing after a while.
– Step 4 –
Finito! Your preset is ready for you to edit the day away.
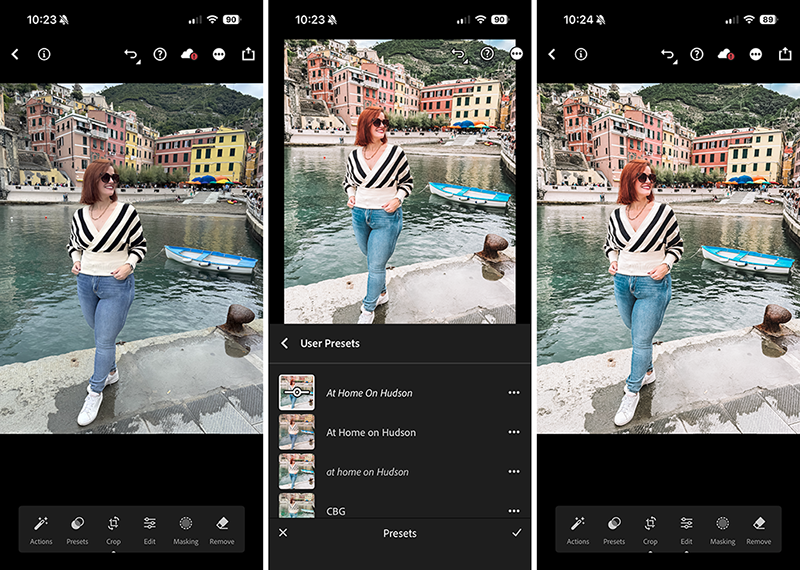
DISCLAIMER: Although a preset is one-click editing, you may have to tweak some things, such as Exposure (brightens the images), Temperature (cools/warms the images), or you may have to fix the Color Mix of individual color tones. This is completed a personal preference.
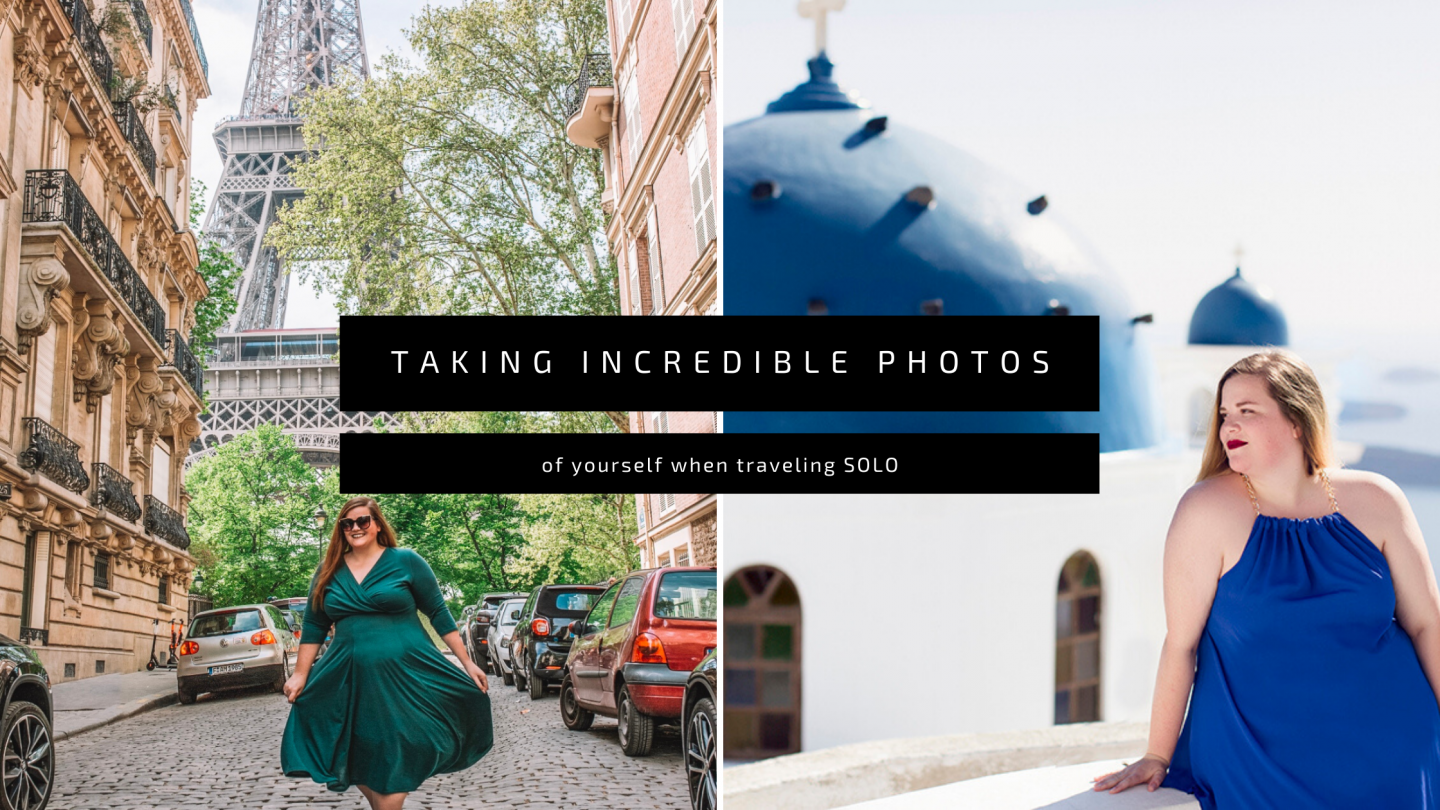
Traveling solo and want to still get incredible photos of yourself so you can remember the places you visit? Check out my tried and true options! I have personally done ALL of these options and I have gotten amazing results! Trust me, I am a photographer. ?
– Before/Afters –
with the “At Home on Hudson” preset!
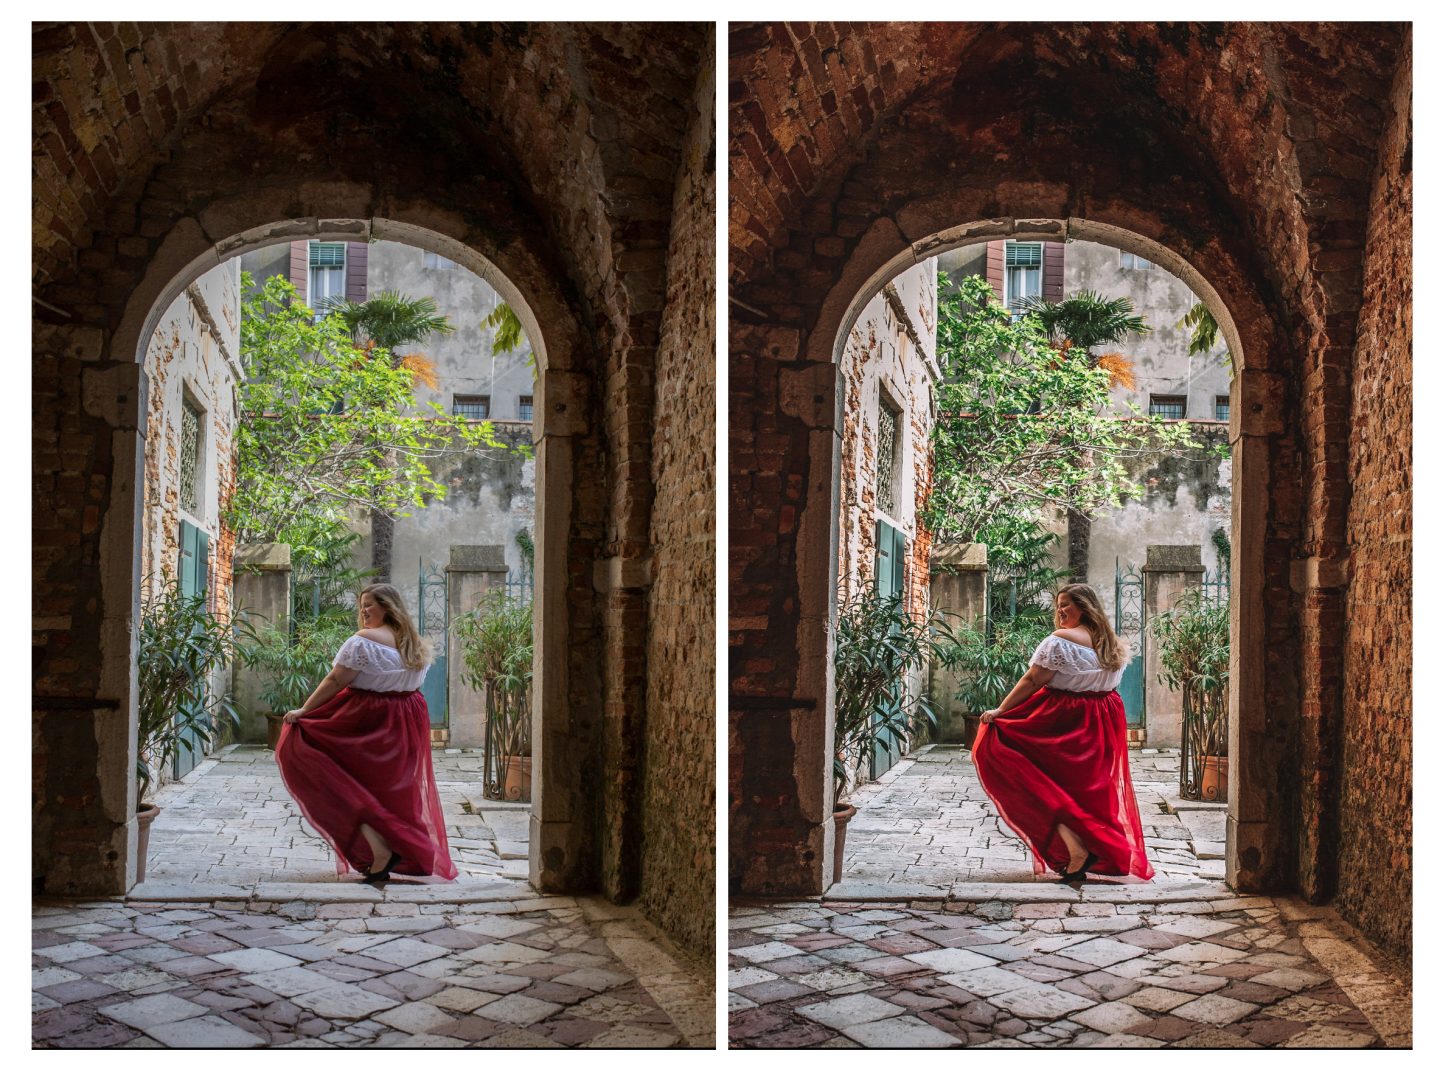
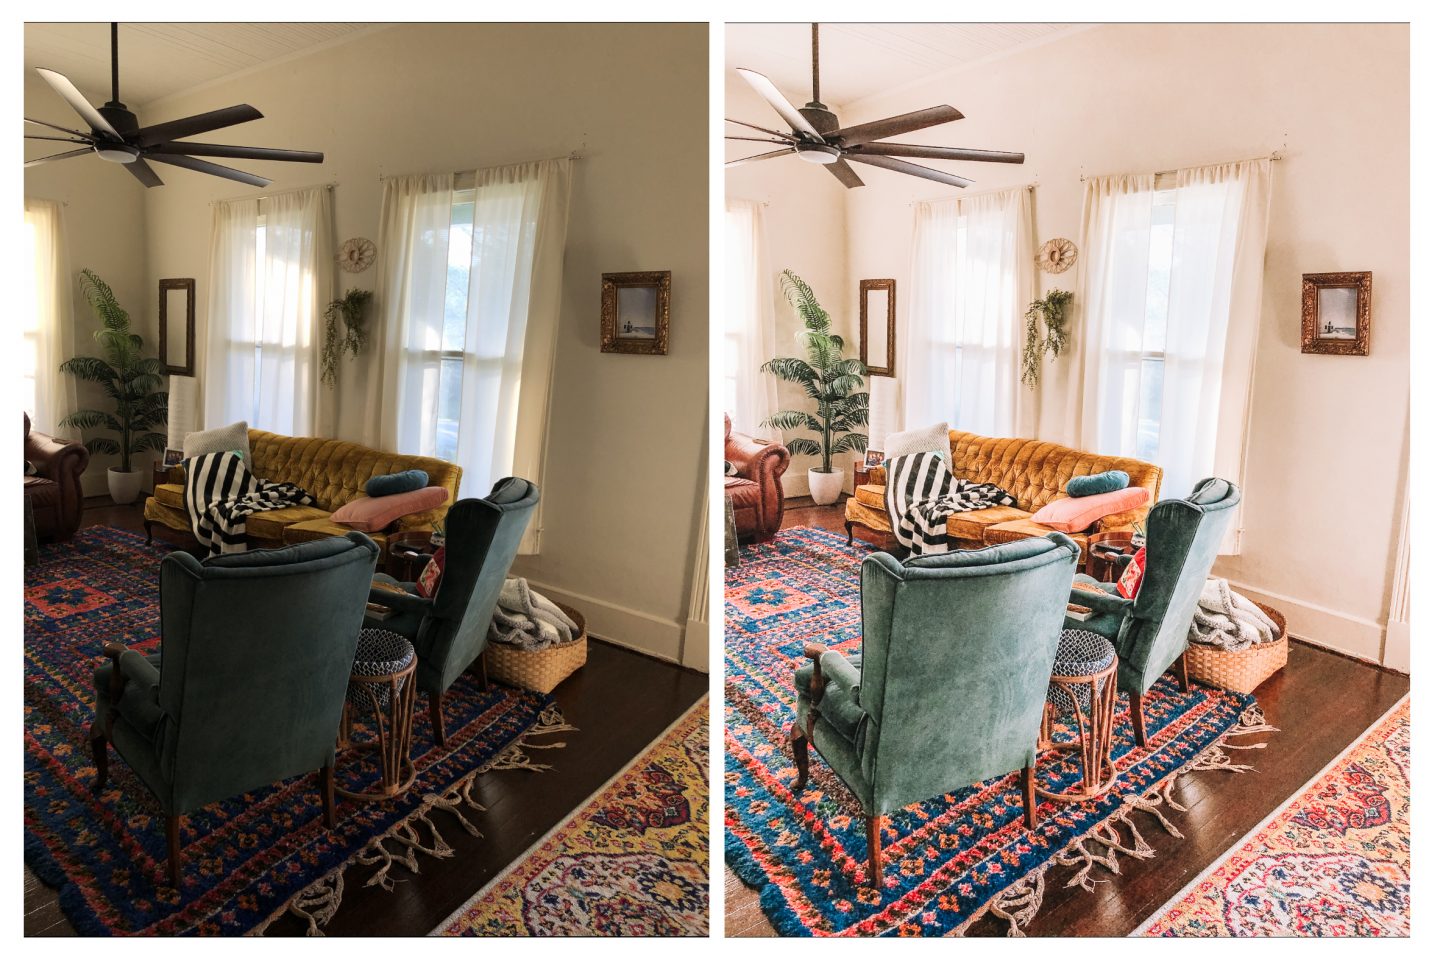
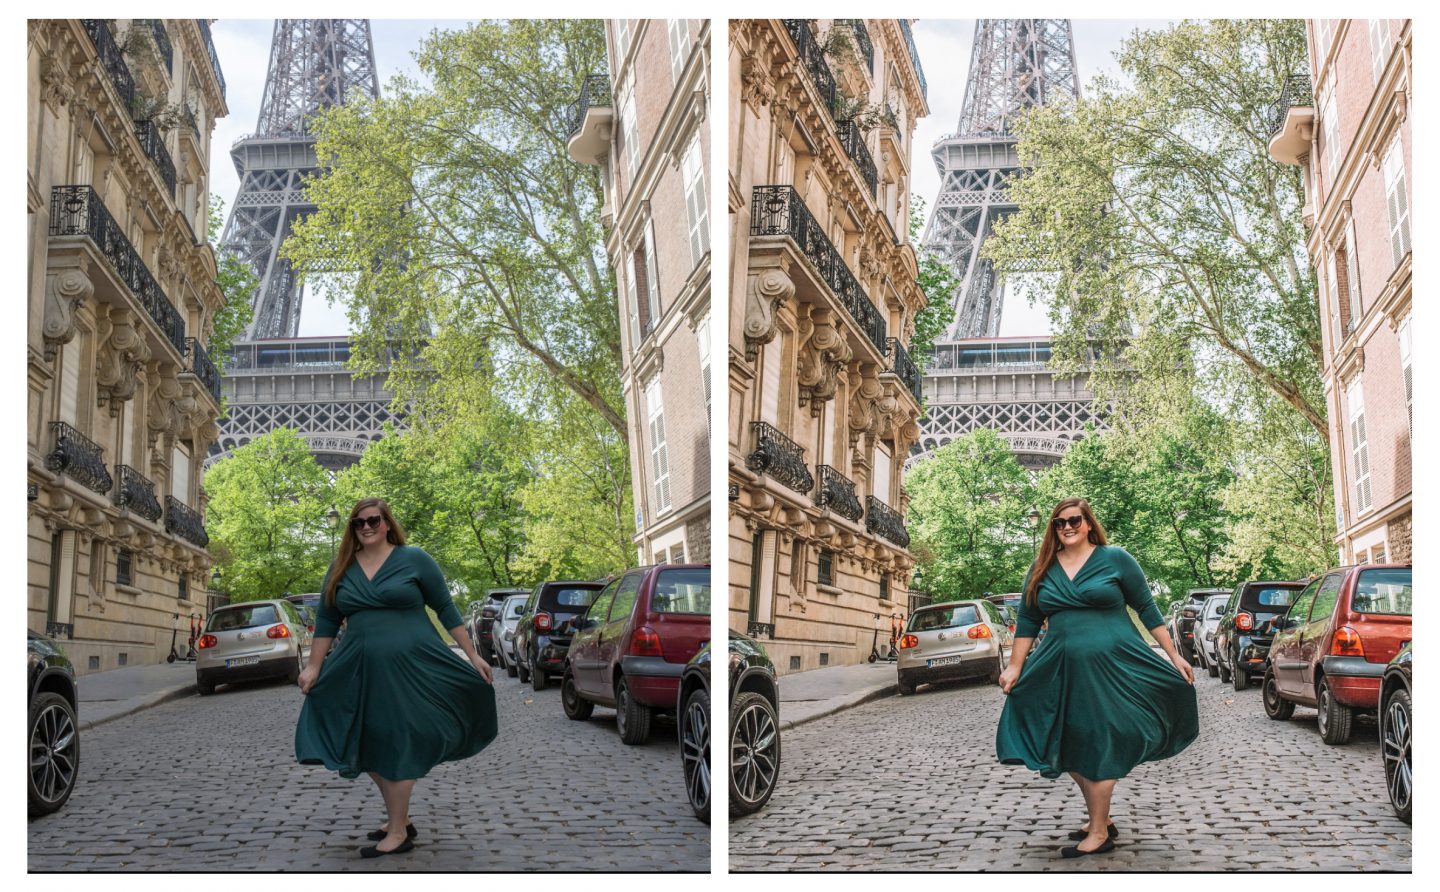
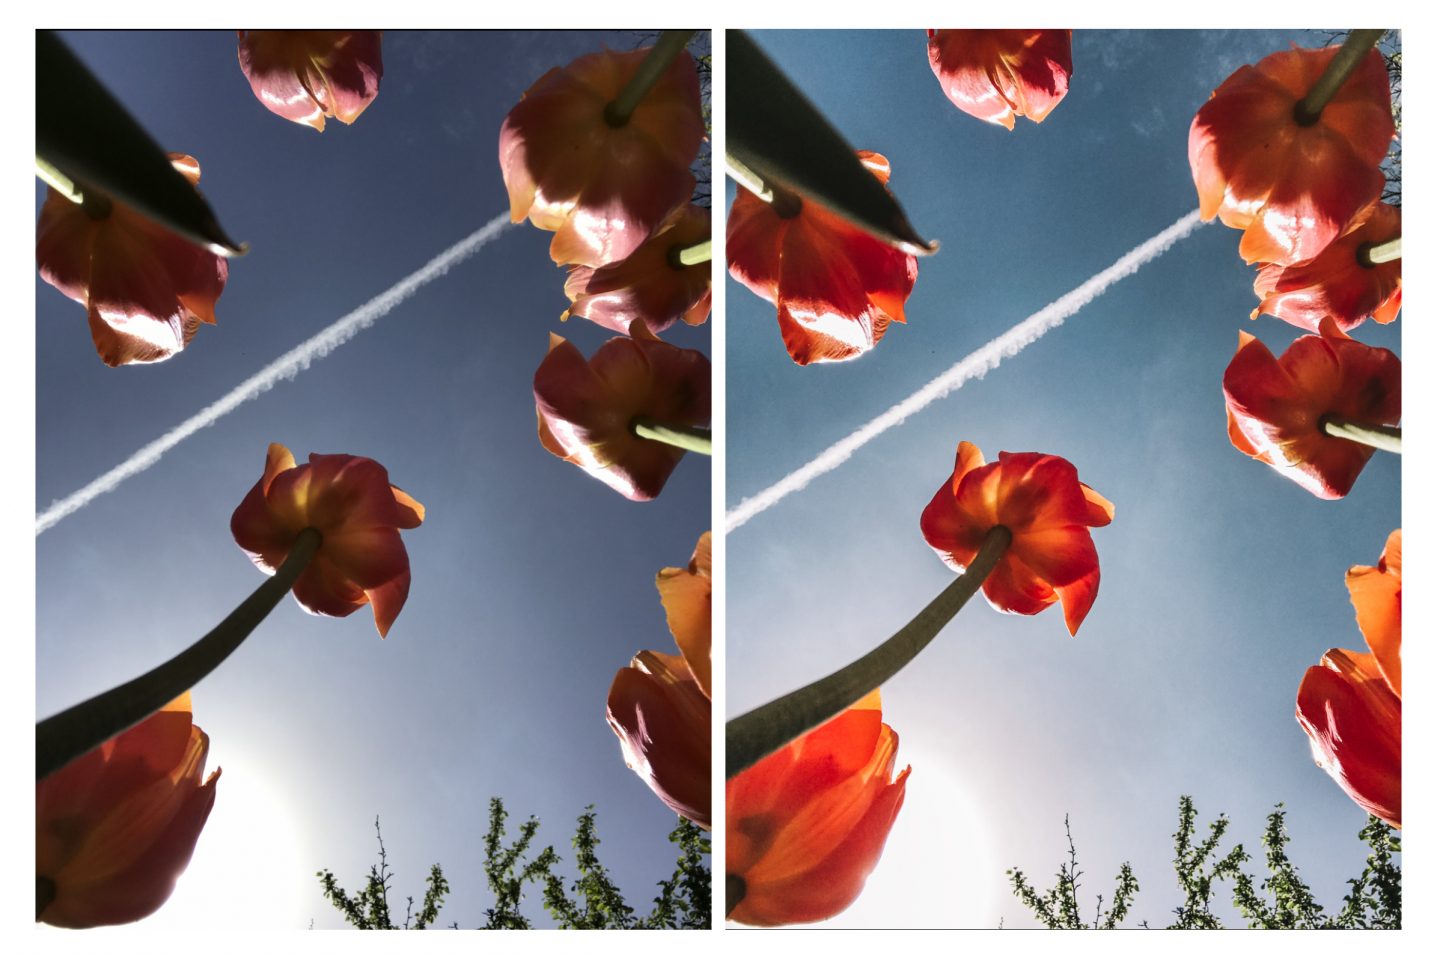
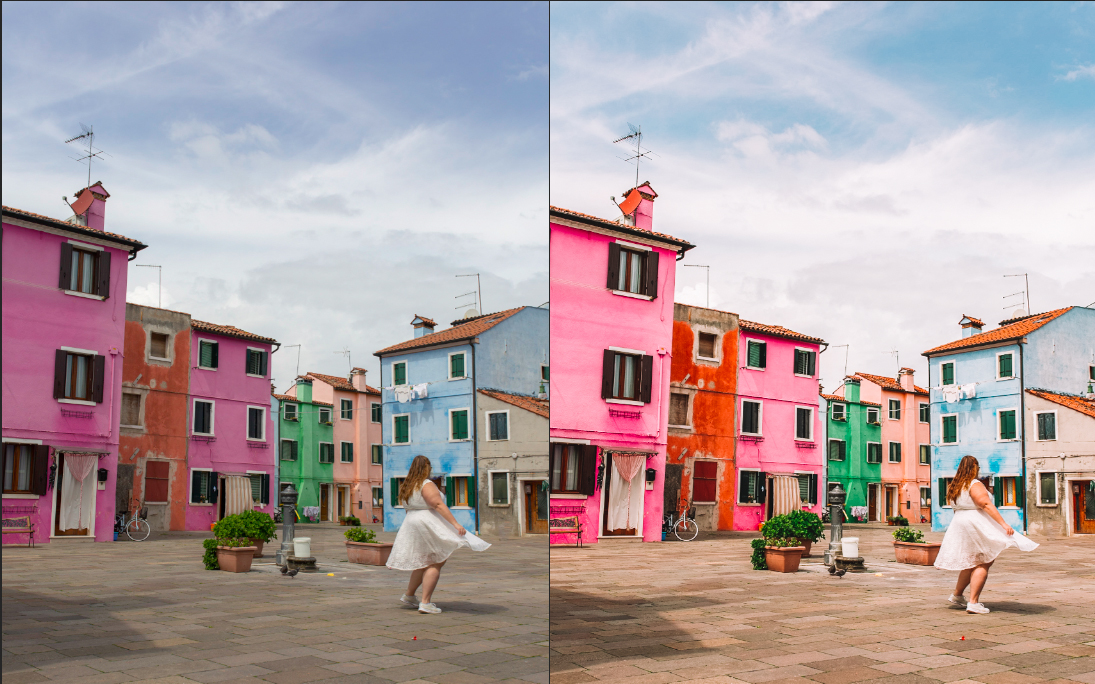
Editing on the go has never been easier! Send me your before and afters with the At Home On Hudson preset.
If you are looking to edit your photos without blowing out the color saturation, become a best friend of the blog and get my FREE Lightroom preset!
It’s my GO-TO one-click trick!
Want my free Lightroom mobile preset?
Thanks for reading! If you found this helpful, feel free to save it for later or share it with a friend.
📌 Pin the image below to keep this post handy!


Hi
To be honest your article is informative and very helpful. After i saw your site and i read it and it help me a lot. Thanks for share your kind information.
Author
Glad I could be a help!