

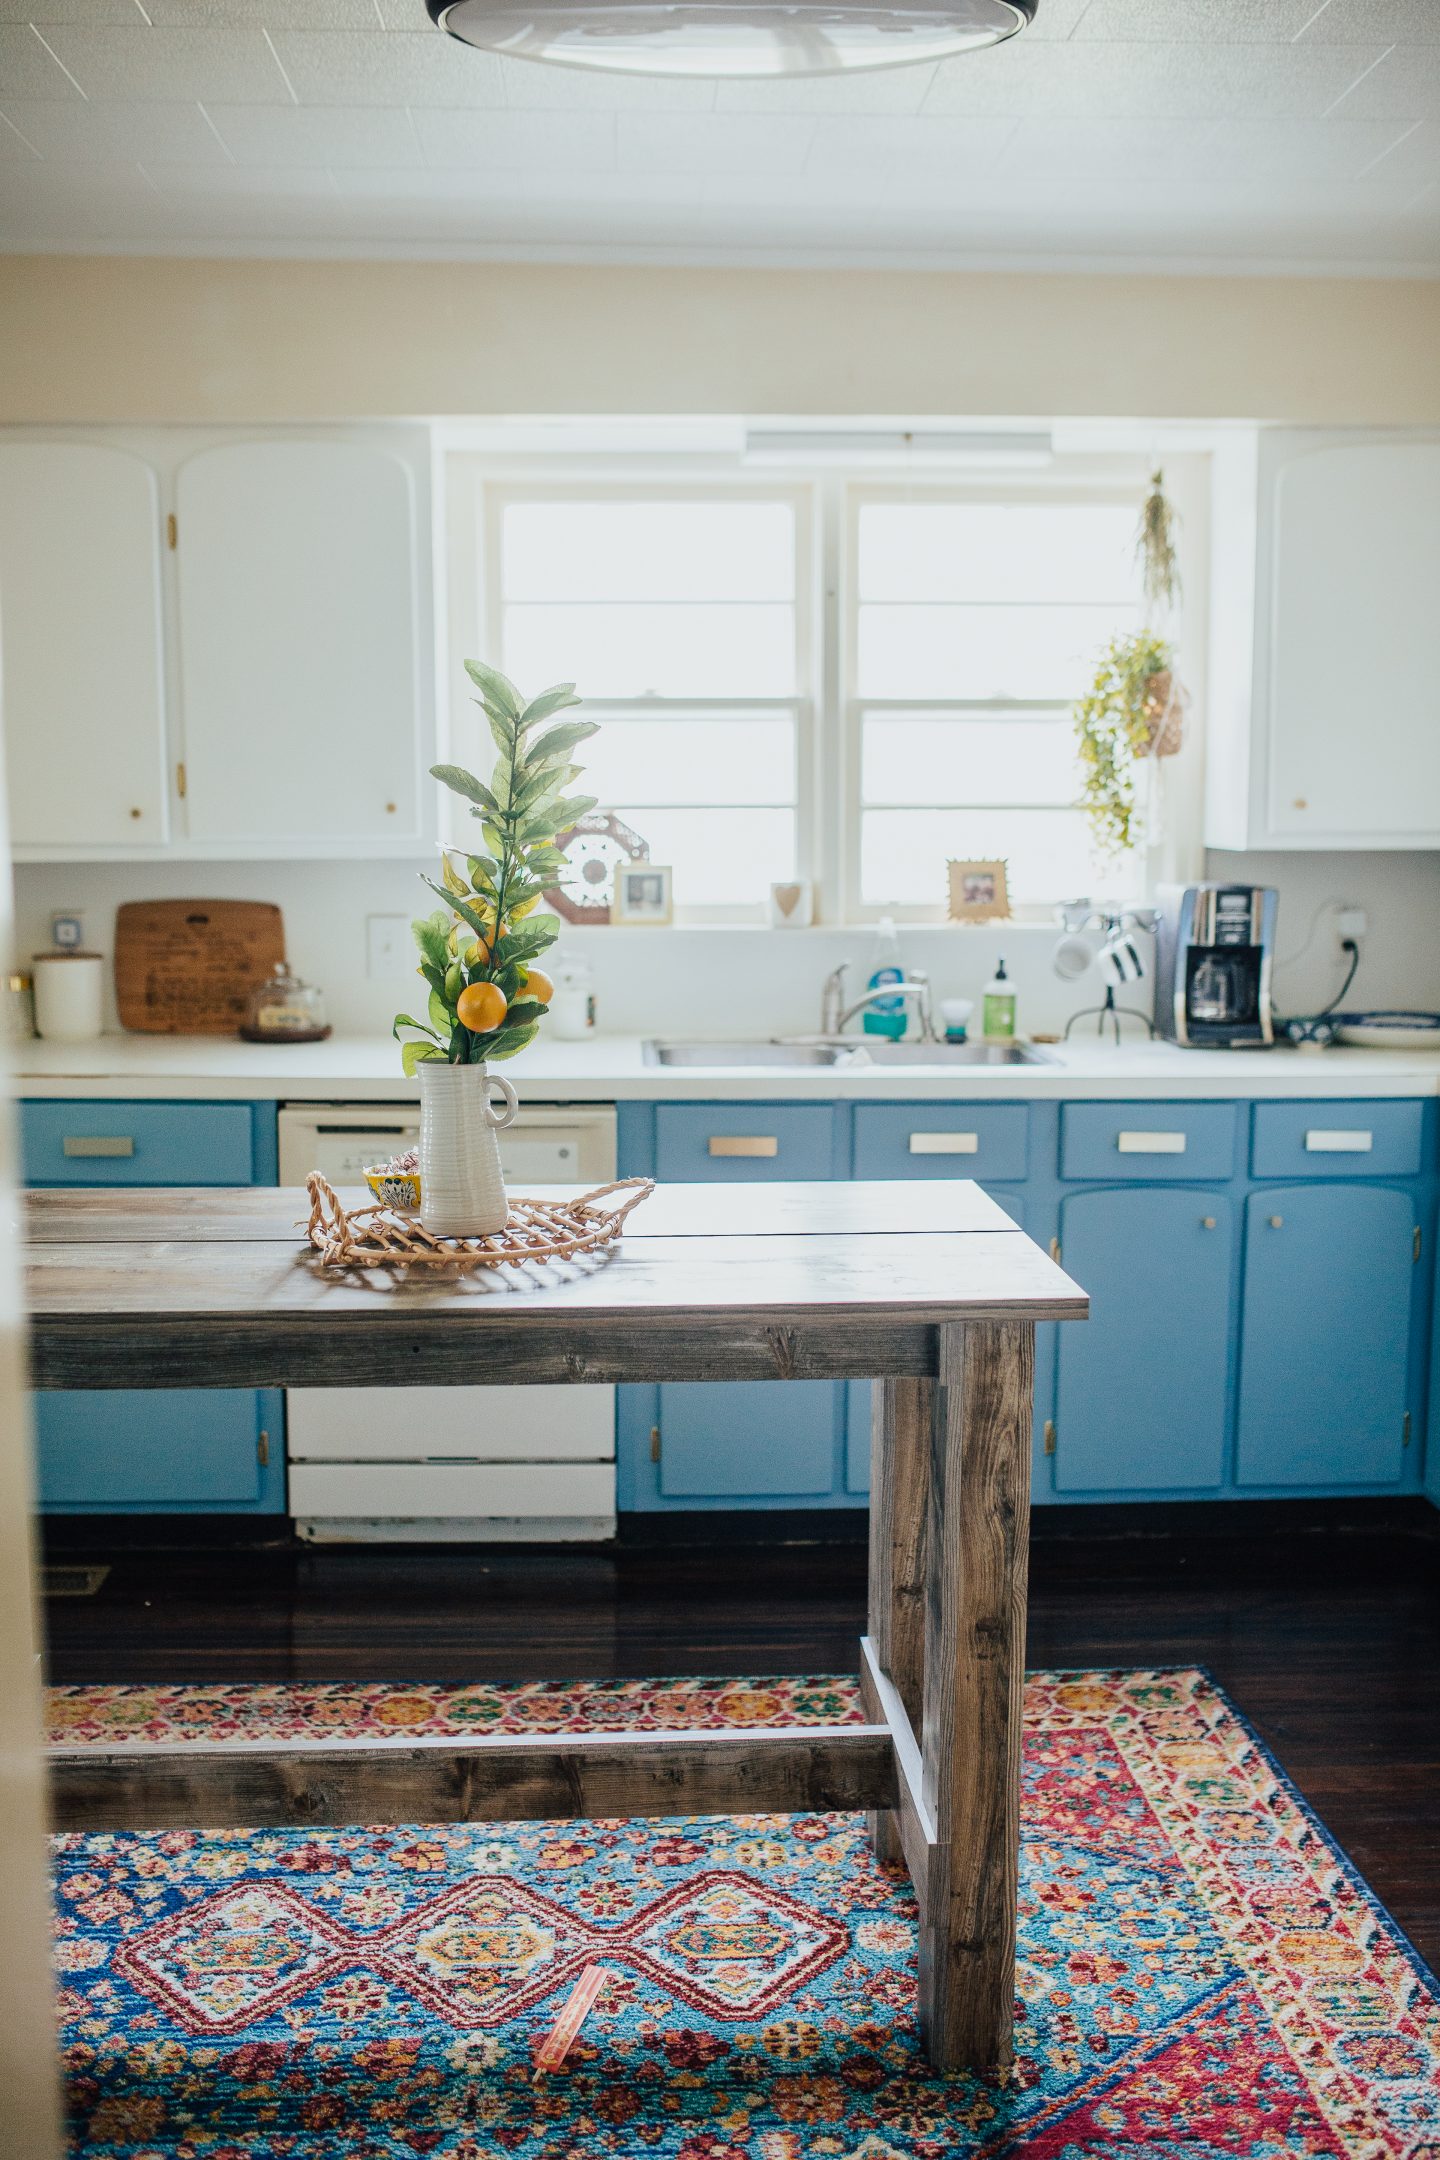
You may remember that I sanded and painted my cabinets (over a period of what felt like 20 years because there were so many dang doors) and I seriously love the results. I was going for a Mediterranean color scheme with yellow lemon accents and I really love how it brightened up the space especially after the off-white linoleum was removed and the hardwood floors were refinished to the dark brown to match the rest of the Hudson House.
Click to see the before/afters!
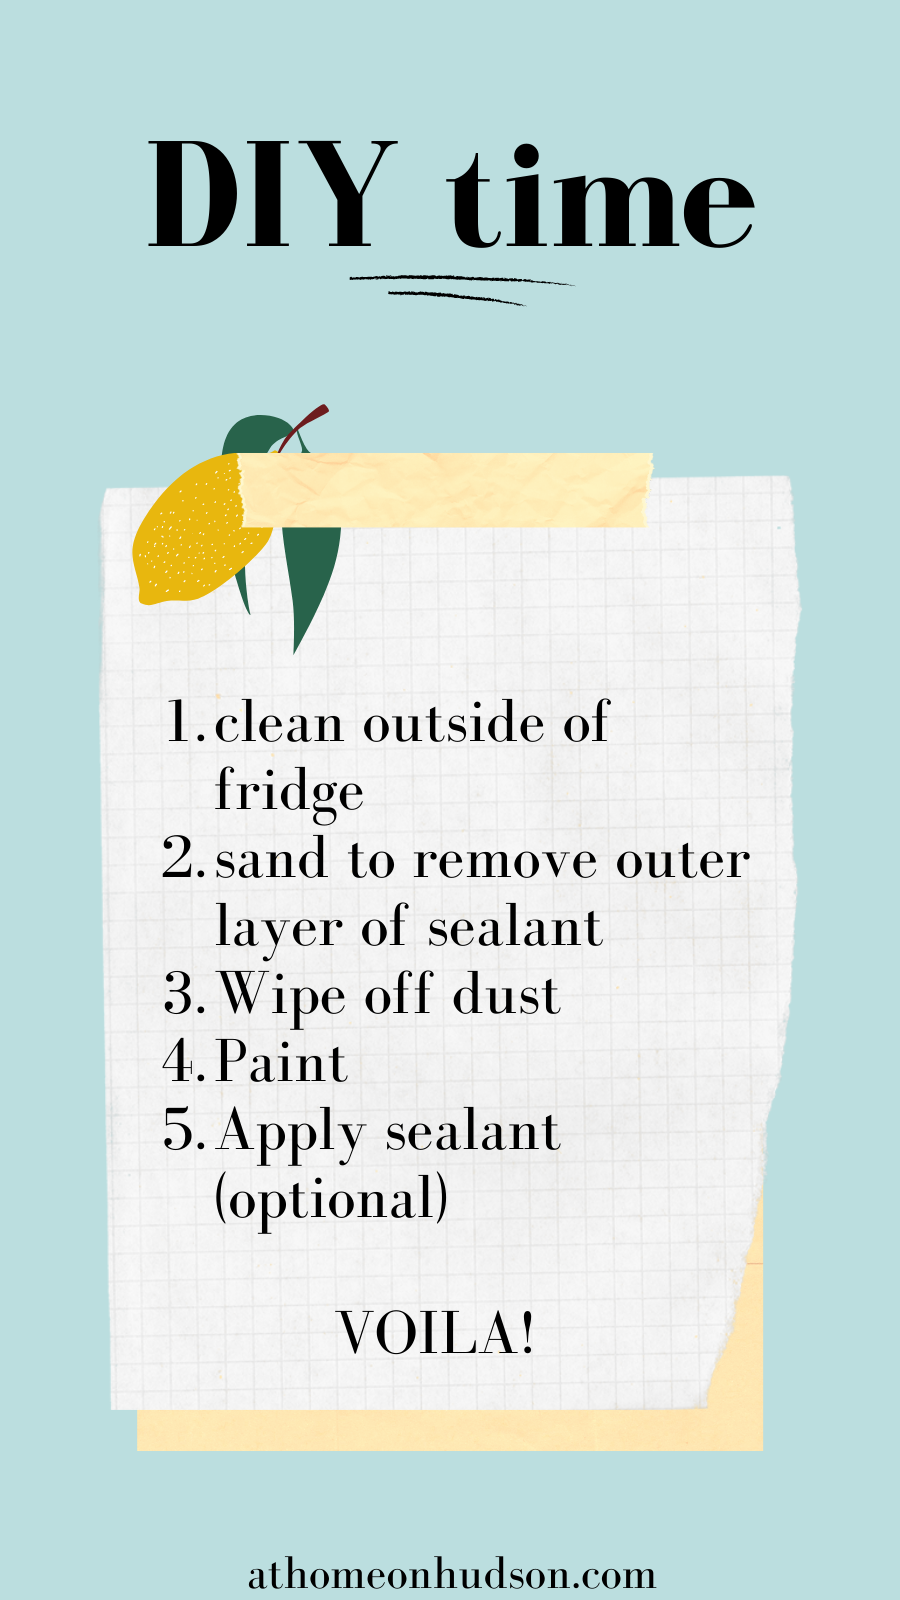
Today, we are back in my kitchen for DIY that adds a pop of bright color to the space, was uber easy, and doesn’t break the bank. Here is how to DIY paint your fridge in 5 simple steps!
When it came to preparing for this project, there are not many resources available via google so I kind of created my own process and tested it for a year before sharing it. Yes, you read that right, my fridge has been painted for a year! I honestly wanted to see how the paint held up from normal use.
Take note, I do not have kiddos in my house so normal use includes me, myself, and I.

Supplies to DIY paint your fridge
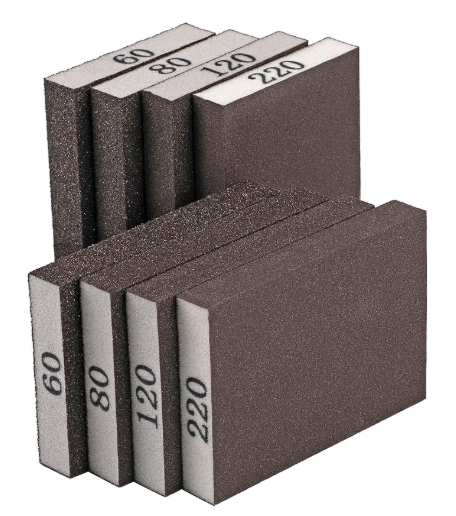
- Sandpaper
- Clean washrag
- Appliance paint (this was recommended to me by the paint dude at Lowes)
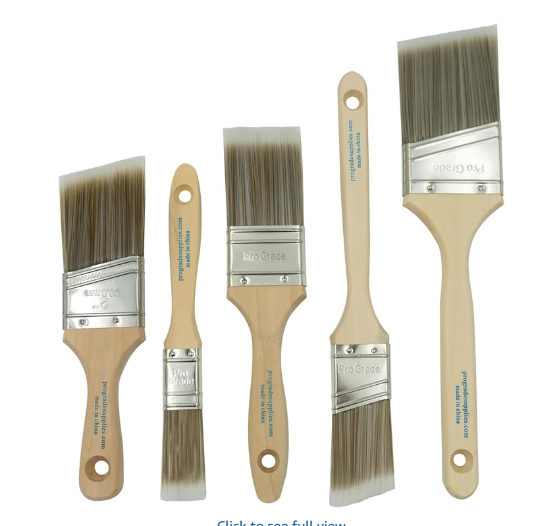
- Brush
- Foam Cabinet Roller (For the smooth finish on the majority of the door, this set is *chef’s kiss.*)
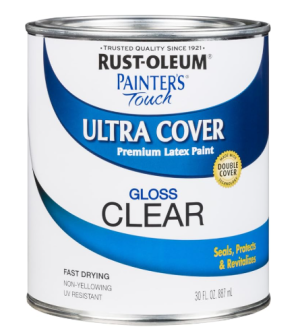
- Sealant (optional)

Loved this post? Share it or pin it for later!


The cool aunt. Plant novice who loves to travel to cool places, eat unadventurous food, and take pretty photos.
Find me on: Instagram
